Imagine the warm, inviting aroma of spiced apples wafting through your home, filling every corner with the essence of autumn. Our Slow Cooker Apple Butter for Canning is not just a recipe; it's a delightful journey into the heart of cozy fall flavors. With just a handful of simple ingredients, you can transform six pounds of apples into a luscious, spreadable treat that’s perfect for toast, pancakes, or even as a gift! Whether you're a seasoned canner or a novice looking to dive into the world of homemade preserves, this recipe promises to be a rewarding experience. Get ready to savor the taste of homemade goodness—your taste buds will thank you!
Prep Time: 15 mins
Cook Time: 10 hrs
Total Time: 10 hrs 15 mins
Cuisine: American
Serves: 6 half-pints
Ingredients
- 6 lbs apples, peeled and chopped
- 2 cups sugar
- 1 tsp cinnamon
- 1/2 tsp nutmeg
- 1/4 tsp cloves
- 1/4 cup apple cider vinegar
Instructions
- Wash, peel, and core apples, then chop them into small, uniform pieces to ensure even cooking.
- Place chopped apples into a large slow cooker, spreading them evenly across the bottom.
- Add apple cider vinegar to help break down the apples and enhance flavor preservation.
- Combine sugar, cinnamon, nutmeg, and cloves in a separate bowl, mixing thoroughly to distribute spices evenly.
- Sprinkle the sugar and spice mixture over the chopped apples, gently stirring to coat all apple pieces.
- Cover slow cooker and set to low heat, allowing apples to cook slowly for 10 hours.
- Stir the mixture every 2-3 hours to prevent sticking and ensure even caramelization.
- As apples cook down, use a potato masher or immersion blender to gradually break them into a smooth, spreadable consistency.
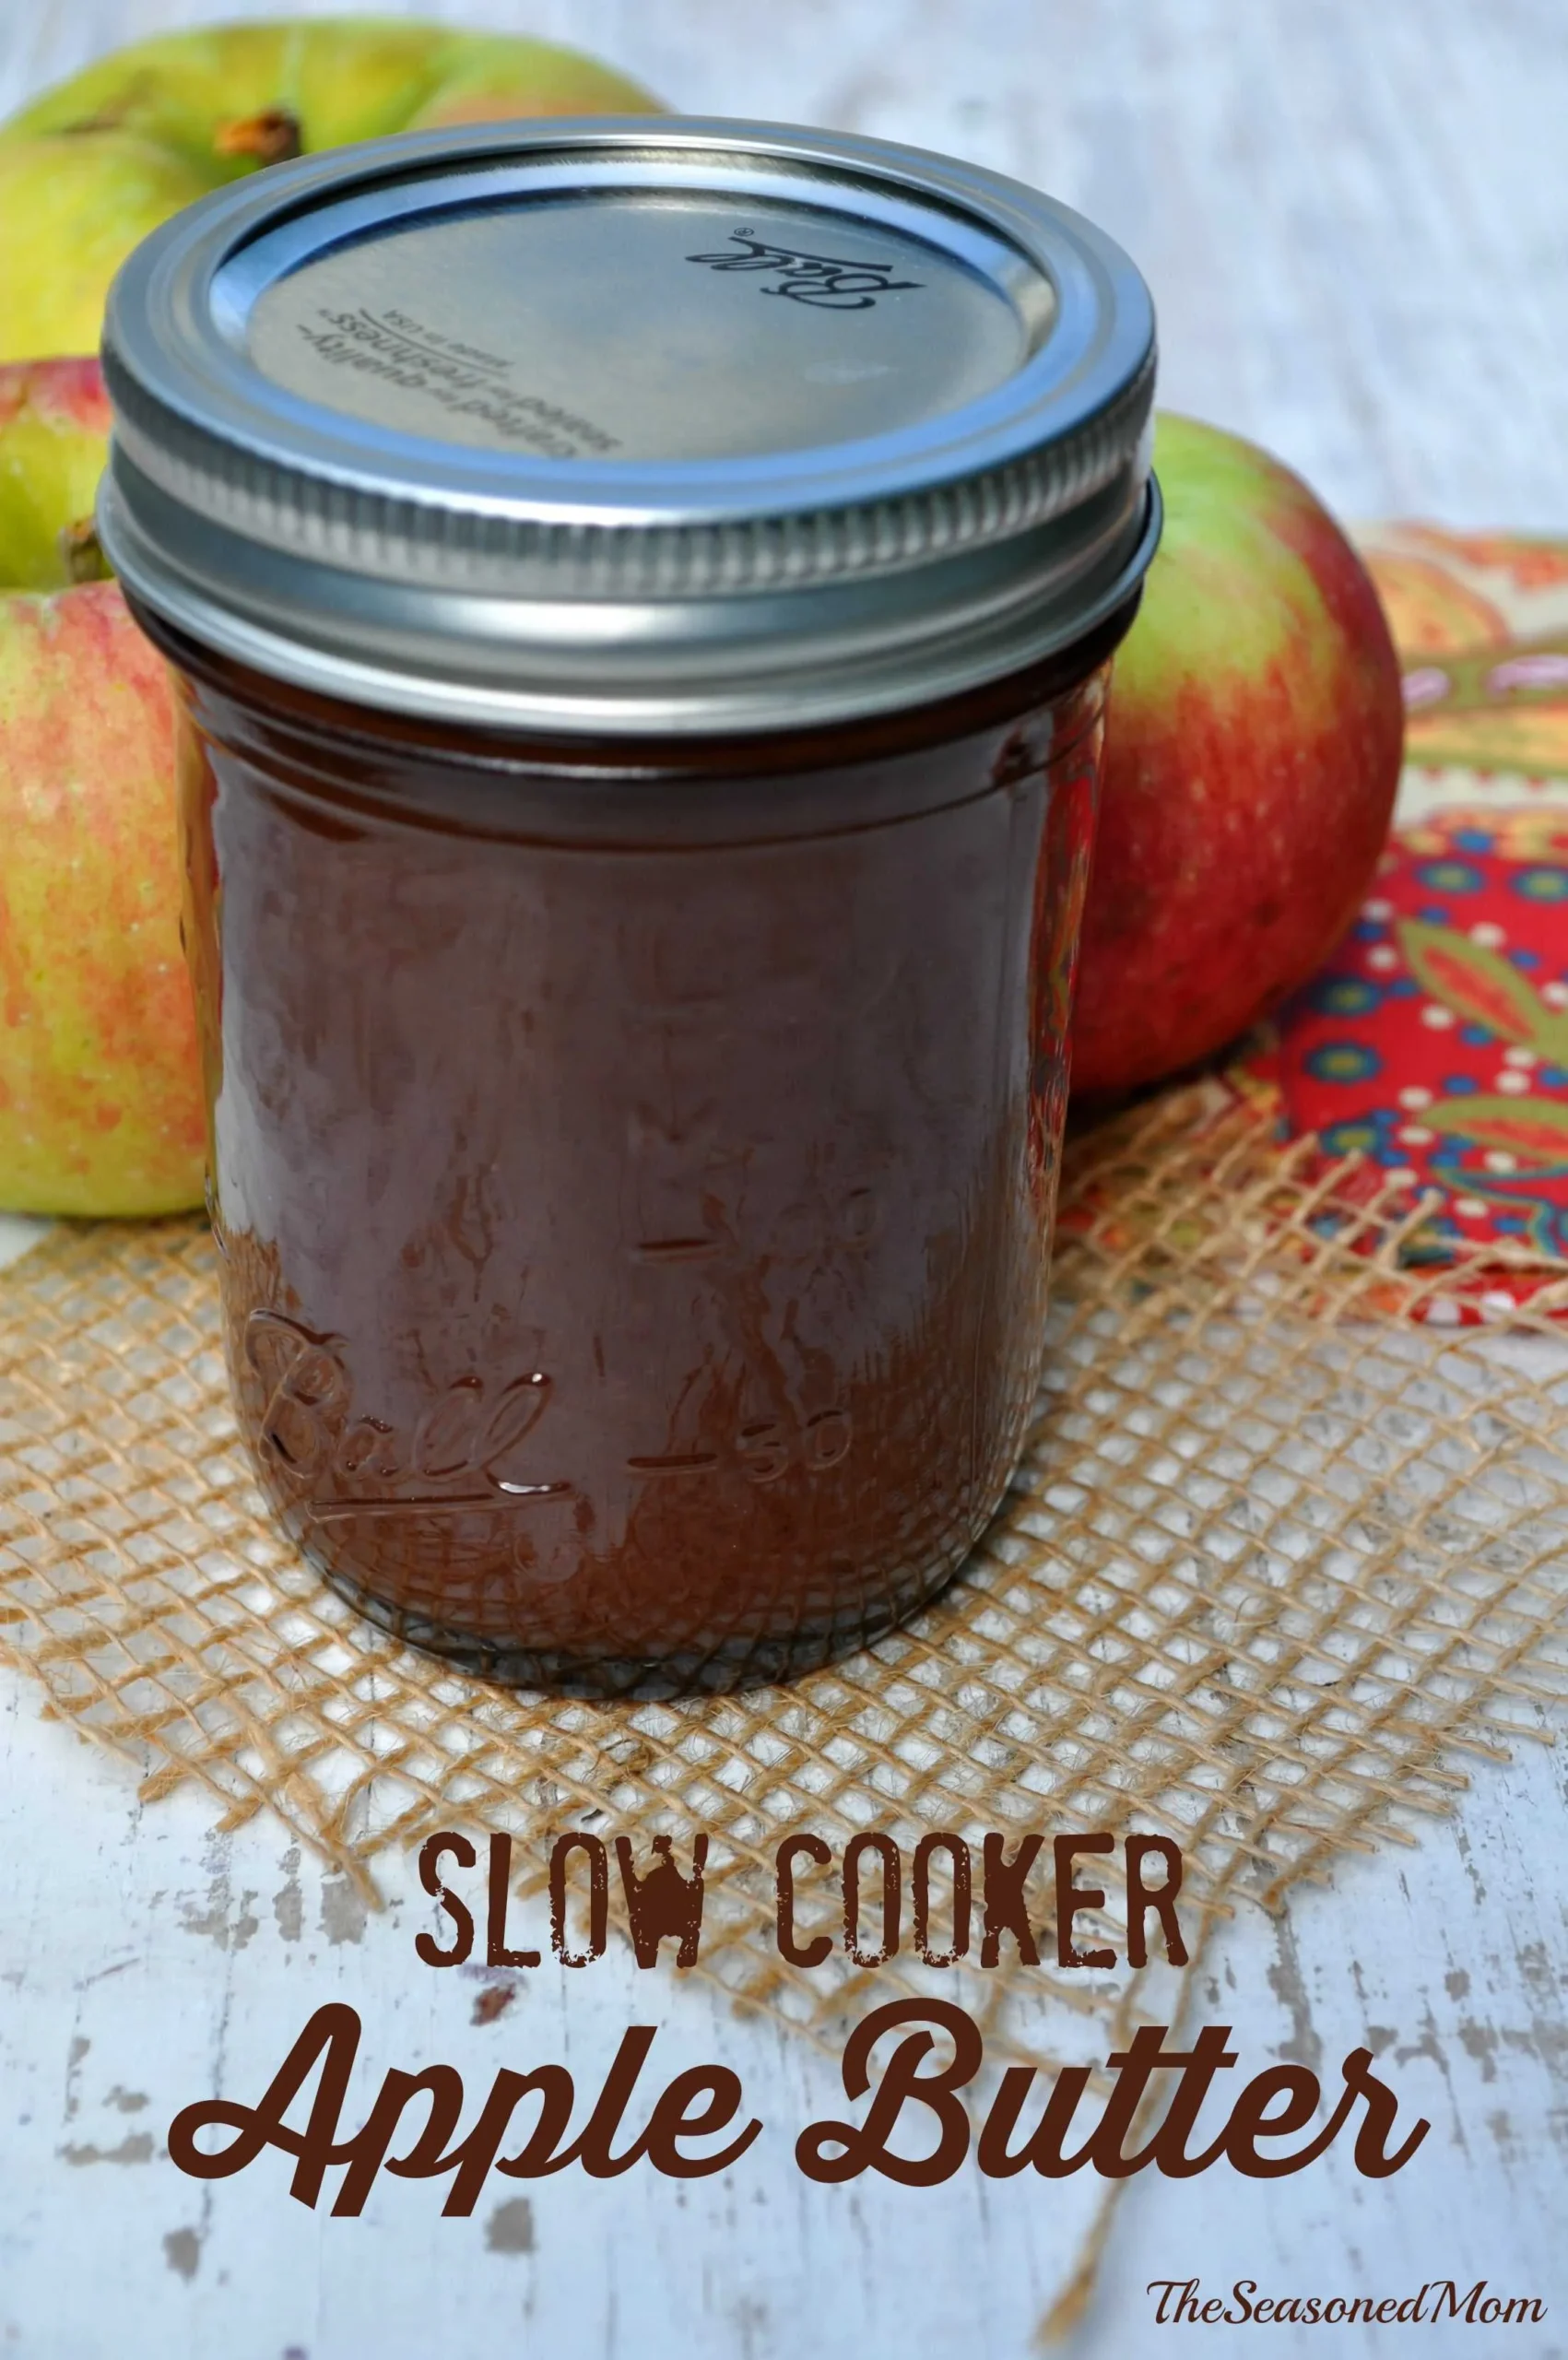
- The apple butter is ready when it's dark brown, thick, and holds its shape when a spoon is drawn through it.
- Prepare clean, sterilized canning jars and lids while apple butter is cooking.
- Carefully ladle hot apple butter into prepared jars, leaving 1/4 inch headspace.
- Wipe jar rims clean, apply lids and rings, and process in a boiling water bath for 10 minutes to ensure proper preservation.
- Remove jars and allow to cool completely, checking for proper sealing before storing.
Tips
- Choose the Right Apples: For the best flavor, mix sweet and tart apples, such as Granny Smith and Honeycrisp. This balance will enhance the depth of your apple butter.
- Prep Ahead: To save time, peel and chop your apples the night before. Store them in a bowl of water with a splash of lemon juice to prevent browning.
- Uniform Size Matters: Chop your apples into small, uniform pieces to ensure they cook evenly and break down smoothly.
- Layering Flavors: Feel free to experiment with spices! A pinch of allspice or a splash of vanilla extract can add a unique twist to your apple butter.
- Keep an Eye on the Consistency: As the apple butter cooks, stir it every few hours. Use a potato masher or immersion blender to achieve your desired smoothness, whether chunky or silky.
- Sterilize Jars Properly: Before canning, make sure your jars and lids are thoroughly cleaned and sterilized to prevent spoilage.
- Headspace is Key: When filling jars, leave about 1/4 inch of headspace to allow for expansion during processing.
- Check Seals: After cooling, ensure each jar has sealed properly by pressing the center of the lid. If it pops back, it hasn't sealed—refrigerate and use it within a few weeks.
- Label and Date: Don’t forget to label your jars with the date and contents. This helps you keep track of your delicious creations!
- Enjoy the Process: Take your time and enjoy the aroma and flavors developing in your kitchen. Cooking is as much about the experience as it is about the end product!
Nutrition Facts
Calories: 90kcal
Carbohydrates: 23g
Protein: 0g
Fat: 0g
Saturated Fat: 0g
Cholesterol: 0mg