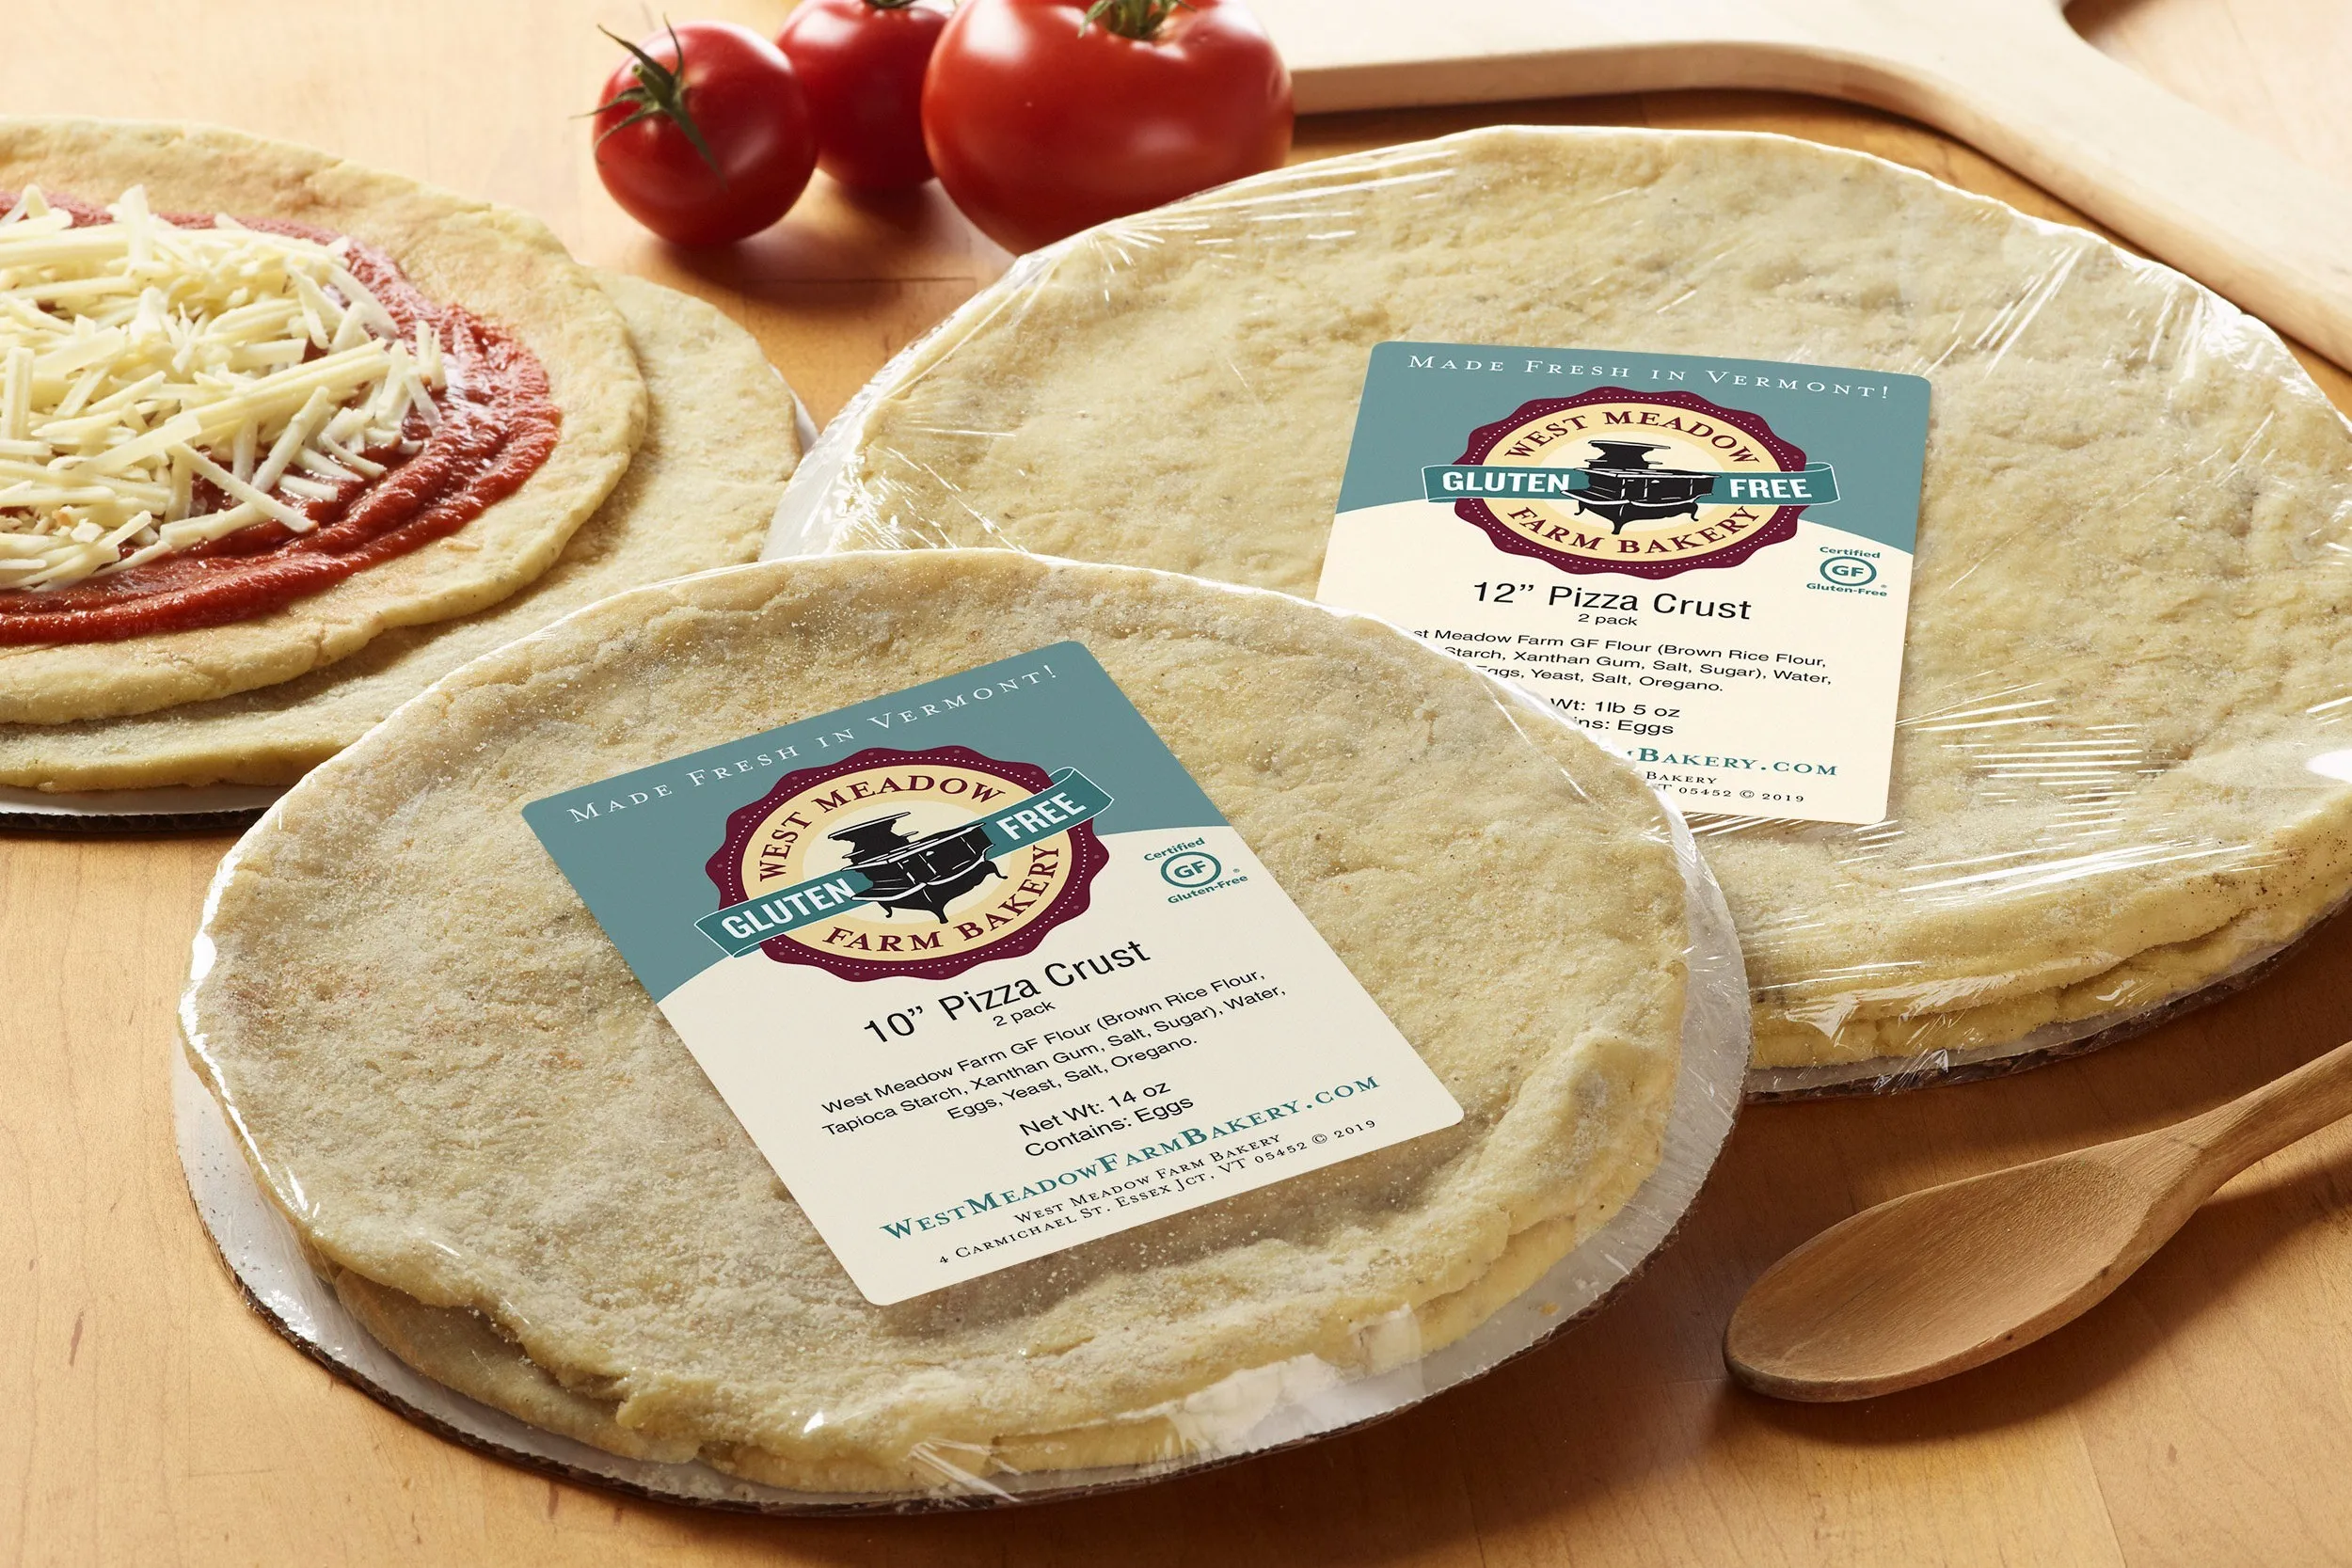
Are you tired of gluten-free pizza crusts that taste like cardboard? Get ready to revolutionize your pizza experience with this incredibly simple and delicious Old Market Pizza Crust recipe! Whether you're gluten-sensitive or just looking to try something new, this homemade crust will have you saying goodbye to store-bought alternatives forever. In just 30 minutes, you'll create two perfect pizza crusts that are crispy, flavorful, and so good, nobody will believe they're gluten-free!
Prep Time: 15 mins
Cook Time: 15 mins
Total Time: 30 mins
Cuisine: Italian
Serves: 2 crusts
Ingredients
- 2 cups gluten-free all-purpose flour
- 1 tablespoon baking powder
- 1 teaspoon salt
- 1 tablespoon olive oil
- 1 cup warm water
Instructions
- Begin by gathering all your ingredients: 2 cups of gluten-free all-purpose flour, 1 tablespoon of baking powder, 1 teaspoon of salt, 1 tablespoon of olive oil, and 1 cup of warm water.
- In a large mixing bowl, combine the gluten-free all-purpose flour, baking powder, and salt. Use a whisk to blend the dry ingredients thoroughly, ensuring there are no lumps.
- Make a well in the center of the dry mixture and add the tablespoon of olive oil. Pour in the warm water gradually while mixing with a wooden spoon or spatula.
- Continue to mix until the dough begins to come together. It should be slightly sticky but manageable. If the dough is too dry, add a little more warm water, one tablespoon at a time.
- Once the dough is combined, use your hands to knead it gently in the bowl for about 1-2 minutes until it forms a cohesive ball. Be careful not to over-knead, as gluten-free dough can become gummy.
- Divide the dough into two equal portions, as this recipe yields two pizza crusts. Shape each portion into a ball.
- Preheat your oven to 450°F (232°C). If you have a pizza stone, place it in the oven to heat up as well.
- On a clean, lightly floured surface (using additional gluten-free flour), take one ball of dough and flatten it with your hands. Use a rolling pin to roll it out into your desired pizza shape and thickness, typically about ¼ inch thick.
- Transfer the rolled-out dough onto a piece of parchment paper for easy handling. If using a pizza stone, you can use a pizza peel to transfer it directly.
- Repeat the rolling process with the second ball of dough, placing it on another piece of parchment paper.
- Once both crusts are prepared, you can pre-bake them for about 5-7 minutes in the preheated oven. This step helps to firm up the crust before adding toppings.
- After pre-baking, remove the crusts from the oven and add your favorite pizza sauce, cheese, and toppings.
- Return the topped pizzas to the oven and bake for an additional 10-15 minutes, or until the cheese is bubbly and the crust is golden brown.
- Once cooked, remove the pizzas from the oven and let them cool for a few minutes before slicing. Enjoy your homemade gluten-free pizza crust!
Tips
- Always use fresh gluten-free flour and check its expiration date for the best results.
- The water temperature is crucial - warm water helps activate the ingredients and creates a better dough consistency.
- Don't overwork the dough - gluten-free dough can become tough if kneaded too much.
- Use parchment paper for easy transfer and to prevent sticking.
- A pizza stone can help create a crispier crust, but a regular baking sheet works well too.
- Pre-baking the crust helps prevent a soggy bottom and ensures a crisp texture.
- Experiment with different toppings, but don't overload the crust to maintain its crispy texture.
- Let the crust cool slightly before slicing to help it set and maintain its structure.
Nutrition Facts
Calories: 190kcal
Carbohydrates: 35g
Protein: 2g
Fat: g
Saturated Fat: g
Cholesterol: 0mg