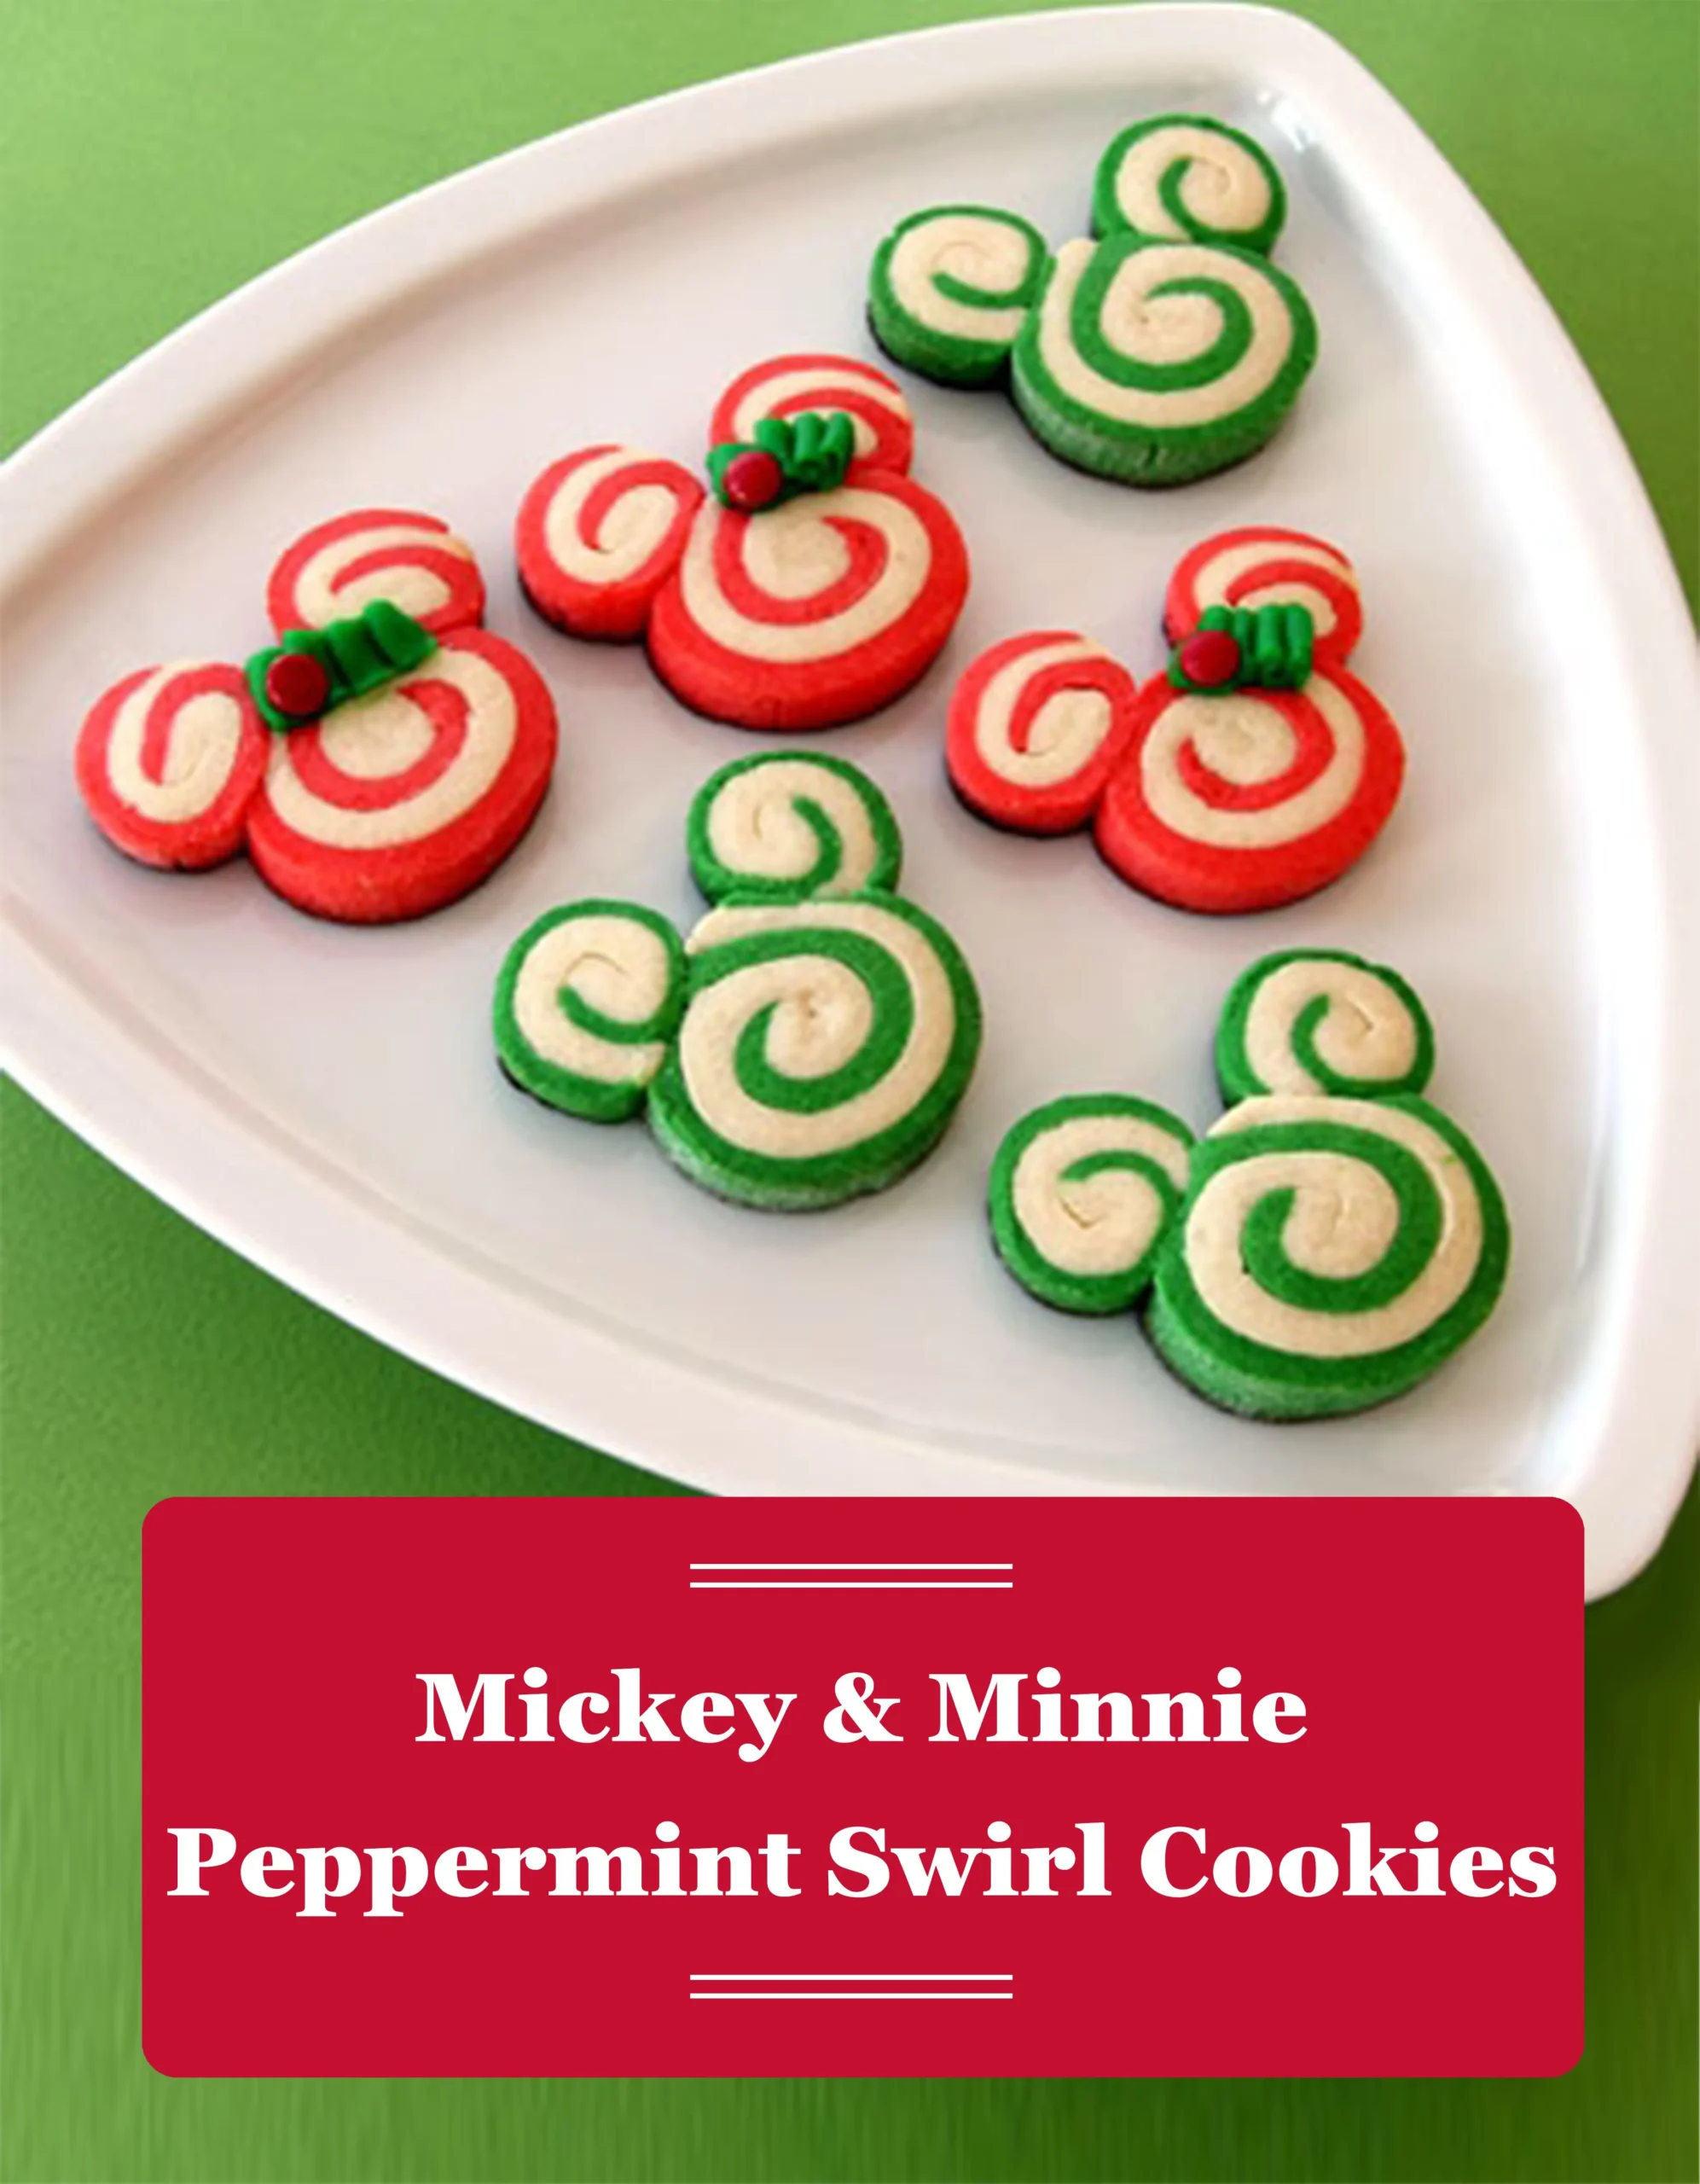
Get ready to bring a touch of Disney magic right into your kitchen with these stunning Mickey and Minnie Swirl Cookies! These eye-catching treats aren't just delicious - they're a visual masterpiece that will make both kids and adults swoon. Imagine biting into a perfectly swirled cookie that looks like it jumped straight out of a Disney storybook, with mesmerizing red and black spirals that are sure to impress at any party or gathering. Whether you're a Disney fan, a baking enthusiast, or just someone who loves creating Instagram-worthy desserts, these cookies are about to become your new favorite recipe!
Prep Time: 30 mins
Cook Time: 12 mins
Total Time: 42 mins
Cuisine: American
Serves: 24 cookies
Ingredients
- 2 3/4 cups all-purpose flour
- 1 teaspoon baking soda
- 1/2 teaspoon salt
- 1 cup unsalted butter, softened
- 1 1/2 cups sugar
- 1 egg
- 1 teaspoon vanilla extract
- Red and black food coloring
Instructions
- In a medium bowl, whisk together flour, baking soda, and salt until well combined. Set aside.
- In a large mixing bowl, cream softened butter and sugar using an electric mixer until light and fluffy, about 3-4 minutes.
- Add the egg and vanilla extract to the butter mixture, beating until fully incorporated and smooth.
- Gradually add the dry ingredients to the wet ingredients, mixing on low speed until a soft dough forms.
- Divide the dough into two equal portions. Leave one portion plain, and add black food coloring to one portion and red food coloring to the other.
- Wrap each colored dough in plastic wrap and refrigerate for 30 minutes to firm up.
- After chilling, roll out each colored dough between two sheets of parchment paper into rectangular shapes of equal size.
- Carefully layer the red and black dough on top of each other, gently pressing to remove any air bubbles.
- Carefully roll the layered dough into a tight log, creating a swirl pattern of red and black.
- Wrap the log in plastic wrap and refrigerate for an additional 1 hour to set the design.
- Preheat the oven to 350°F (175°C) and line baking sheets with parchment paper.
- Remove the dough log from the refrigerator and slice into 1/4-inch thick rounds.
- Place cookie rounds on prepared baking sheets, spacing them about 2 inches apart.
- Bake for 10-12 minutes, or until the edges are lightly golden.
- Remove from oven and let cookies cool on the baking sheet for 5 minutes.
- Transfer cookies to a wire rack to cool completely.
- Store in an airtight container at room temperature for up to 5 days.
Tips
- Ensure your butter is truly softened but not melted for the perfect cookie texture.
- Chill the dough thoroughly - this helps maintain the crisp swirl pattern and prevents spreading.
- Use gel food coloring for more vibrant, concentrated colors that won't alter the dough's consistency.
- When rolling the log, use gentle, even pressure to create a tight, uniform swirl.
- Use a sharp knife for clean, even cookie slices.
- Don't overbake - the cookies should be just golden at the edges for a soft, tender result.
- Let cookies cool completely before storing to prevent moisture buildup.
- For extra Disney magic, consider adding edible glitter or sprinkles before baking!
Nutrition Facts
Calories: 150kcal
Carbohydrates: 19g
Protein: 2g
Fat: 8g
Saturated Fat: 5g
Cholesterol: 25mg