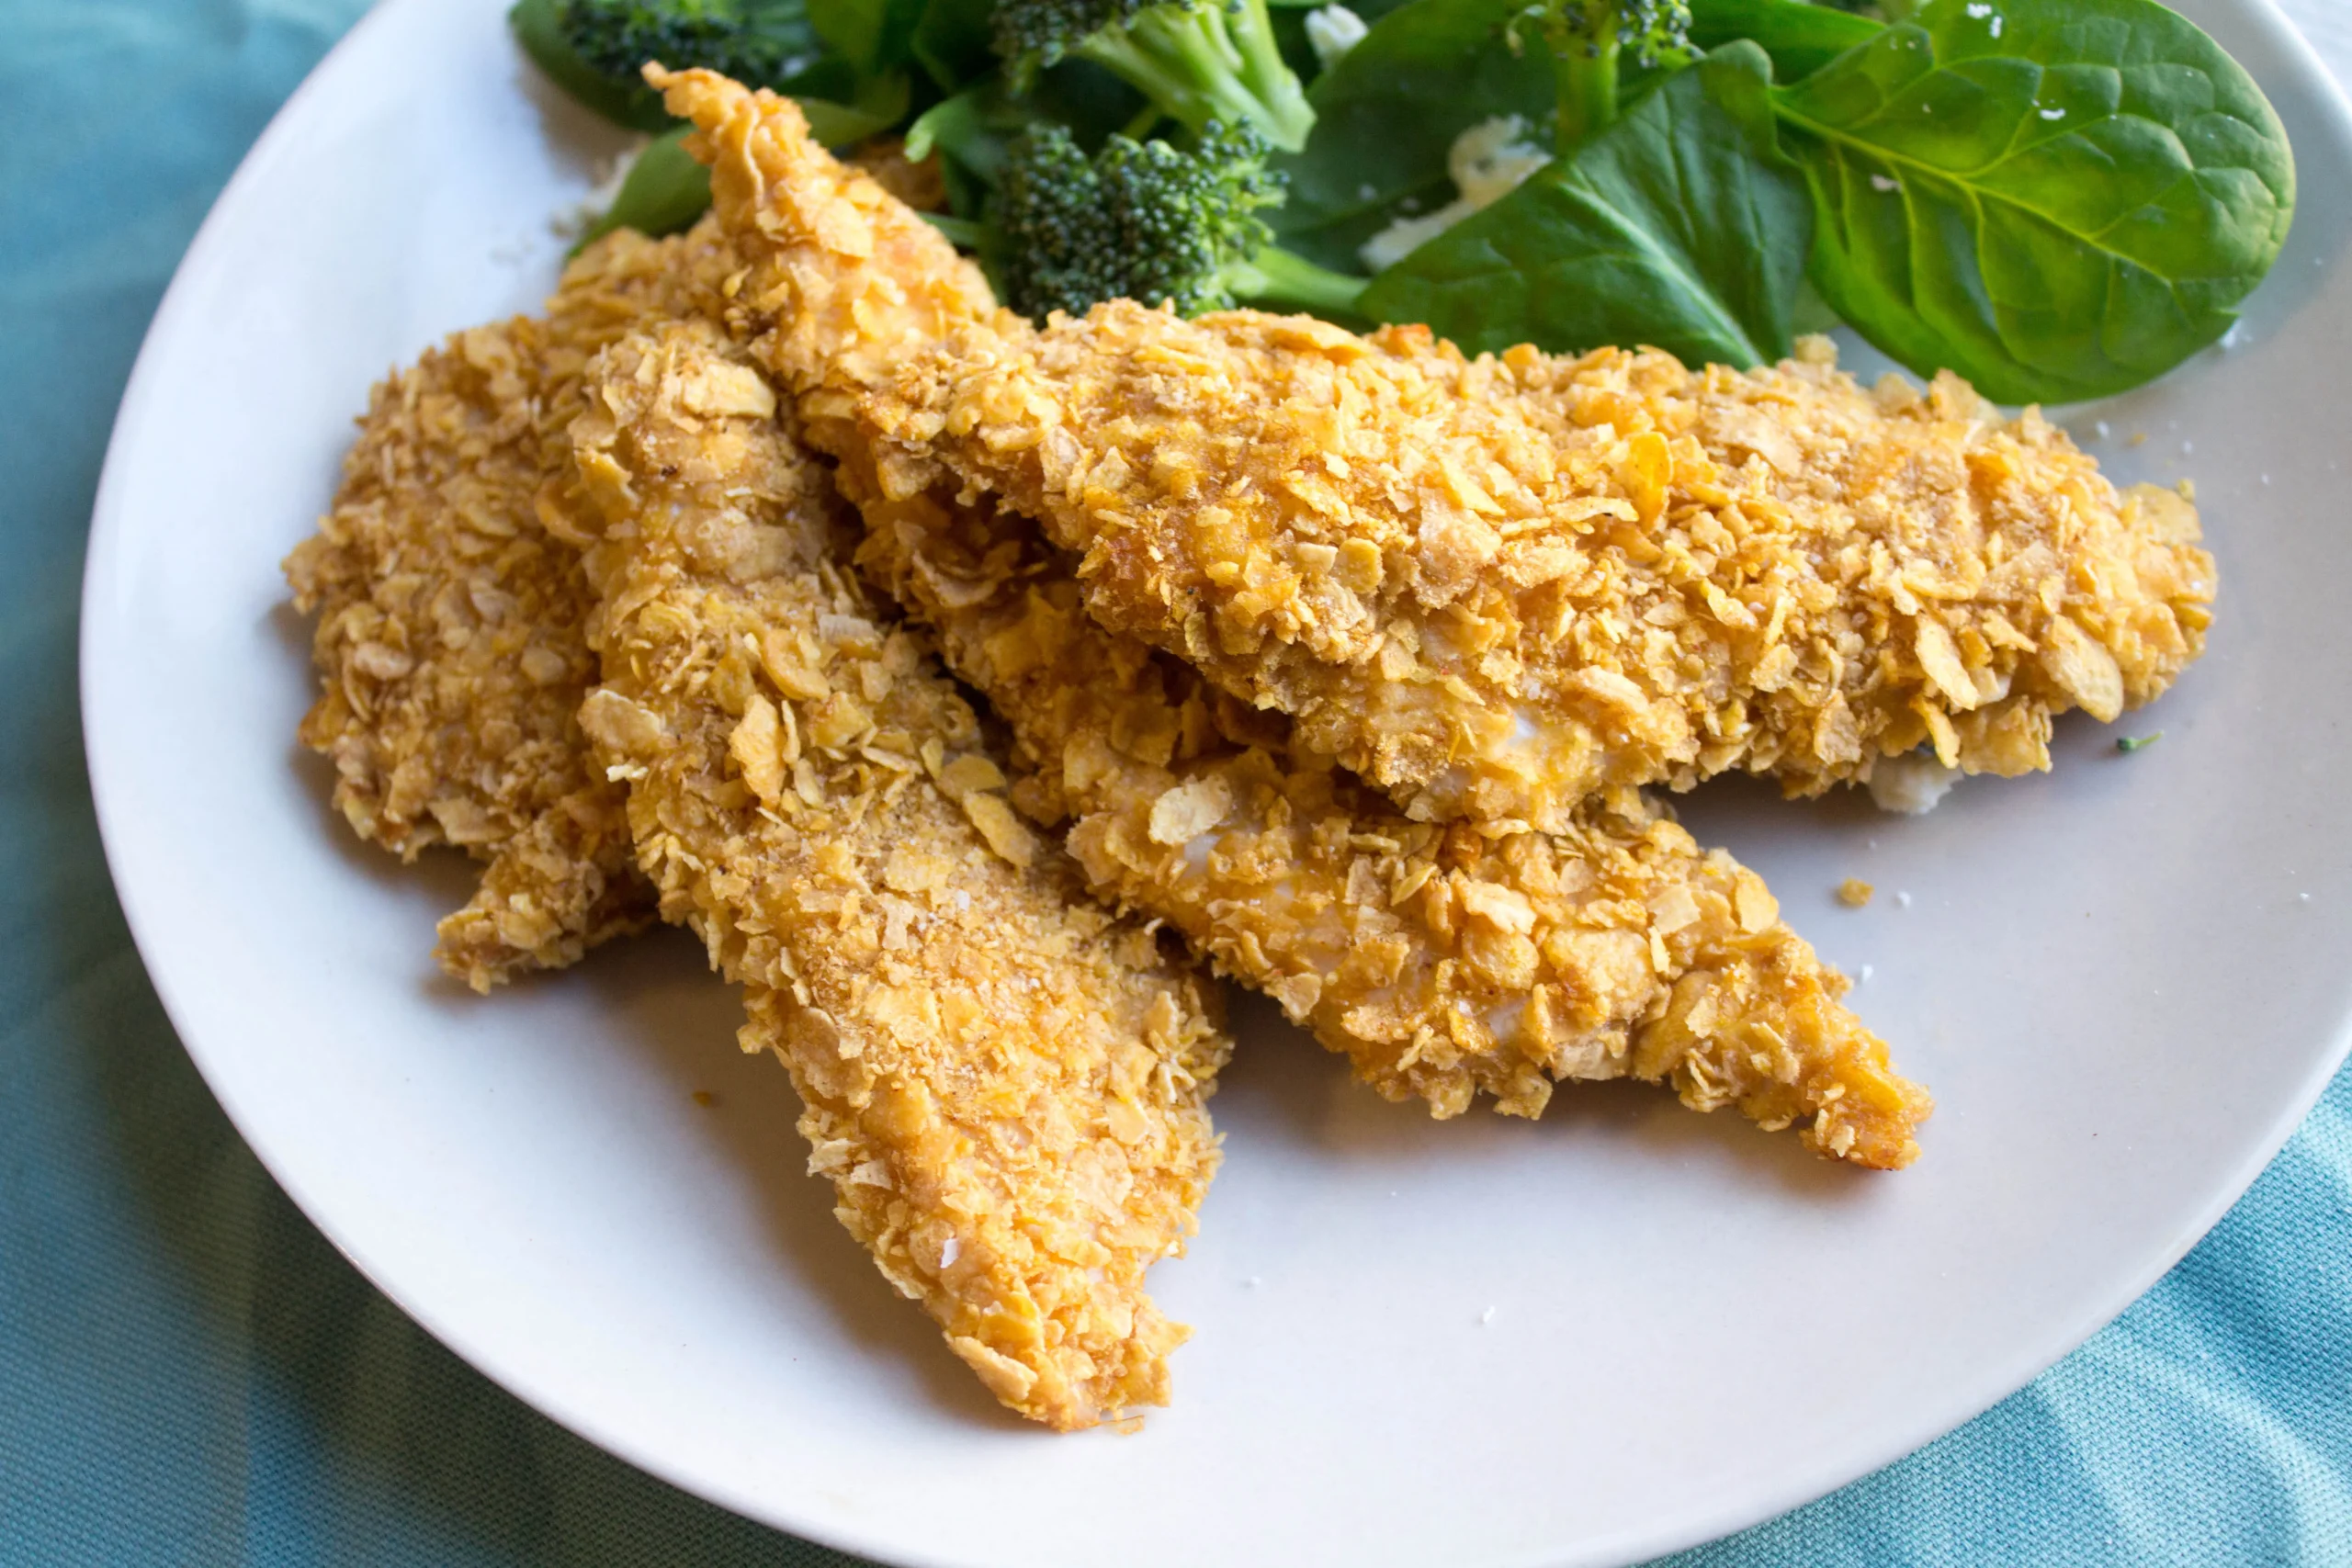
Get ready to transform your dinner game with the most irresistible gluten-free chicken fingers you've ever tasted! Imagine biting into a perfectly crispy, golden-brown chicken tender that's not only gluten-free but also packed with tropical coconut flavor and a delightful crunch. These Gluten-Free Crispy Buttermilk Coconut Chicken Fingers are about to become your new obsession – a dish so delicious, you won't believe it's actually healthy and easy to make!
Prep Time: 15 mins
Cook Time: 20 mins
Total Time: 35 mins
Cuisine: American
Serves: 4 servings
Ingredients
- 1 pound chicken tenders
- 1 cup buttermilk
- 1 cup gluten-free breadcrumbs
- 1/2 cup shredded coconut
- 1 teaspoon paprika
- 1/2 teaspoon salt
Instructions
- Begin by gathering all your ingredients: 1 pound of chicken tenders, 1 cup of buttermilk, 1 cup of gluten-free breadcrumbs, 1/2 cup of shredded coconut, 1 teaspoon of paprika, and 1/2 teaspoon of salt.
- In a medium-sized bowl, pour in the buttermilk. This will be used to marinate the chicken tenders, making them tender and flavorful.
- Add the chicken tenders to the buttermilk, ensuring they are fully submerged. Cover the bowl with plastic wrap or a lid, and refrigerate for at least 15 minutes. This step helps to infuse moisture and flavor into the chicken.
- While the chicken is marinating, preheat your oven to 400°F (200°C). Line a baking sheet with parchment paper or lightly grease it to prevent sticking.
- In a separate bowl, combine the gluten-free breadcrumbs, shredded coconut, paprika, and salt. Mix well to ensure the spices are evenly distributed throughout the breadcrumb mixture.
- Once the chicken has marinated, remove it from the refrigerator. Take each chicken tender out of the buttermilk, allowing any excess liquid to drip off.
- Coat each chicken tender in the breadcrumb and coconut mixture, pressing gently to ensure an even coating. Place the coated chicken fingers on the prepared baking sheet, ensuring they are spaced apart for even cooking.
- Once all the chicken tenders are coated and arranged on the baking sheet, place them in the preheated oven.
- Bake the chicken fingers for 20 minutes, or until they are golden brown and cooked through. You may want to flip them halfway through the cooking time for even crispiness.
- After baking, remove the chicken fingers from the oven and let them cool for a few minutes. This will allow them to firm up slightly and enhance their crispiness.
- Serve the gluten-free crispy buttermilk coconut chicken fingers warm, with your favorite dipping sauce on the side. Enjoy your delicious and crispy meal!
Tips
- Marinating Magic: Don't rush the buttermilk marination process. The longer the chicken sits in buttermilk (up to 2 hours), the more tender and flavorful it becomes.
- Coating Technique: Press the breadcrumb mixture firmly onto the chicken to ensure a thick, even coating that will crisp up beautifully in the oven.
- Baking Hack: For extra crispiness, place the chicken fingers on a wire rack over your baking sheet. This allows hot air to circulate completely around the chicken.
- Temperature Check: Use a meat thermometer to ensure chicken reaches an internal temperature of 165°F (74°C) for safe consumption.
- Serving Suggestion: Pair these chicken fingers with a tangy dipping sauce like honey mustard or a zesty ranch to complement the coconut's subtle sweetness.
Nutrition Facts
Calories: 320kcal
Carbohydrates: 15g
Protein: 30g
Fat: 16g
Saturated Fat: 8g
Cholesterol: 95mg