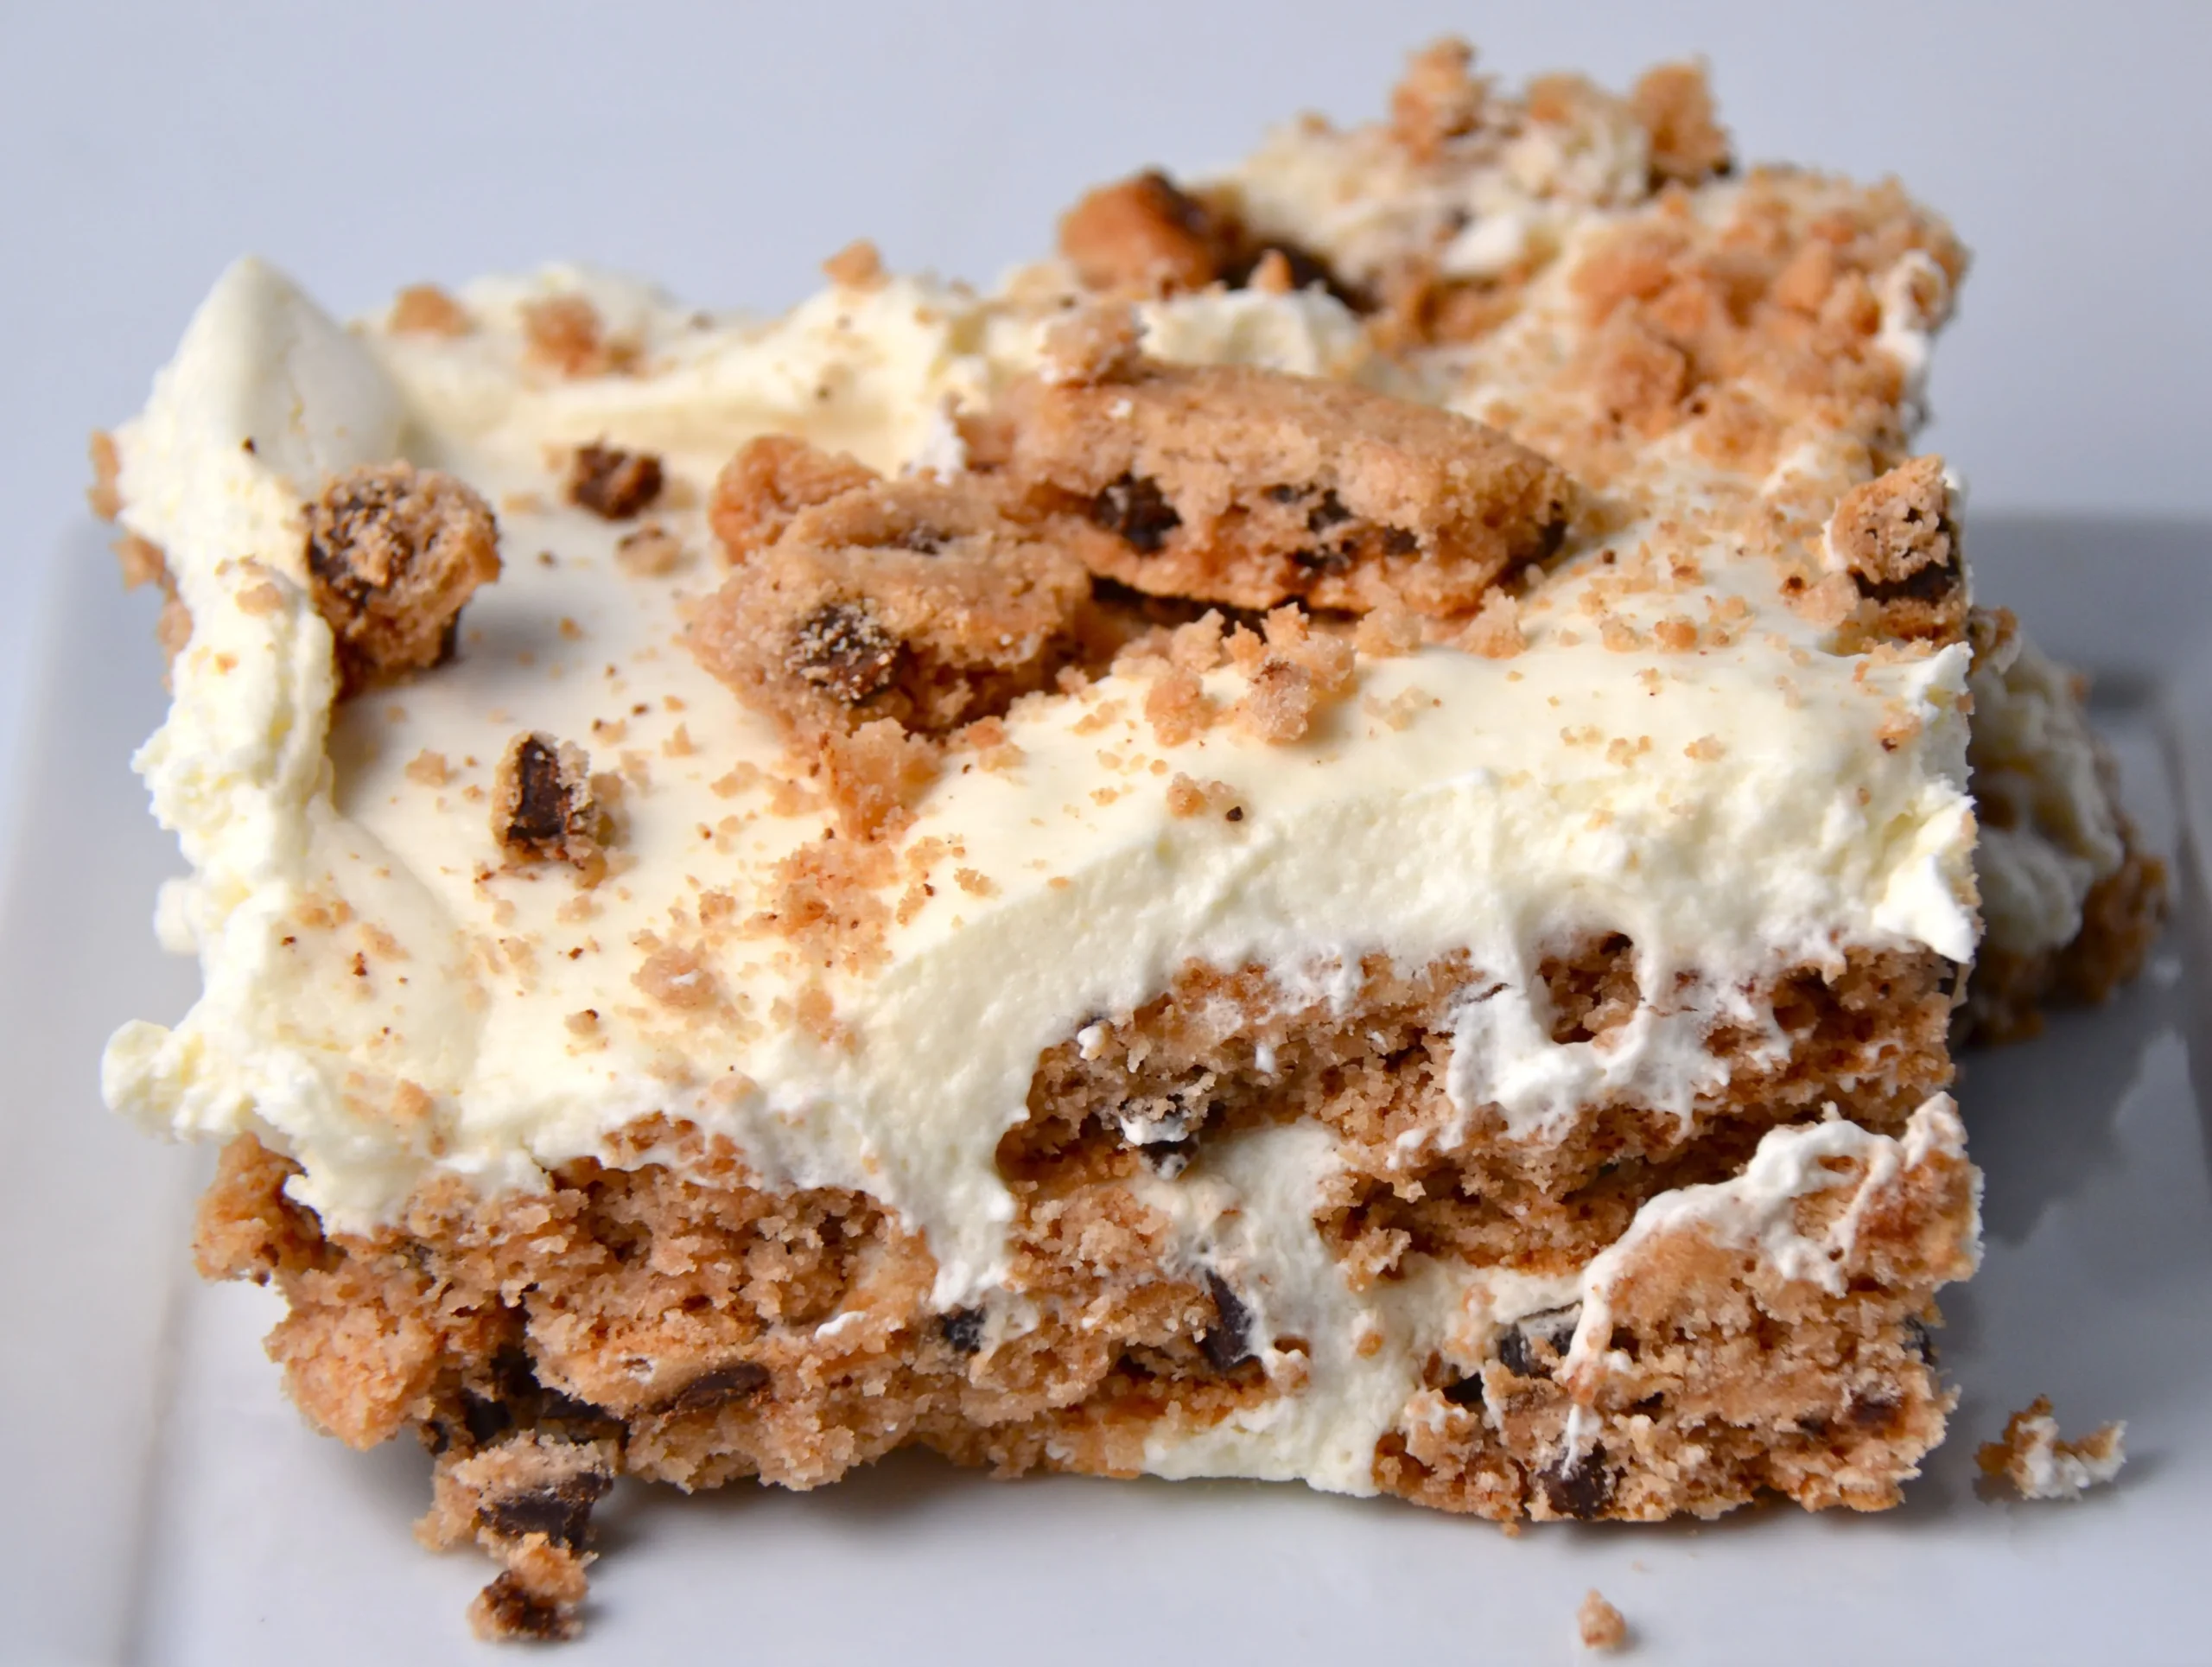
Get ready to indulge in a dessert that’s as vibrant as it is delicious! The Rainbow Chips Ahoy Icebox Cake is the perfect treat to impress your friends and family at any gathering. With layers of creamy whipped goodness, crunchy chocolate chip cookies, and a colorful sprinkle finish, this no-bake cake is not only a feast for the eyes but also a delightful explosion of flavors in every bite. Best of all, it comes together in just 15 minutes, making it a breeze to whip up for any occasion. Dive into this recipe and discover how to create a show-stopping dessert that will leave everyone asking for seconds!
Prep Time: 15 mins
Cook Time: -
Total Time: 15 mins
Cuisine: American
Serves: 8 servings
Ingredients
- 1 package Chips Ahoy cookies
- 2 cups whipped cream
- 1/2 cup rainbow sprinkles
- 1 cup chocolate syrup
Instructions
- Prepare a rectangular 9x13 inch baking dish by lightly spraying with non-stick cooking spray or lining with parchment paper for easy removal.
- In a large mixing bowl, whip the cream until stiff peaks form. If using store-bought whipped cream, ensure it's well-chilled and slightly stabilized.
- Create the first layer of cookies by arranging Chips Ahoy cookies in a single, tight layer across the bottom of the prepared dish, covering the entire surface.
- Spread a generous layer of whipped cream evenly over the first cookie layer, ensuring complete coverage and smooth consistency.
- Drizzle chocolate syrup in a zigzag pattern across the whipped cream layer for added flavor and visual appeal.
- Sprinkle a portion of rainbow sprinkles over the chocolate syrup to add color and texture.
- Repeat the layering process: add another layer of Chips Ahoy cookies, followed by whipped cream, chocolate syrup, and sprinkles.
- Continue layering until you've used all cookies or reached the desired height, typically 2-3 layers.
- Cover the dish with plastic wrap and refrigerate for at least 4-6 hours, preferably overnight, to allow cookies to soften and flavors to meld.
- Before serving, garnish the top with additional rainbow sprinkles and a light drizzle of chocolate syrup.
- Cut into squares and serve chilled, enjoying the creamy, cookie-filled dessert.
Tips
- Chill Your Ingredients: For the best results, make sure your whipped cream is well-chilled before whipping. This helps achieve those perfect stiff peaks that give your icebox cake its rich texture.
- Layering is Key: Don’t be shy with the layers! Aim for at least 2-3 layers of cookies, whipped cream, and chocolate syrup to create a more decadent cake. This not only enhances the flavor but also makes for a stunning presentation.
- Customize Your Sprinkles: Feel free to get creative with the sprinkles! You can use themed sprinkles for holidays or special occasions to make your cake even more festive.
- Make Ahead: This icebox cake is best made a day in advance. Allowing it to sit overnight in the fridge helps the cookies soften and the flavors to meld beautifully.
- Serving Suggestions: For an extra touch, serve with fresh berries or a scoop of vanilla ice cream on the side. It adds a refreshing contrast to the rich, creamy cake!
Nutrition Facts
Calories: 305kcal
Carbohydrates: 42g
Protein: g
Fat: g
Saturated Fat: g
Cholesterol: mg