Craving a show-stopping dessert that's both gluten-free and incredibly delicious? Look no further! These Chocolate Cookie Cups are about to become your new obsession. Imagine biting into a rich, chocolatey cookie cup with a crisp exterior and a soft, melt-in-your-mouth center - and the best part? They're completely gluten-free! Whether you're catering to dietary restrictions or simply love an indulgent treat, these cookie cups will have everyone begging for seconds.
Prep Time: 10 mins
Cook Time: 15 mins
Total Time: 25 mins
Cuisine: Gluten Free
Serves: 24 cookie cups
Ingredients
- 1 cup gluten free all-purpose flour
- 1/2 cup unsweetened cocoa powder
- 1/2 cup granulated sugar
- 1/2 cup brown sugar
- 1/2 cup unsalted butter, softened
- 1 large egg
- 1 teaspoon vanilla extract
- 1/2 teaspoon baking soda
- 1/4 teaspoon salt
- 1 cup chocolate chips
Instructions
- Preheat the oven to 350°F (175°C) and lightly grease a 24-cup mini muffin tin with non-stick cooking spray.
- In a medium mixing bowl, whisk together the gluten-free all-purpose flour, cocoa powder, baking soda, and salt until well combined and no lumps remain.
- In a separate large bowl, cream together the softened butter, granulated sugar, and brown sugar using an electric mixer until light and fluffy, approximately 2-3 minutes.
- Add the egg and vanilla extract to the butter-sugar mixture, beating until fully incorporated and smooth.
- Gradually add the dry ingredients to the wet mixture, mixing on low speed until a cohesive dough forms.
- Fold in the chocolate chips using a spatula, distributing them evenly throughout the dough.
- Using a small cookie scoop or spoon, place a rounded tablespoon of dough into each mini muffin cup, pressing gently to fill the bottom and slightly up the sides.
- Bake in the preheated oven for 12-15 minutes, or until the edges are set and the centers look slightly soft.
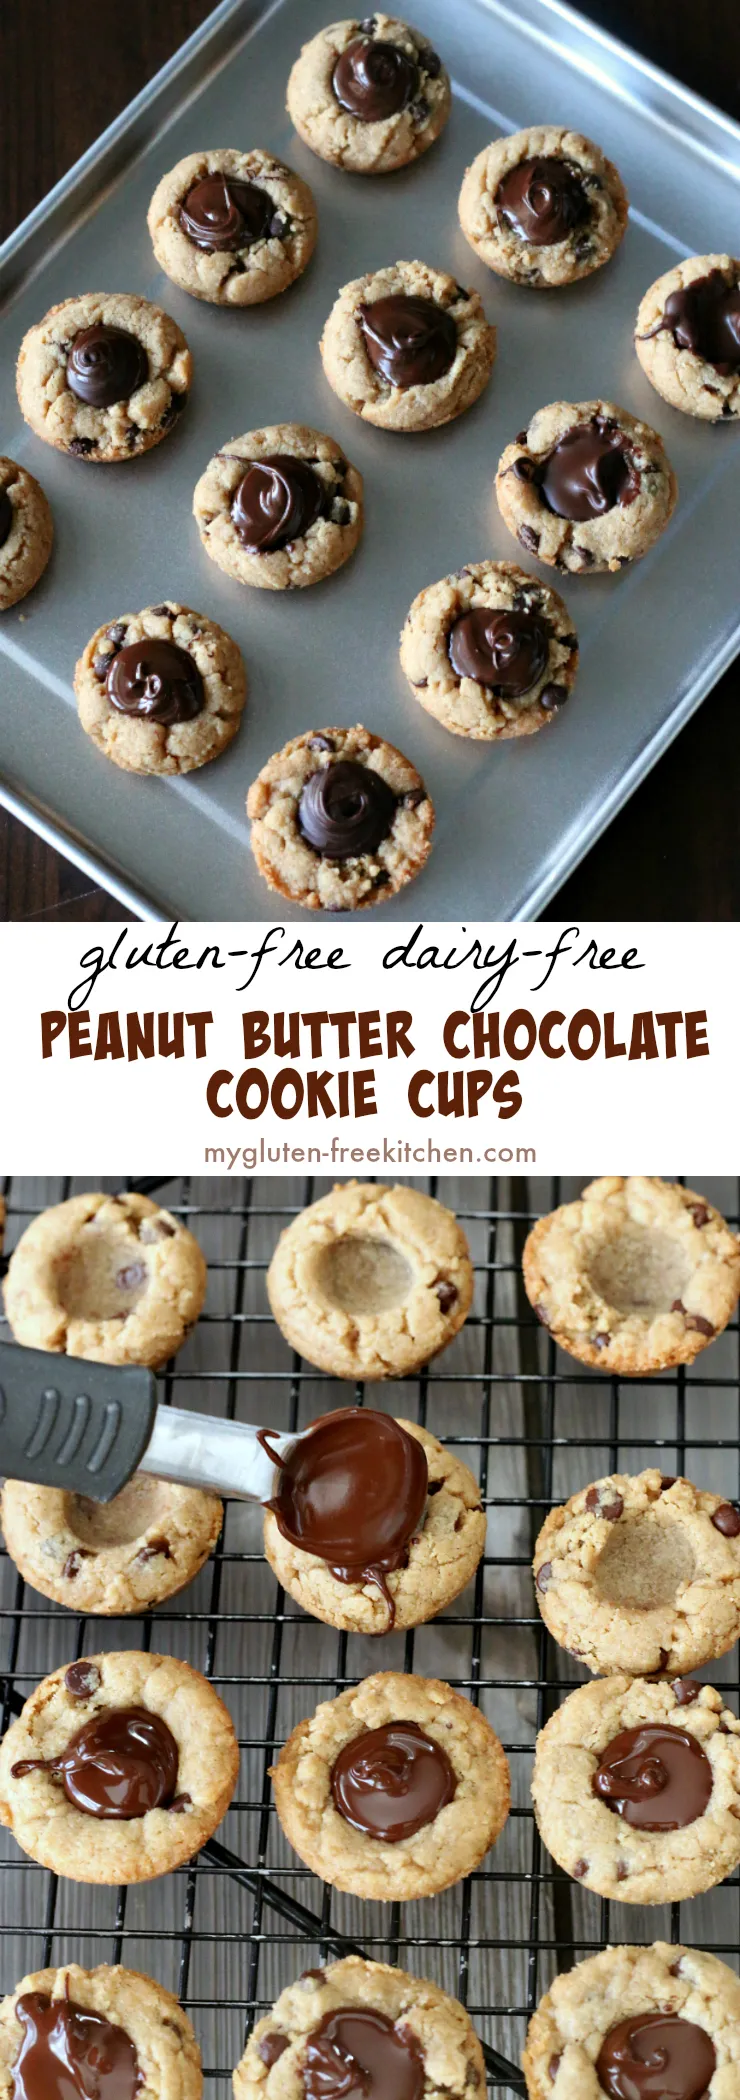
- Remove from the oven and immediately use the back of a spoon to press down the center of each cookie to create a cup shape while they're still warm.
- Allow the cookie cups to cool in the pan for 10 minutes, then carefully remove them using a small offset spatula and transfer to a wire rack to cool completely.
- Optional: Once cooled, fill the cookie cups with your favorite mousse, ganache, or whipped cream for an extra decadent dessert.
Tips
- Use room temperature ingredients: Ensure your butter and egg are at room temperature for the smoothest, most consistent dough.
- Don't overmix: Mix the dough just until ingredients are combined to keep the cookie cups tender.
- Use a mini muffin tin for uniform shape: This ensures all your cookie cups are consistent in size and bake evenly.
- Press the centers while warm: The key to creating perfect "cups" is to create the indentation immediately after baking while the cookies are still soft.
- Let them cool completely before filling: This prevents any filling from melting and maintains the structural integrity of your cookie cups.
- Get creative with fillings: Try chocolate mousse, whipped cream, fruit compote, or even a scoop of ice cream for endless variation!
Nutrition Facts
Calories: kcal
Carbohydrates: g
Protein: g
Fat: g
Saturated Fat: g
Cholesterol: mg