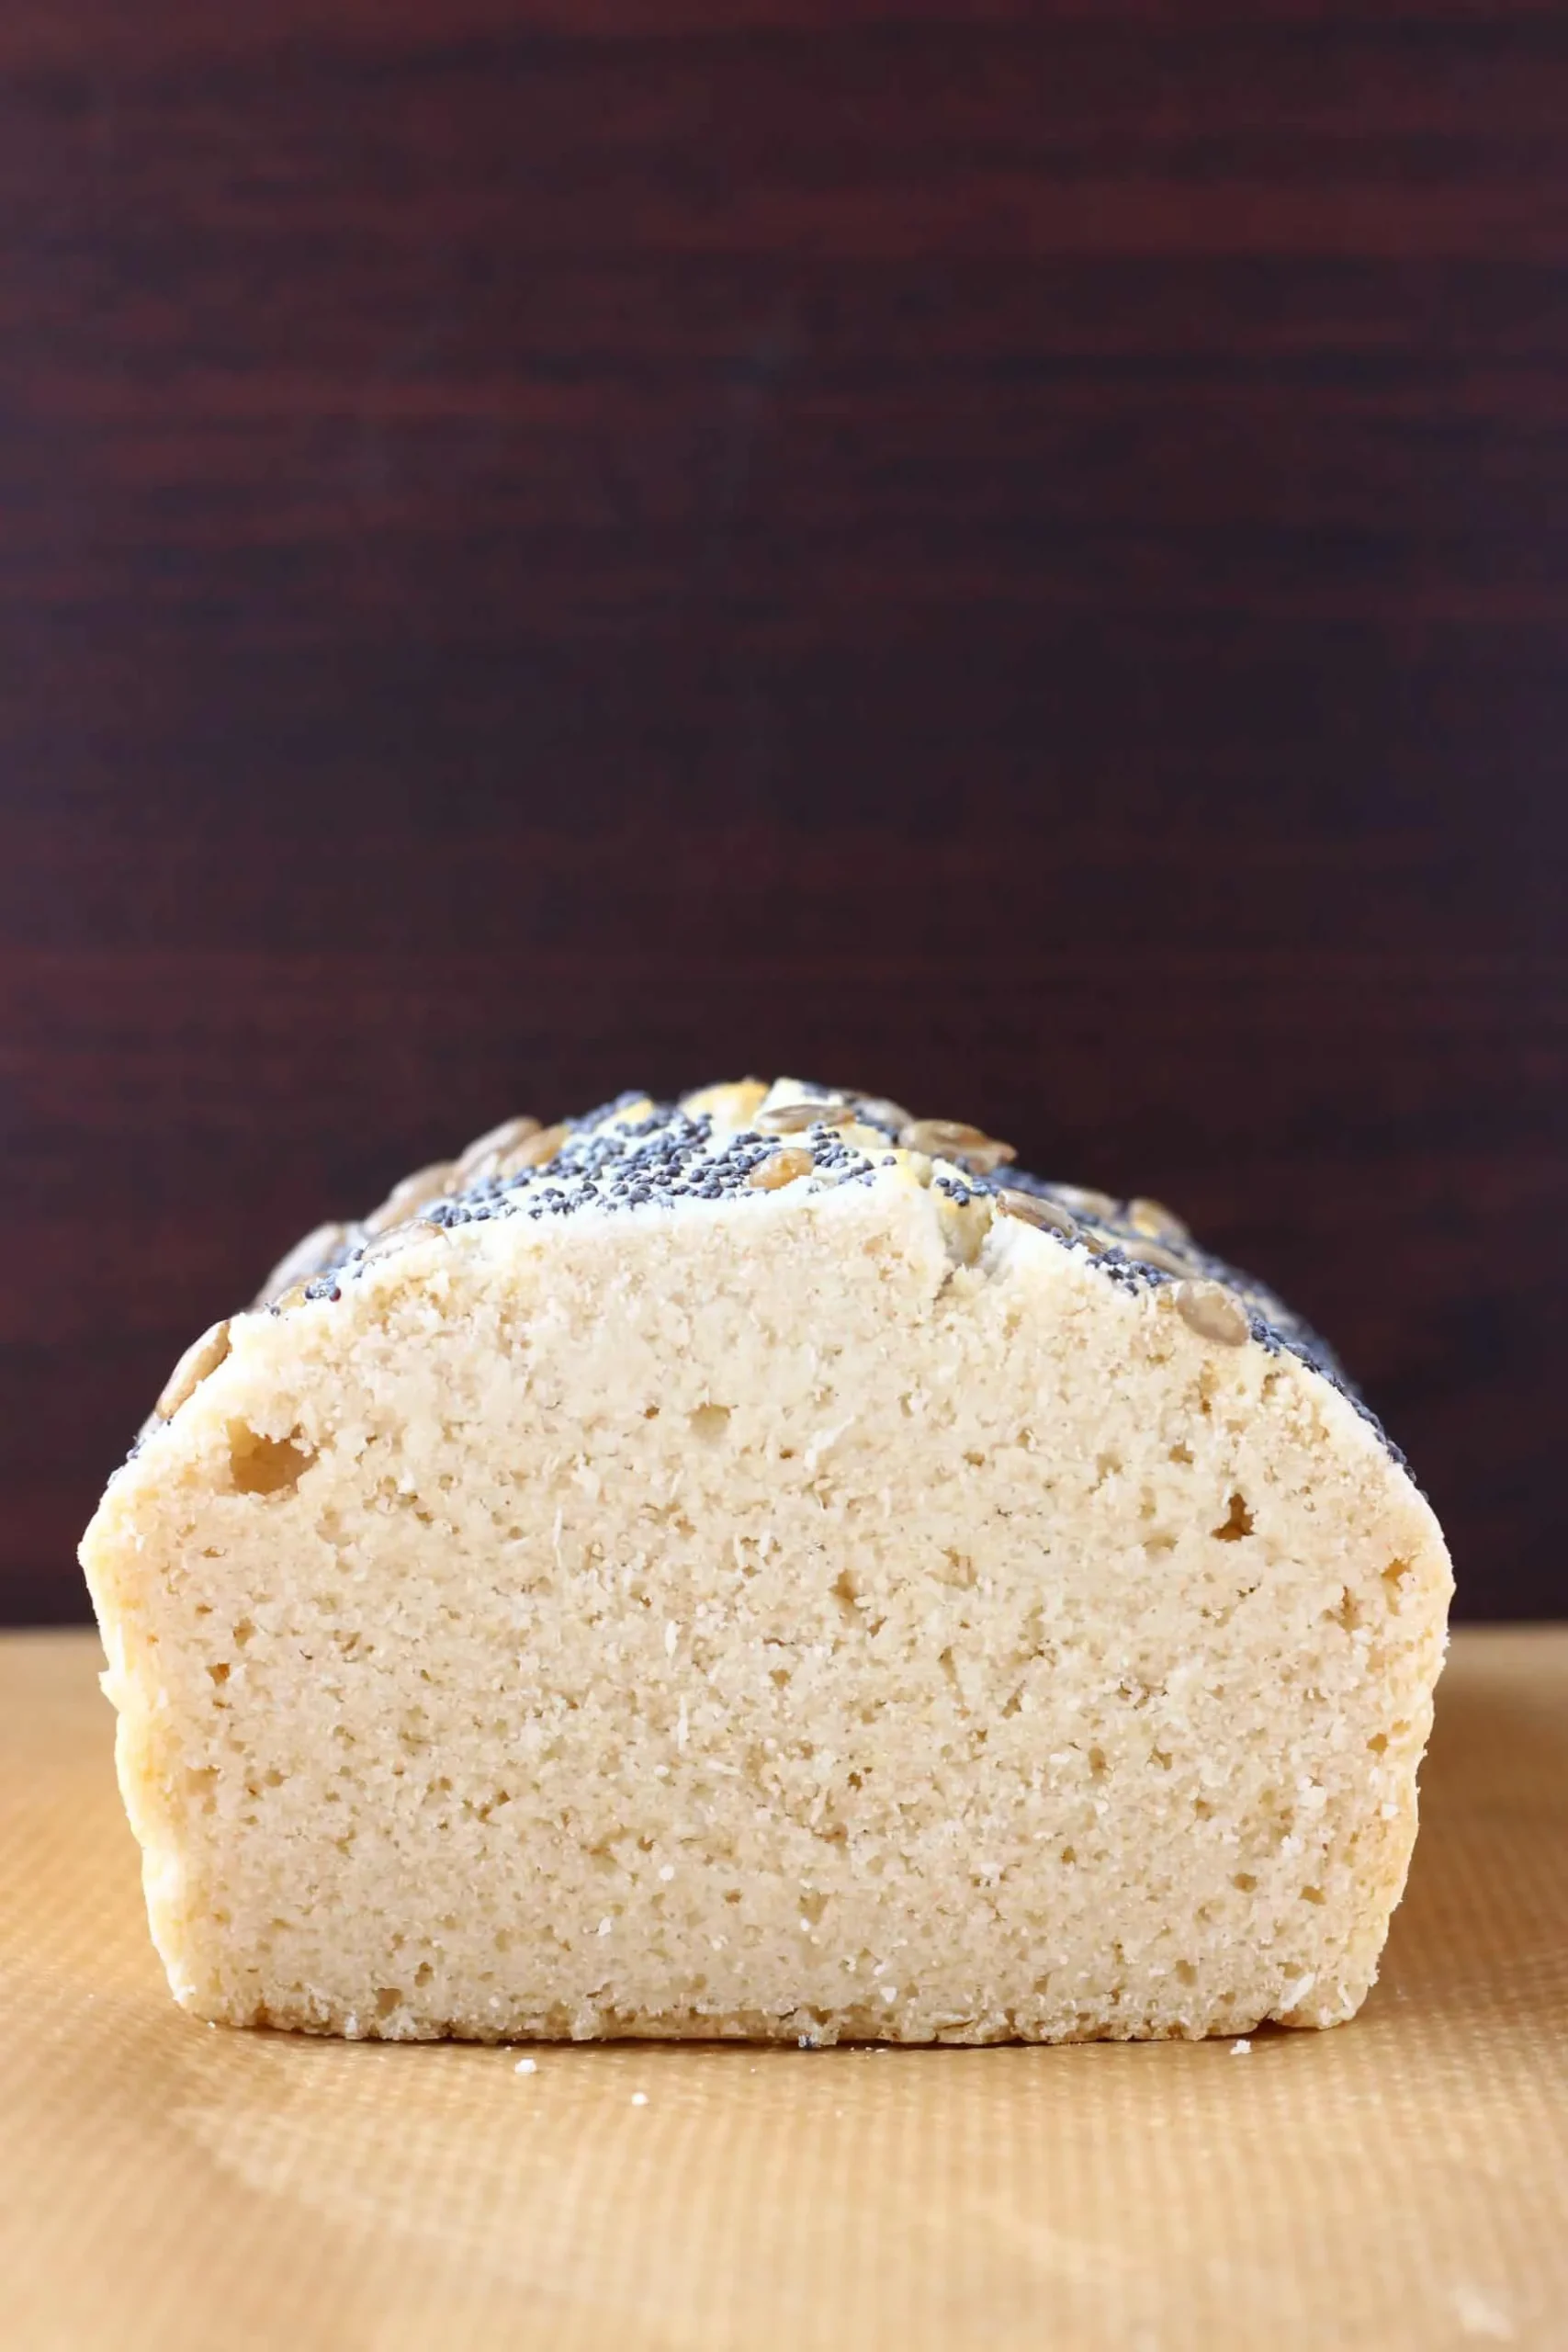
Are you tired of bland, crumbly gluten-free bread that disappoints with every bite? Get ready to revolutionize your gluten-free baking experience with Gene's Basic Rice Bread - a foolproof recipe that delivers a deliciously soft, golden-brown loaf that will make you forget you're eating gluten-free! This incredible recipe proves that dietary restrictions don't mean sacrificing flavor or texture, offering a simple yet amazing solution for bread lovers who thought they'd never enjoy a perfect slice again.
Prep Time: 10 mins
Cook Time: 60 mins
Total Time: 70 mins
Cuisine: Gluten Free
Serves: 1 loaf
Ingredients
- 2 cups rice flour
- 1/2 cup tapioca flour
- 1/4 cup sugar
- 1 teaspoon salt
- 1 packet active dry yeast
- 2 cups warm water
- 2 tablespoons olive oil
- 1 teaspoon apple cider vinegar
Instructions
- Preheat your oven to 375°F (190°C). This ensures that the oven is hot enough for baking the bread.
- In a large mixing bowl, combine the 2 cups of rice flour, 1/2 cup of tapioca flour, 1/4 cup of sugar, and 1 teaspoon of salt. Mix these dry ingredients thoroughly using a whisk to ensure there are no lumps.
- In a separate bowl, activate the yeast. Combine 1 packet of active dry yeast with 2 cups of warm water (about 110°F or 43°C). Let it sit for about 5-10 minutes until it becomes frothy. This indicates that the yeast is active.
- Once the yeast is frothy, add 2 tablespoons of olive oil and 1 teaspoon of apple cider vinegar to the yeast mixture. Stir well to combine.
- Pour the wet ingredients into the bowl with the dry ingredients. Stir the mixture with a wooden spoon or spatula until it forms a smooth batter. The batter will be thicker than a typical bread dough due to the gluten-free flours.
- Grease a 9x5-inch loaf pan with a little olive oil or line it with parchment paper to prevent sticking.
- Transfer the batter into the prepared loaf pan, smoothing the top with a spatula. Ensure that the batter is evenly distributed in the pan.
- Cover the loaf pan with a clean kitchen towel and let it rise in a warm, draft-free area for about 30 minutes. The batter should puff up slightly during this time.
- After the dough has risen, place the loaf pan in the preheated oven. Bake for 50-60 minutes, or until the top is golden brown and a toothpick inserted into the center comes out clean.
- Once baked, remove the bread from the oven and let it cool in the pan for about 10 minutes. Then, transfer the bread to a wire rack to cool completely before slicing.
- Enjoy your homemade gluten-free rice bread fresh, or store it in an airtight container at room temperature for up to 3 days, or freeze for longer storage.
Tips
- Temperature is crucial: Ensure your water is precisely warm (around 110°F) when activating the yeast. Too hot, and you'll kill the yeast; too cold, and it won't activate properly.
- Don't skip the rising time: Gluten-free breads need patience. Let the batter rise in a warm, draft-free area to develop better texture and flavor.
- Check your yeast: Always verify that your yeast is fresh and active by ensuring it becomes frothy within 5-10 minutes.
- Use a kitchen scale for precise measurements, especially with gluten-free flours which can be more temperamental.
- Allow the bread to cool completely before slicing to help it set and maintain its structure.
- Store in an airtight container and consume within 3 days, or freeze for longer preservation. Pro Tip: For best results, bring all ingredients to room temperature before mixing to ensure even incorporation and optimal rising.
Nutrition Facts
Calories: 120kcal
Carbohydrates: 24g
Protein: 1g
Fat: 2g
Saturated Fat: g
Cholesterol: 0mg