Unlock the secret to elevating your culinary creations with a homemade whiskey vanilla extract that’s as easy to make as it is delicious! Imagine the rich, aromatic essence of vanilla mingling with the warm notes of whiskey, transforming your baked goods and beverages into gourmet delights. In just 5 minutes of prep time, you can start a flavor journey that will reward you after a few weeks of patience. Whether you’re a baking enthusiast or simply looking to impress your friends at your next gathering, this recipe is a must-try. Dive into the world of DIY flavoring and discover how simple ingredients can lead to extraordinary results!
Prep Time: 5 mins
Cook Time: -
Total Time: 5 mins
Cuisine: Condimenti
Serves: 1 cup
Ingredients
- 1 cup whiskey
- 5 vanilla beans
Instructions
- Gather all the necessary ingredients: 1 cup of whiskey and 5 vanilla beans. Make sure you have a clean glass jar with a tight-sealing lid for storage.
- Using a sharp knife, carefully split each vanilla bean lengthwise to expose the tiny seeds inside. This will help release the flavor into the whiskey more effectively.
- Place the split vanilla beans into the glass jar. Ensure they are evenly distributed within the jar for optimal flavor infusion.
- Pour the whiskey over the vanilla beans, making sure they are fully submerged. This will allow the flavors to meld together as the extract steeps.
- Seal the jar tightly with the lid to prevent any evaporation or contamination. Shake the jar gently to mix the contents.
- Store the jar in a cool, dark place, such as a pantry or cupboard. Allow the mixture to steep for at least 8 weeks, shaking the jar gently once a week to help release the flavors.
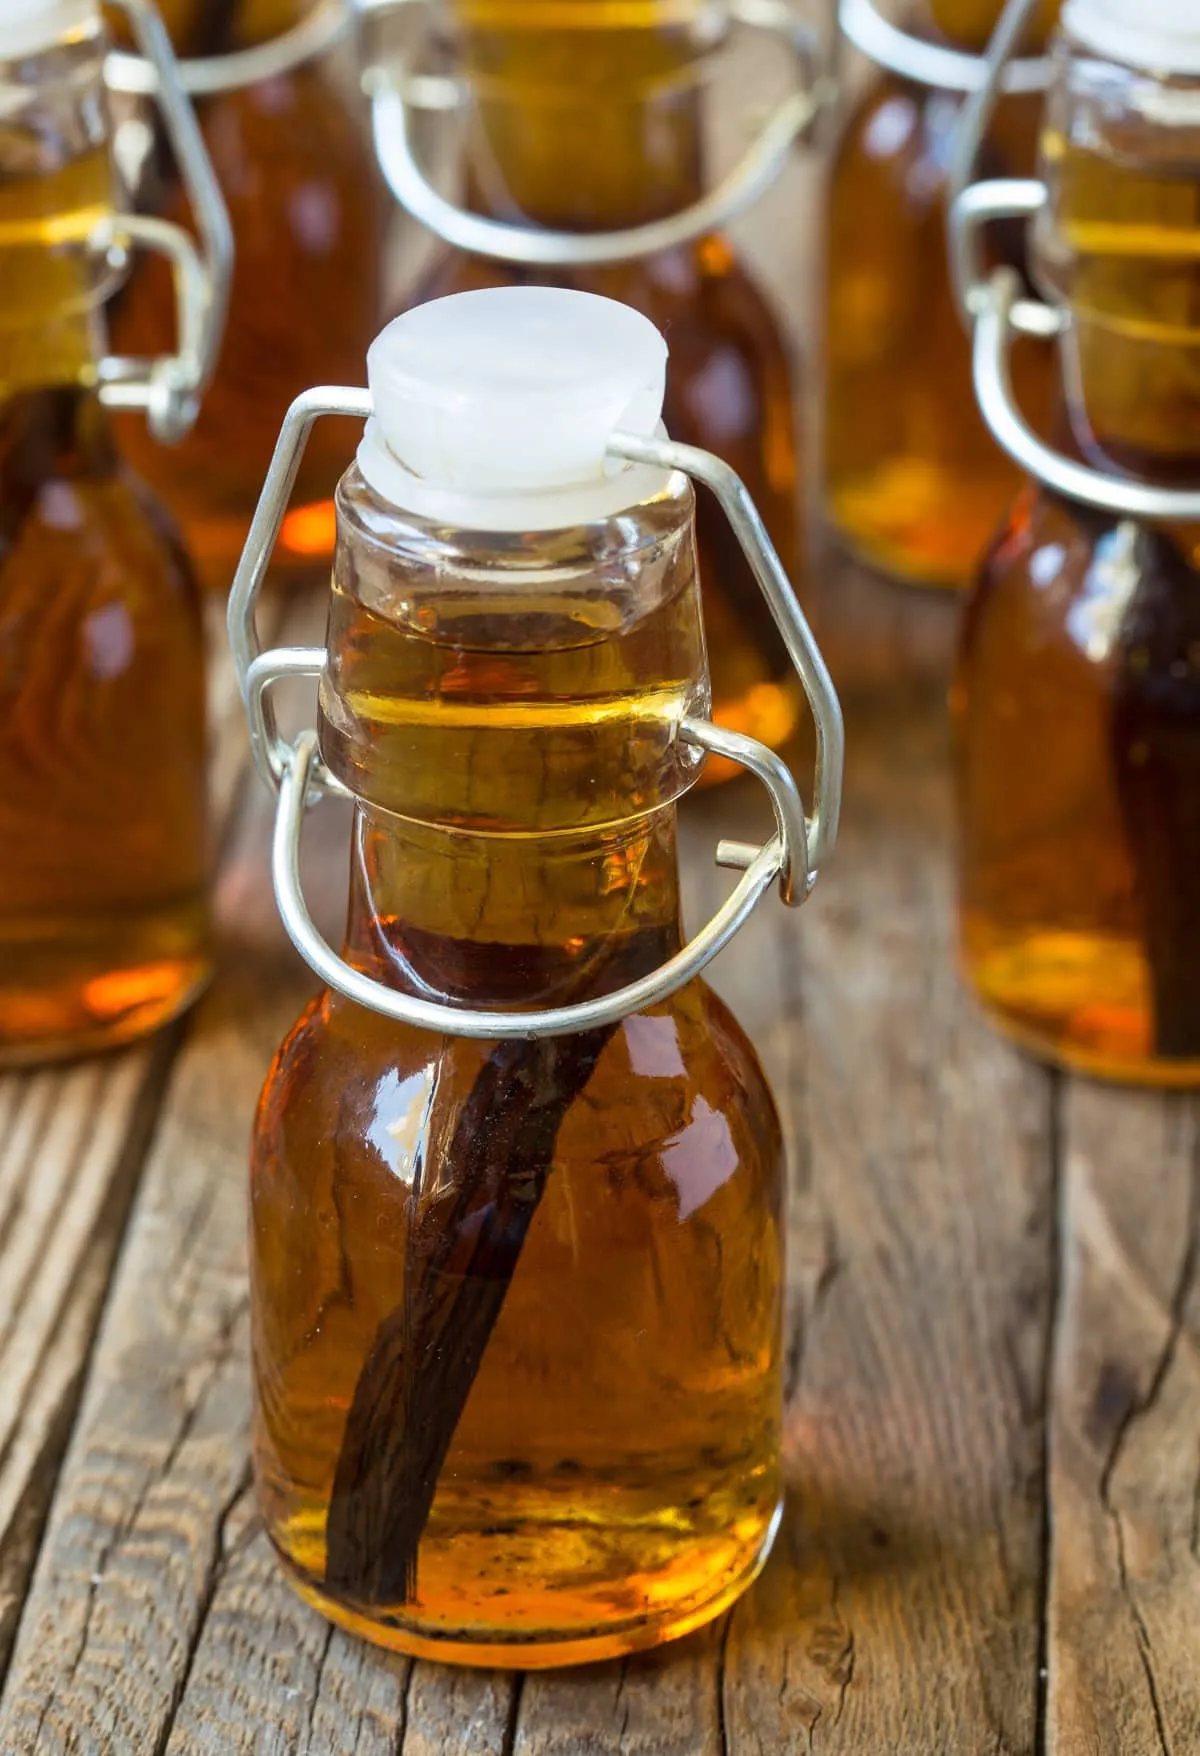
- After the steeping period, your homemade whiskey vanilla extract will be ready to use. You can strain the mixture through a fine mesh strainer or cheesecloth if you prefer a clearer extract, or leave the beans in for a more robust flavor.
- Transfer the finished extract into smaller bottles for easy use, and label them with the date of preparation. Enjoy your homemade whiskey vanilla extract in baking, cooking, or as a flavoring in beverages!
Tips
- Choose Quality Ingredients: Opt for a good-quality whiskey and fresh vanilla beans to ensure the best flavor profile. The better the ingredients, the more delicious your extract will be!
- Split the Beans Thoroughly: When splitting the vanilla beans, make sure to cut them deep enough to expose the seeds. This maximizes the infusion process and enhances the flavor.
- Storage Matters: Use a dark glass jar if possible, as it helps protect the extract from light, which can degrade the flavor over time.
- Shake Regularly: Remember to shake the jar gently once a week during the steeping process. This helps to mix the flavors and speeds up the infusion.
- Be Patient: While it might be tempting to use your extract right away, allowing it to steep for at least 8 weeks will yield a much richer flavor.
- Strain or Not: Decide whether to strain the extract based on your preference for clarity. Leaving the beans in can add more depth to the flavor over time.
- Perfect for Gifting: Once your extract is ready, consider bottling it in smaller jars to give as gifts. Just add a cute label with the date and a note on how to use it!
- Versatile Uses: Don’t limit your homemade whiskey vanilla extract to just baking! Use it in cocktails, coffee, or even homemade ice cream for an extra flavor kick.
Nutrition Facts
Calories: 70kcal
Carbohydrates: 0g
Protein: 0g
Fat: 0g
Saturated Fat: 0g
Cholesterol: 0mg