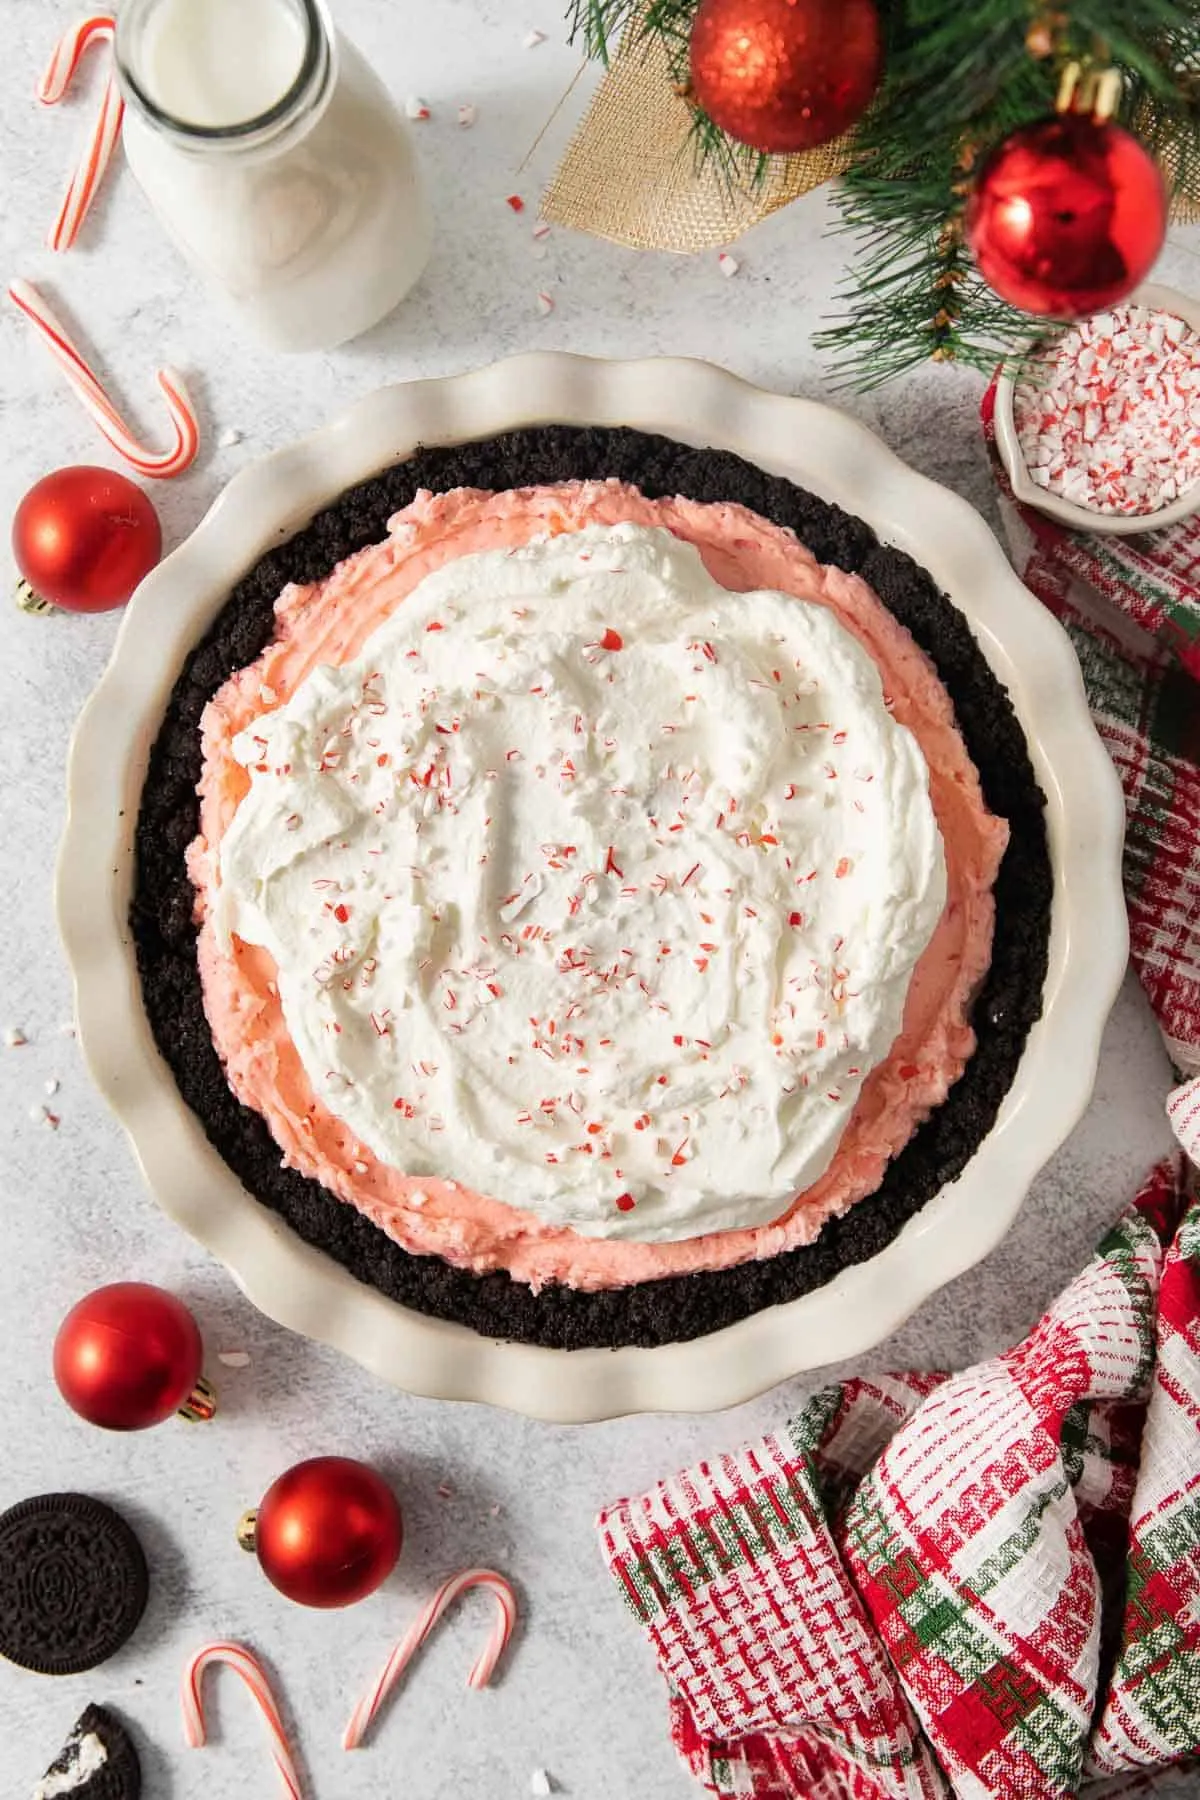
Imagine a dessert so decadent, so irresistibly creamy, and so perfectly balanced that it makes your taste buds dance with joy - without a trace of gluten! This Gluten-Free Peppermint Oreo Pie is not just a dessert; it's a culinary masterpiece that transforms simple ingredients into a show-stopping treat that will have everyone begging for seconds. Whether you're gluten-sensitive, health-conscious, or simply a dessert lover looking for an extraordinary experience, this recipe is about to become your new obsession.
Prep Time: 15 mins
Cook Time: -
Total Time: 15 mins
Cuisine: American
Serves: 8 servings
Ingredients
- 1 package gluten-free Oreo cookies
- 1/4 cup unsalted butter, melted
- 1 cup heavy cream
- 1 cup cream cheese, softened
- 1/2 cup powdered sugar
- 1 teaspoon peppermint extract
- Chocolate shavings for garnish
Instructions
- Prepare a 9-inch pie dish or springform pan and set aside.
- Place gluten-free Oreo cookies in a food processor and pulse until they become fine, uniform crumbs. If you don't have a food processor, place cookies in a sealed plastic bag and crush with a rolling pin.
- Pour melted butter over cookie crumbs and mix thoroughly until the mixture resembles wet sand and can hold its shape when pressed.
- Press the cookie crumb mixture firmly and evenly into the bottom and up the sides of the prepared pie dish, creating a compact crust. Use the back of a spoon or measuring cup to ensure an even surface.
- Refrigerate the crust for 15 minutes to allow it to set while preparing the filling.
- In a large mixing bowl, beat heavy cream until stiff peaks form. Set aside.
- In another bowl, beat cream cheese until smooth and creamy. Gradually add powdered sugar and peppermint extract, mixing until well combined.
- Gently fold the whipped cream into the cream cheese mixture, being careful not to deflate the cream. Mix until smooth and uniform.
- Pour the peppermint filling into the chilled Oreo crust, spreading evenly with a spatula.
- Refrigerate the pie for at least 4 hours or overnight to allow the filling to set completely.
- Before serving, garnish the top with chocolate shavings for added decoration and flavor.
- Slice and serve chilled. Store any remaining pie in the refrigerator for up to 5 days.
Tips
- Cookie Crumb Secret: For the most uniform crust, pulse cookies in a food processor. If you don't have one, use a rolling pin and ensure crumbs are as fine and consistent as possible.
- Crust Compaction: When pressing the crust, use the back of a spoon or measuring cup to create a firm, even layer. This ensures a stable base for your creamy filling.
- Whipping Cream Technique: Beat heavy cream until stiff peaks form, but be careful not to over-beat, which can make the cream grainy.
- Folding Finesse: When combining whipped cream and cream cheese mixture, fold gently to maintain the light, airy texture.
- Chilling is Key: Allow the pie to set for at least 4 hours, or preferably overnight, to achieve the perfect consistency.
- Garnish Gracefully: Add chocolate shavings just before serving for maximum visual appeal and flavor impact.
- Storage Tip: This pie keeps well in the refrigerator for up to 5 days, making it a great make-ahead dessert for gatherings or special occasions.
Nutrition Facts
Calories: 450kcal
Carbohydrates: 35g
Protein: 5g
Fat: 32g
Saturated Fat: 20g
Cholesterol: 95mg

