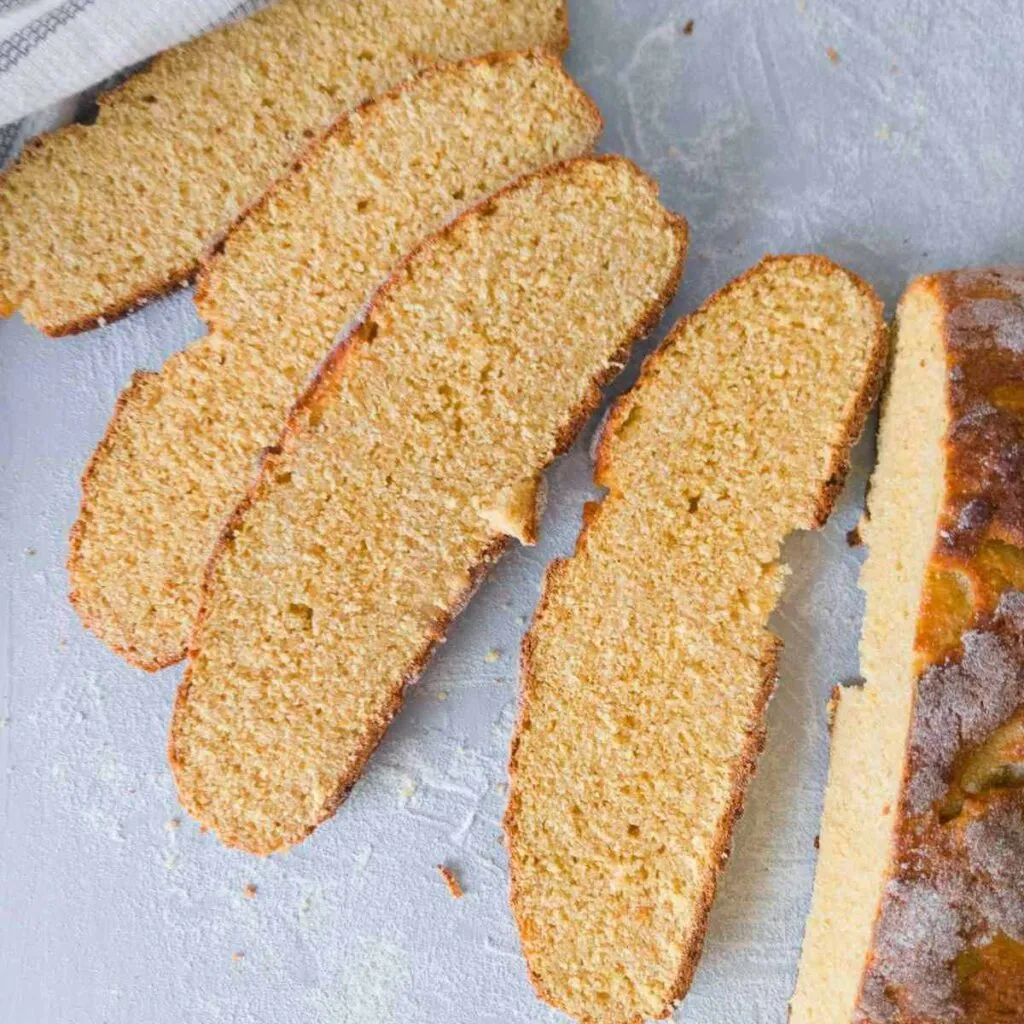
Imagine a bread so nutritious, so deliciously unique, that it breaks all the traditional bread-making rules. Our Millet and Chick Pea Bread is not just another recipe—it's a culinary revolution that combines ancient grains with modern nutrition. Perfect for those seeking gluten-free alternatives or simply wanting to explore exciting new flavors, this bread promises to tantalize your taste buds while providing a powerhouse of nutrients in every single slice.
Prep Time: 20 mins
Cook Time: 30 mins
Total Time: 50 mins
Cuisine: Vegetarian
Serves: 1 loaf
Ingredients
- 1 cup millet flour
- 1 cup chickpea flour
- 1 teaspoon baking powder
- 1/2 teaspoon salt
- 1 cup warm water
- 2 tablespoons olive oil
Instructions
- Preheat the oven to 375°F (190°C) and line a standard loaf pan with parchment paper, ensuring the paper overhangs the sides for easy removal.
- In a large mixing bowl, sift together the millet flour, chickpea flour, baking powder, and salt to ensure even distribution and remove any lumps.
- Create a well in the center of the dry ingredients and slowly pour in the warm water and olive oil, stirring continuously with a wooden spoon or silicone spatula.
- Mix the ingredients thoroughly until a smooth, slightly sticky dough forms. The consistency should be similar to a thick batter, not too dry or too wet.
- Transfer the dough into the prepared loaf pan, using a spatula to spread it evenly and smooth the top.
- Use a sharp knife to make a shallow diagonal cut across the top of the loaf, which will help the bread rise evenly and create an attractive surface.
- Place the loaf pan in the preheated oven and bake for 25-30 minutes, or until the top is golden brown and a toothpick inserted into the center comes out clean.
- Remove the bread from the oven and let it cool in the pan for 10 minutes, then use the parchment paper to lift the loaf out and transfer to a wire rack to cool completely.
- Once cooled, slice the bread and serve. This bread is excellent when toasted and pairs well with hummus, olive oil, or as a side to soups and salads.
Tips
- Sifting is crucial: Take extra time to sift your flours to prevent lumps and ensure a smooth, consistent texture.
- Water temperature matters: Use warm (not hot) water to activate ingredients without killing the leavening properties.
- Don't overmix: Stir just until ingredients are combined to keep the bread tender.
- Check doneness carefully: Use the toothpick test, but remember that gluten-free breads can be slightly more delicate.
- Cool completely before slicing to maintain the bread's structural integrity.
- Store in an airtight container and consume within 2-3 days for maximum freshness.
- For extra flavor, consider adding herbs like rosemary or thyme to the dry ingredients.
Nutrition Facts
Calories: 110kcal
Carbohydrates: 18g
Protein: 4g
Fat: g
Saturated Fat: g
Cholesterol: 0mg