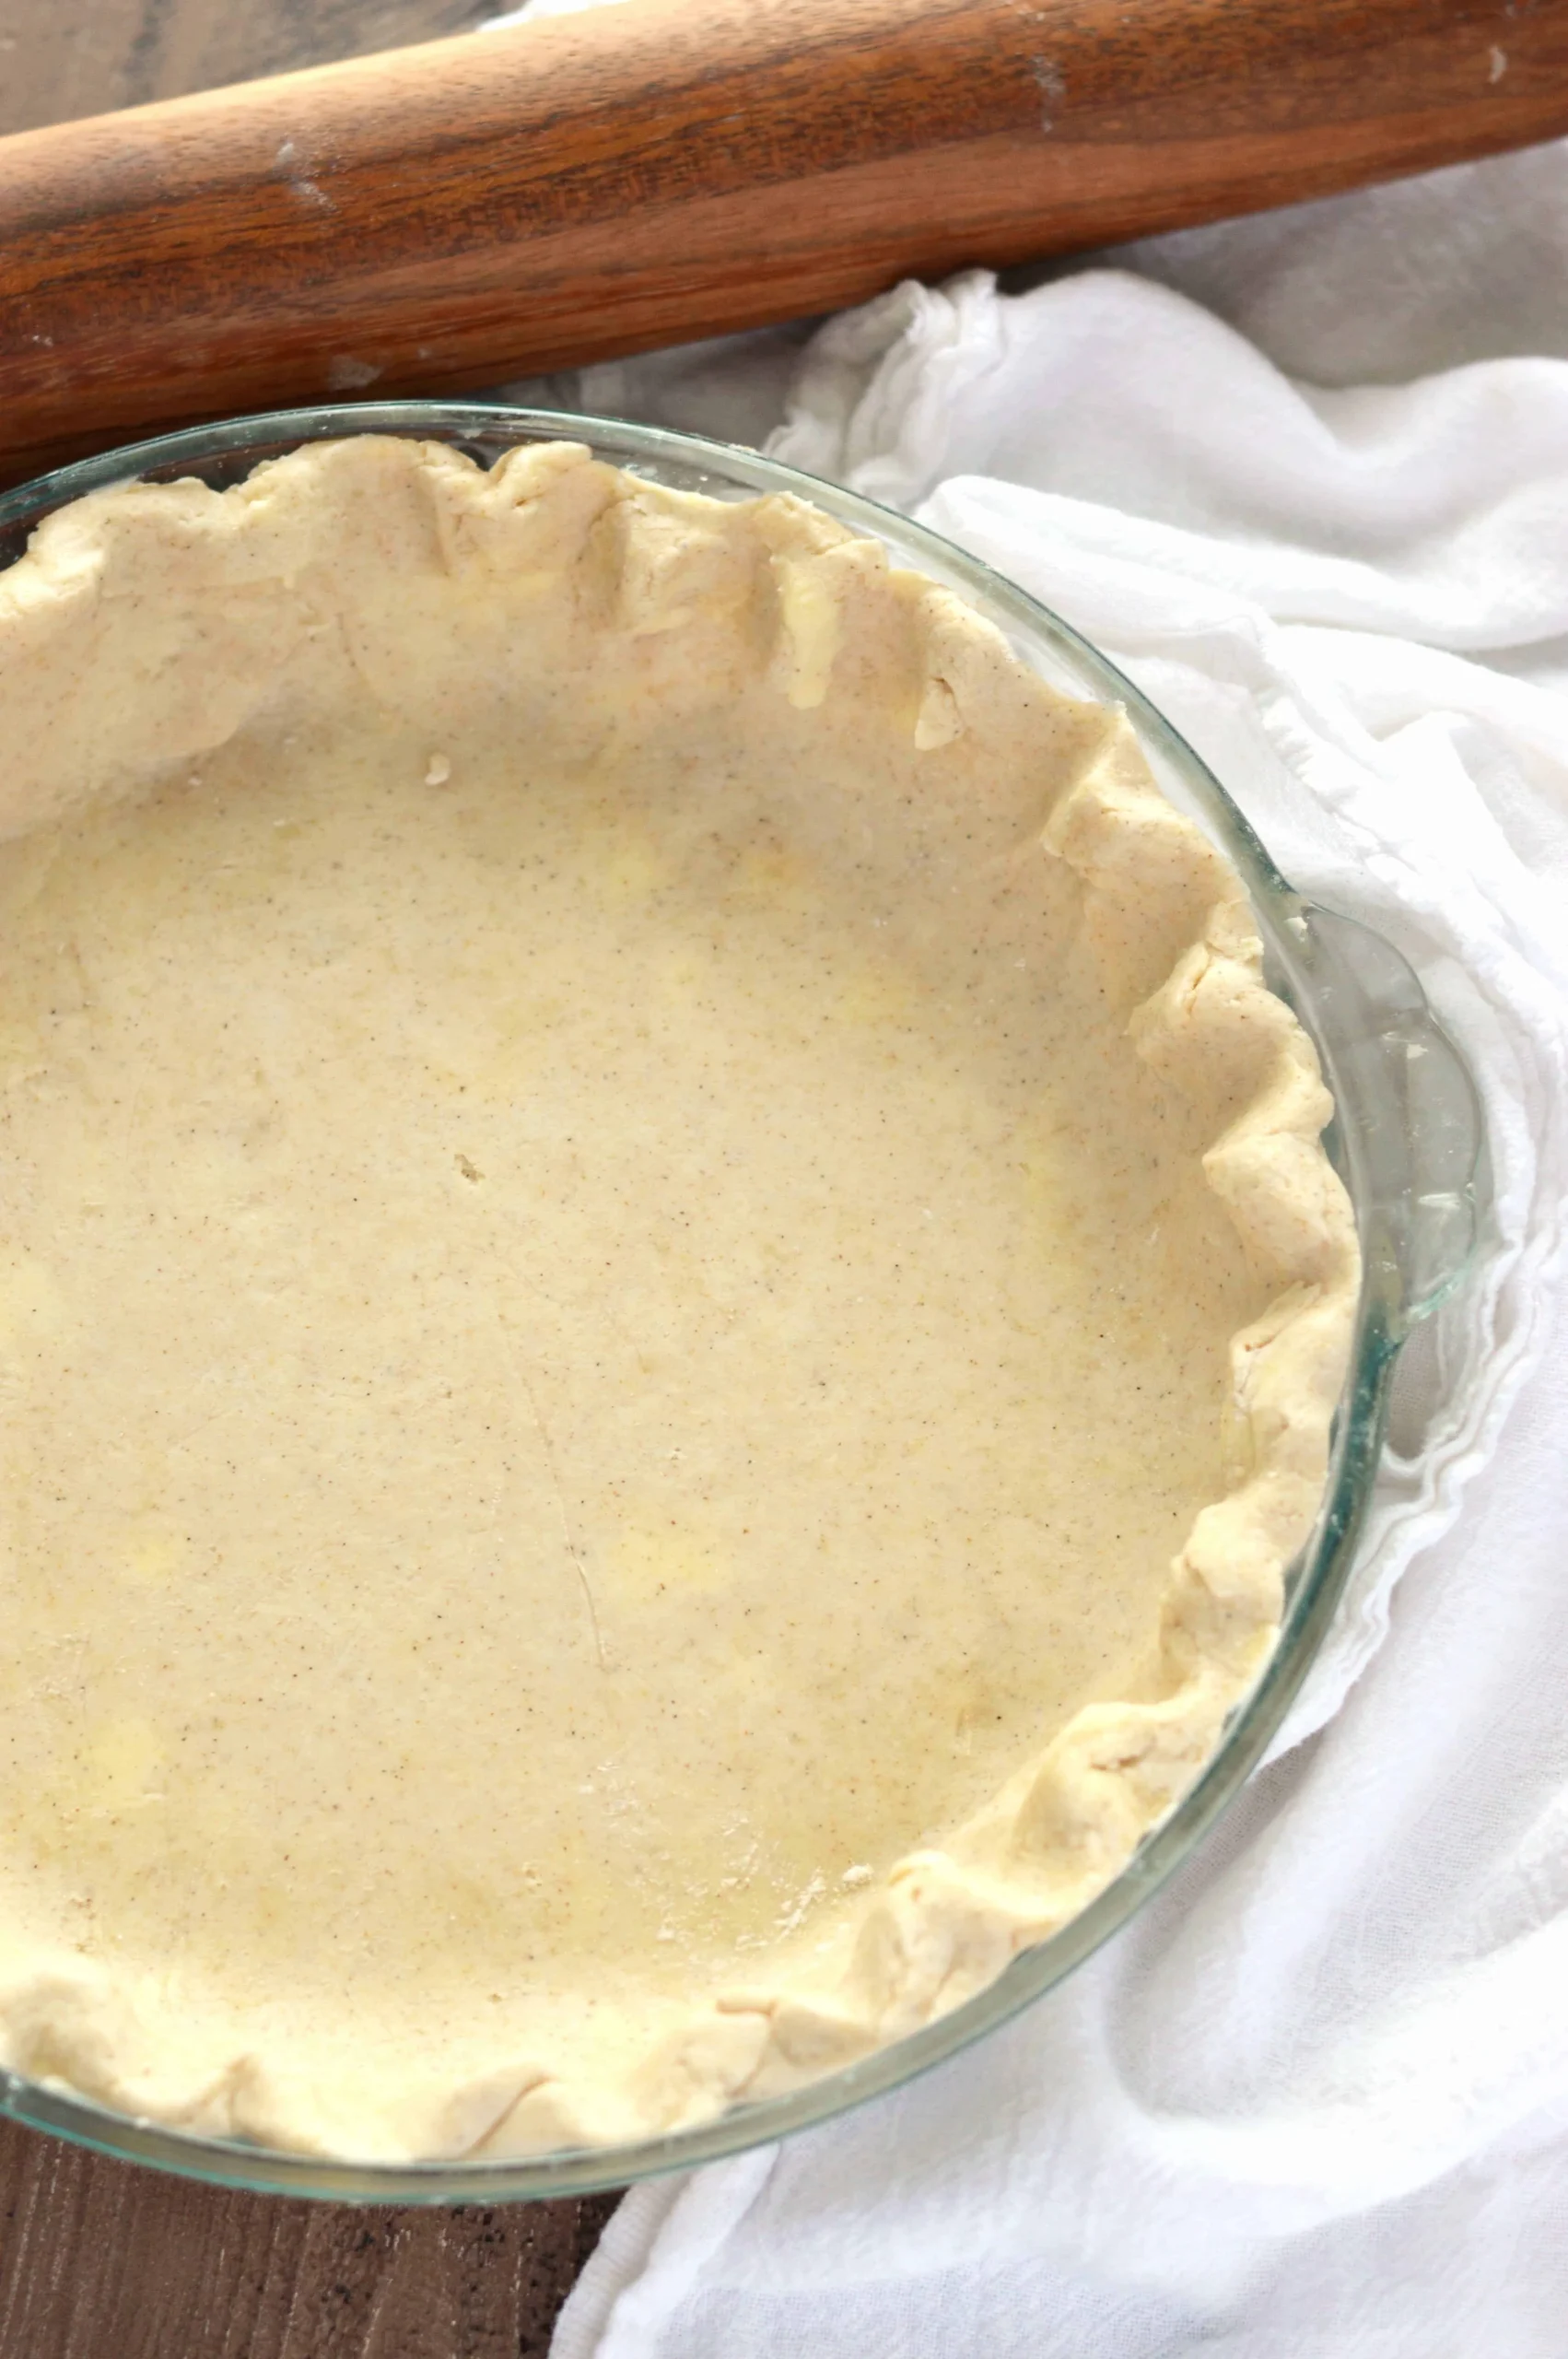
Are you tired of gluten-free pie crusts that crumble, crack, or taste like cardboard? Get ready to transform your baking game with this incredible wheat-free pie crust recipe that's so delicious, you won't believe it's gluten-free! Whether you're dealing with celiac disease, gluten sensitivity, or simply looking to explore alternative baking options, this recipe will be your new secret weapon in the kitchen. Prepare to impress your family and friends with a pie crust that's tender, flaky, and absolutely mouthwatering!
Prep Time: 15 mins
Cook Time: 20 mins
Total Time: 35 mins
Cuisine: American
Serves: 1 pie crust
Ingredients
- 2 cups gluten-free all-purpose flour
- 1/2 cup cold unsalted butter, cut into small pieces
- 1/4 cup ice-cold water
- 1/4 teaspoon salt
Instructions
- Begin by gathering all your ingredients: 2 cups of gluten-free all-purpose flour, 1/2 cup of cold unsalted butter cut into small pieces, 1/4 cup of ice-cold water, and 1/4 teaspoon of salt.
- In a large mixing bowl, combine the gluten-free all-purpose flour and salt. Stir them together until well mixed.
- Add the cold unsalted butter pieces to the flour mixture. Using a pastry cutter, fork, or your fingers, work the butter into the flour until the mixture resembles coarse crumbs. Be careful not to overwork the dough; you want to see small pieces of butter throughout.
- Gradually add the ice-cold water to the mixture, one tablespoon at a time, while gently stirring with a fork. Continue to add water until the dough begins to come together. You may not need the entire 1/4 cup, so add it slowly.
- Once the dough has formed, use your hands to gently knead it in the bowl just until it holds together. Avoid over-kneading, as this can make the crust tough.
- Shape the dough into a disc and wrap it in plastic wrap. Refrigerate for at least 15 minutes. This will help to firm up the butter and make the dough easier to roll out.
- After chilling, remove the dough from the refrigerator and place it on a lightly floured surface (using more gluten-free flour). Roll the dough out into a circle about 1/8 inch thick, making sure it is large enough to fit your pie pan.
- Carefully transfer the rolled-out dough to your pie pan. You can do this by rolling it onto the rolling pin and then unrolling it over the pan. Gently press the dough into the edges of the pan, being careful not to stretch it.
- Trim any excess dough hanging over the edges of the pie pan, leaving about 1 inch. Fold this excess dough under itself to create a thicker edge, and crimp or pinch the edges to form a decorative border.
- If your pie recipe calls for a pre-baked crust, preheat your oven to 375°F (190°C). Prick the bottom of the crust with a fork to prevent bubbling.
- Place a piece of parchment paper over the crust and fill it with pie weights or dried beans. Bake in the preheated oven for 15-20 minutes, or until the edges are lightly golden.
- Remove the pie weights and parchment paper, and bake for an additional 5 minutes to ensure the bottom of the crust is cooked through. Allow the crust to cool before adding your desired filling.
Tips
- Keep Everything Cold: The key to a flaky pie crust is cold ingredients. Freeze your butter for 15 minutes before cutting it into pieces, and use ice water to ensure maximum flakiness.
- Don't Overwork the Dough: Treat your pie crust gently. Overworking can develop gluten in the flour and make the crust tough. Mix just until the ingredients come together.
- Use Parchment Paper When Rolling: To prevent sticking, roll out your dough between two sheets of parchment paper or plastic wrap. This makes transferring the dough much easier.
- Chill Before Baking: Always refrigerate your prepared crust for at least 15 minutes before baking. This helps prevent shrinking and maintains the crust's shape.
- Blind Baking Technique: For cream or no-bake pies, blind bake the crust by using pie weights to prevent bubbling and ensure a crisp bottom.
- Experiment with Flour Blends: Different gluten-free flour blends can affect texture. Try mixing your own blend or experiment with store-bought varieties for the best results.
- Seal the Edges: Crimp or fold the edges of your crust to create a beautiful, professional-looking border that also helps prevent filling leakage.
Nutrition Facts
Calories: 100kcal
Carbohydrates: g
Protein: 1g
Fat: g
Saturated Fat: g
Cholesterol: mg

