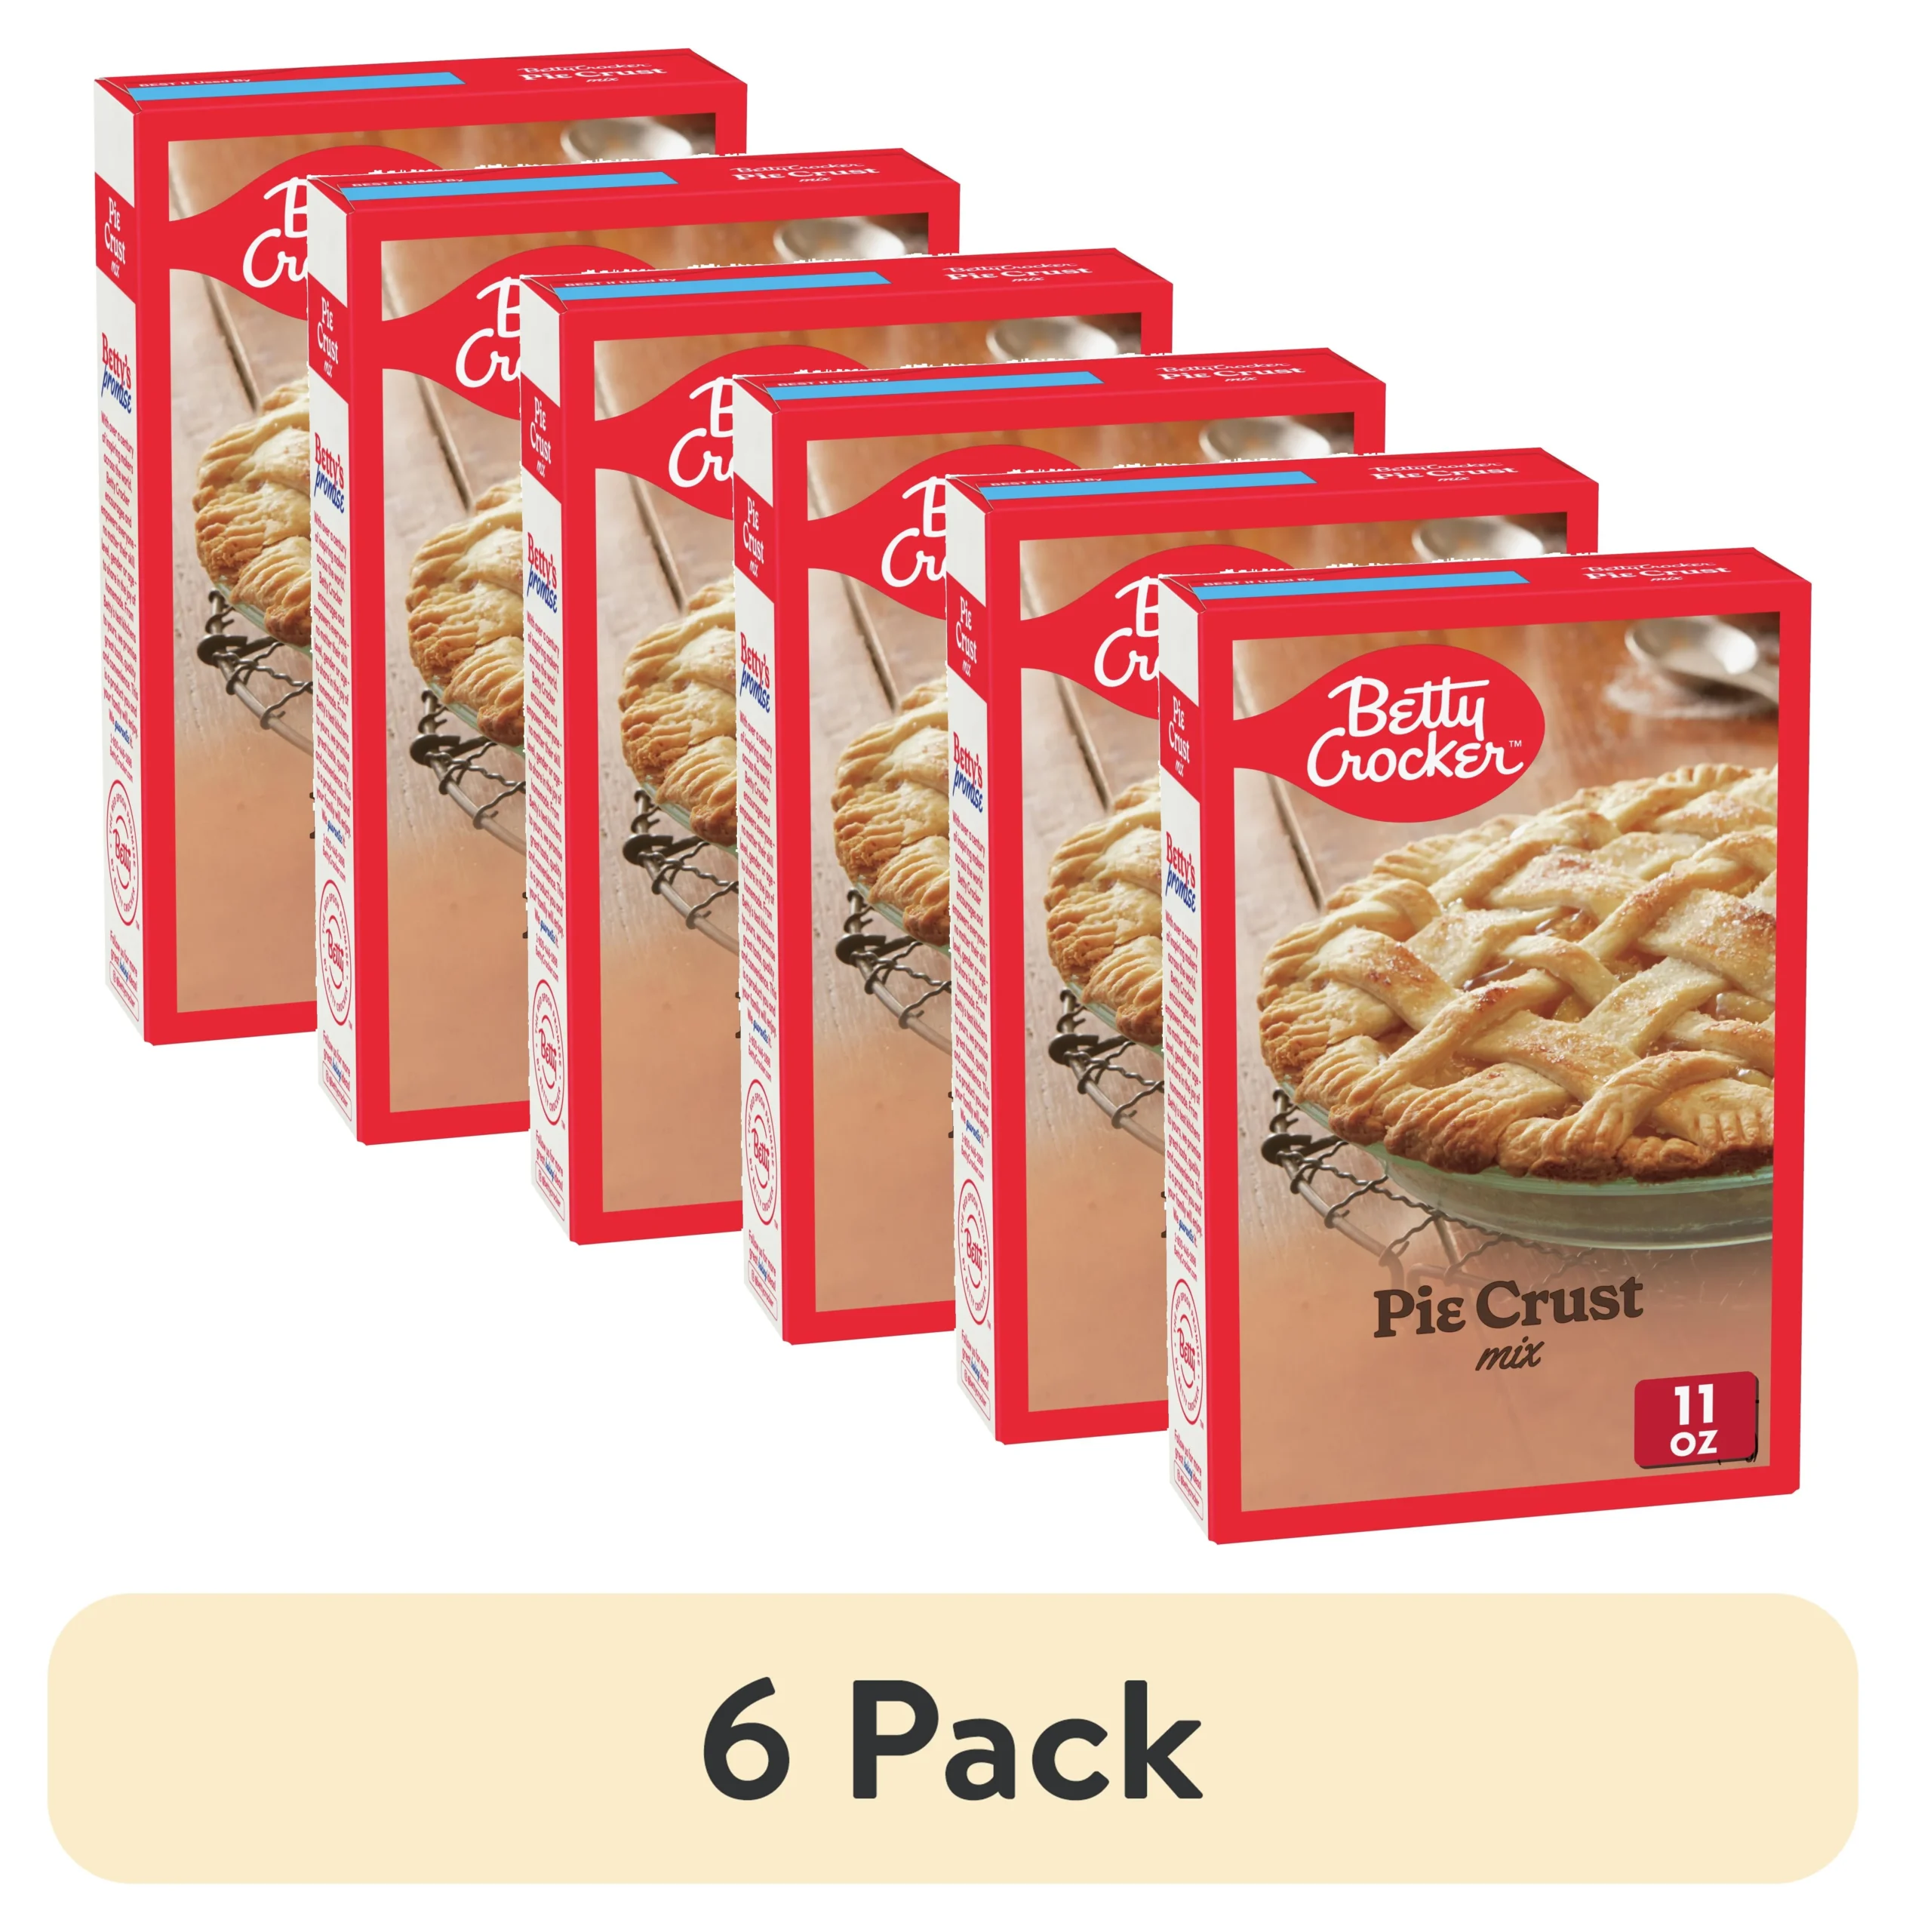
Are you tired of store-bought pie crusts that crumble and disappoint? Get ready to transform your baking game with this classic Betty Crocker Pie Crust recipe that's so simple, even a novice baker can create a flaky, golden masterpiece! Whether you're preparing a sweet fruit pie or a savory quiche, this foolproof crust will be the talk of your next family gathering. Prepare to unlock the secret to bakery-worthy pie crusts right in your own kitchen!
Prep Time: 15 mins
Cook Time: 30 mins
Total Time: 45 mins
Cuisine: American
Serves: 1 pie crust
Ingredients
- 1 1/4 cups all-purpose flour
- 1/2 teaspoon salt
- 1/3 cup shortening
- 4 to 5 tablespoons cold water
Instructions
- Begin by gathering all your ingredients: 1 1/4 cups of all-purpose flour, 1/2 teaspoon of salt, 1/3 cup of shortening, and 4 to 5 tablespoons of cold water. Ensure that your shortening is chilled for the best results.
- In a large mixing bowl, combine the all-purpose flour and salt. Use a whisk or fork to mix them together evenly, ensuring that the salt is distributed throughout the flour.
- Add the chilled shortening to the flour mixture. Using a pastry cutter or two forks, cut the shortening into the flour until the mixture resembles coarse crumbs. The goal is to have small pea-sized pieces of shortening mixed into the flour.
- Once the mixture is crumbly, gradually add cold water, one tablespoon at a time. Mix gently with a fork after each addition. Stop adding water when the dough begins to hold together but is not sticky. You may need to use 4 to 5 tablespoons of water, depending on humidity and flour type.
- Turn the dough out onto a lightly floured surface. Gather it into a ball and flatten it slightly into a disk. Be careful not to overwork the dough, as this can make the crust tough.
- Wrap the dough in plastic wrap and refrigerate for at least 30 minutes. This resting period allows the gluten to relax, making it easier to roll out later.
- After chilling, remove the dough from the refrigerator. On a lightly floured surface, roll out the dough with a rolling pin into a circle about 2 inches larger than your pie pan. Aim for an even thickness throughout.
- Carefully transfer the rolled-out dough to your pie pan. You can do this by rolling it around the rolling pin and then unrolling it over the pan. Gently press the dough into the bottom and sides of the pan, ensuring there are no air bubbles.
- Trim any excess dough hanging over the edges of the pie pan, leaving about 1/2 inch. Fold this excess dough under itself to create a thicker edge, and crimp the edges with your fingers or a fork for a decorative finish.
- If your pie recipe calls for a pre-baked crust, preheat your oven to 450°F (230°C). Use a fork to poke several holes in the bottom of the crust to prevent bubbling.
- Place the pie crust in the preheated oven and bake for 10-12 minutes or until the edges are golden brown. Keep an eye on it to avoid burning.
- Once baked, remove the pie crust from the oven and let it cool completely before filling it with your desired pie filling. Enjoy your homemade pie crust!
Tips
- Keep your ingredients cold: Chilled shortening and water are crucial for a flaky texture.
- Don't overwork the dough: Mix just until the ingredients come together to prevent a tough crust.
- Use a light touch when rolling: Gentle pressure ensures a tender, delicate crust.
- Chill the dough before rolling: This helps prevent shrinkage and makes the dough easier to handle.
- If the edges start browning too quickly while baking, cover them with aluminum foil.
- For a golden finish, brush the crust with an egg wash before baking.
- Practice makes perfect - don't get discouraged if your first attempt isn't magazine-worthy!
Nutrition Facts
Calories: 190kcal
Carbohydrates: 18g
Protein: 2g
Fat: 12g
Saturated Fat: 3g
Cholesterol: 0mg

