Are you ready to elevate your pie game with a crust that’s so easy, it’s almost magical? Welcome to "Easy Pie Dough No Really," where we promise you a flaky, buttery crust that will leave your guests begging for more! In just 15 minutes, you can whip up this delightful dough that’s perfect for any filling you desire. Whether you're a baking novice or a seasoned pro, this recipe will have you feeling like a pastry chef in no time. So, roll up your sleeves and let’s dive into the world of homemade pie crusts that will make your desserts shine!
Prep Time: 15 mins
Cook Time: -
Total Time: 15 mins
Cuisine: American
Serves: 1 pie crust
Ingredients
- 2 1/2 cups all-purpose flour
- 1 teaspoon salt
- 1 tablespoon sugar
- 1 cup unsalted butter, chilled and diced
- 6 to 8 tablespoons ice water
Instructions
- Begin by gathering all your ingredients and equipment. You will need a large mixing bowl, a pastry cutter or fork, a measuring cup, and plastic wrap for chilling the dough.
- In the large mixing bowl, combine 2 1/2 cups of all-purpose flour, 1 teaspoon of salt, and 1 tablespoon of sugar. Use a whisk or fork to mix the dry ingredients thoroughly until they are evenly combined.
- Next, add 1 cup of chilled, diced unsalted butter to the flour mixture. The butter should be cold to ensure a flaky crust. Use a pastry cutter or fork to cut the butter into the flour mixture until it resembles coarse crumbs. You should see small pieces of butter throughout the mixture.
- Once the butter is incorporated, gradually add 6 to 8 tablespoons of ice water to the mixture, one tablespoon at a time. Use your hands or a fork to gently mix the dough until it starts to come together. Be careful not to overmix; you want to maintain some small lumps of butter in the dough for flakiness.
- When the dough is just combined, turn it out onto a lightly floured surface. Gently knead the dough a few times to bring it together into a cohesive ball. Again, avoid overworking the dough.
- Shape the dough into a disk, about 1 inch thick. Wrap the disk tightly in plastic wrap and refrigerate for at least 30 minutes. This chilling step is crucial for the butter to firm up and for the gluten in the flour to relax, which will result in a tender crust.
- After the dough has chilled, remove it from the refrigerator. On a lightly floured surface, roll out the dough with a rolling pin to fit your pie dish. Aim for a circle that is about 2 inches larger than your pie dish to allow for the edges.
- Once rolled out, carefully transfer the dough to the pie dish. You can do this by rolling the dough around the rolling pin and then unrolling it over the dish. Gently press the dough into the bottom and sides of the dish, ensuring there are no air bubbles.
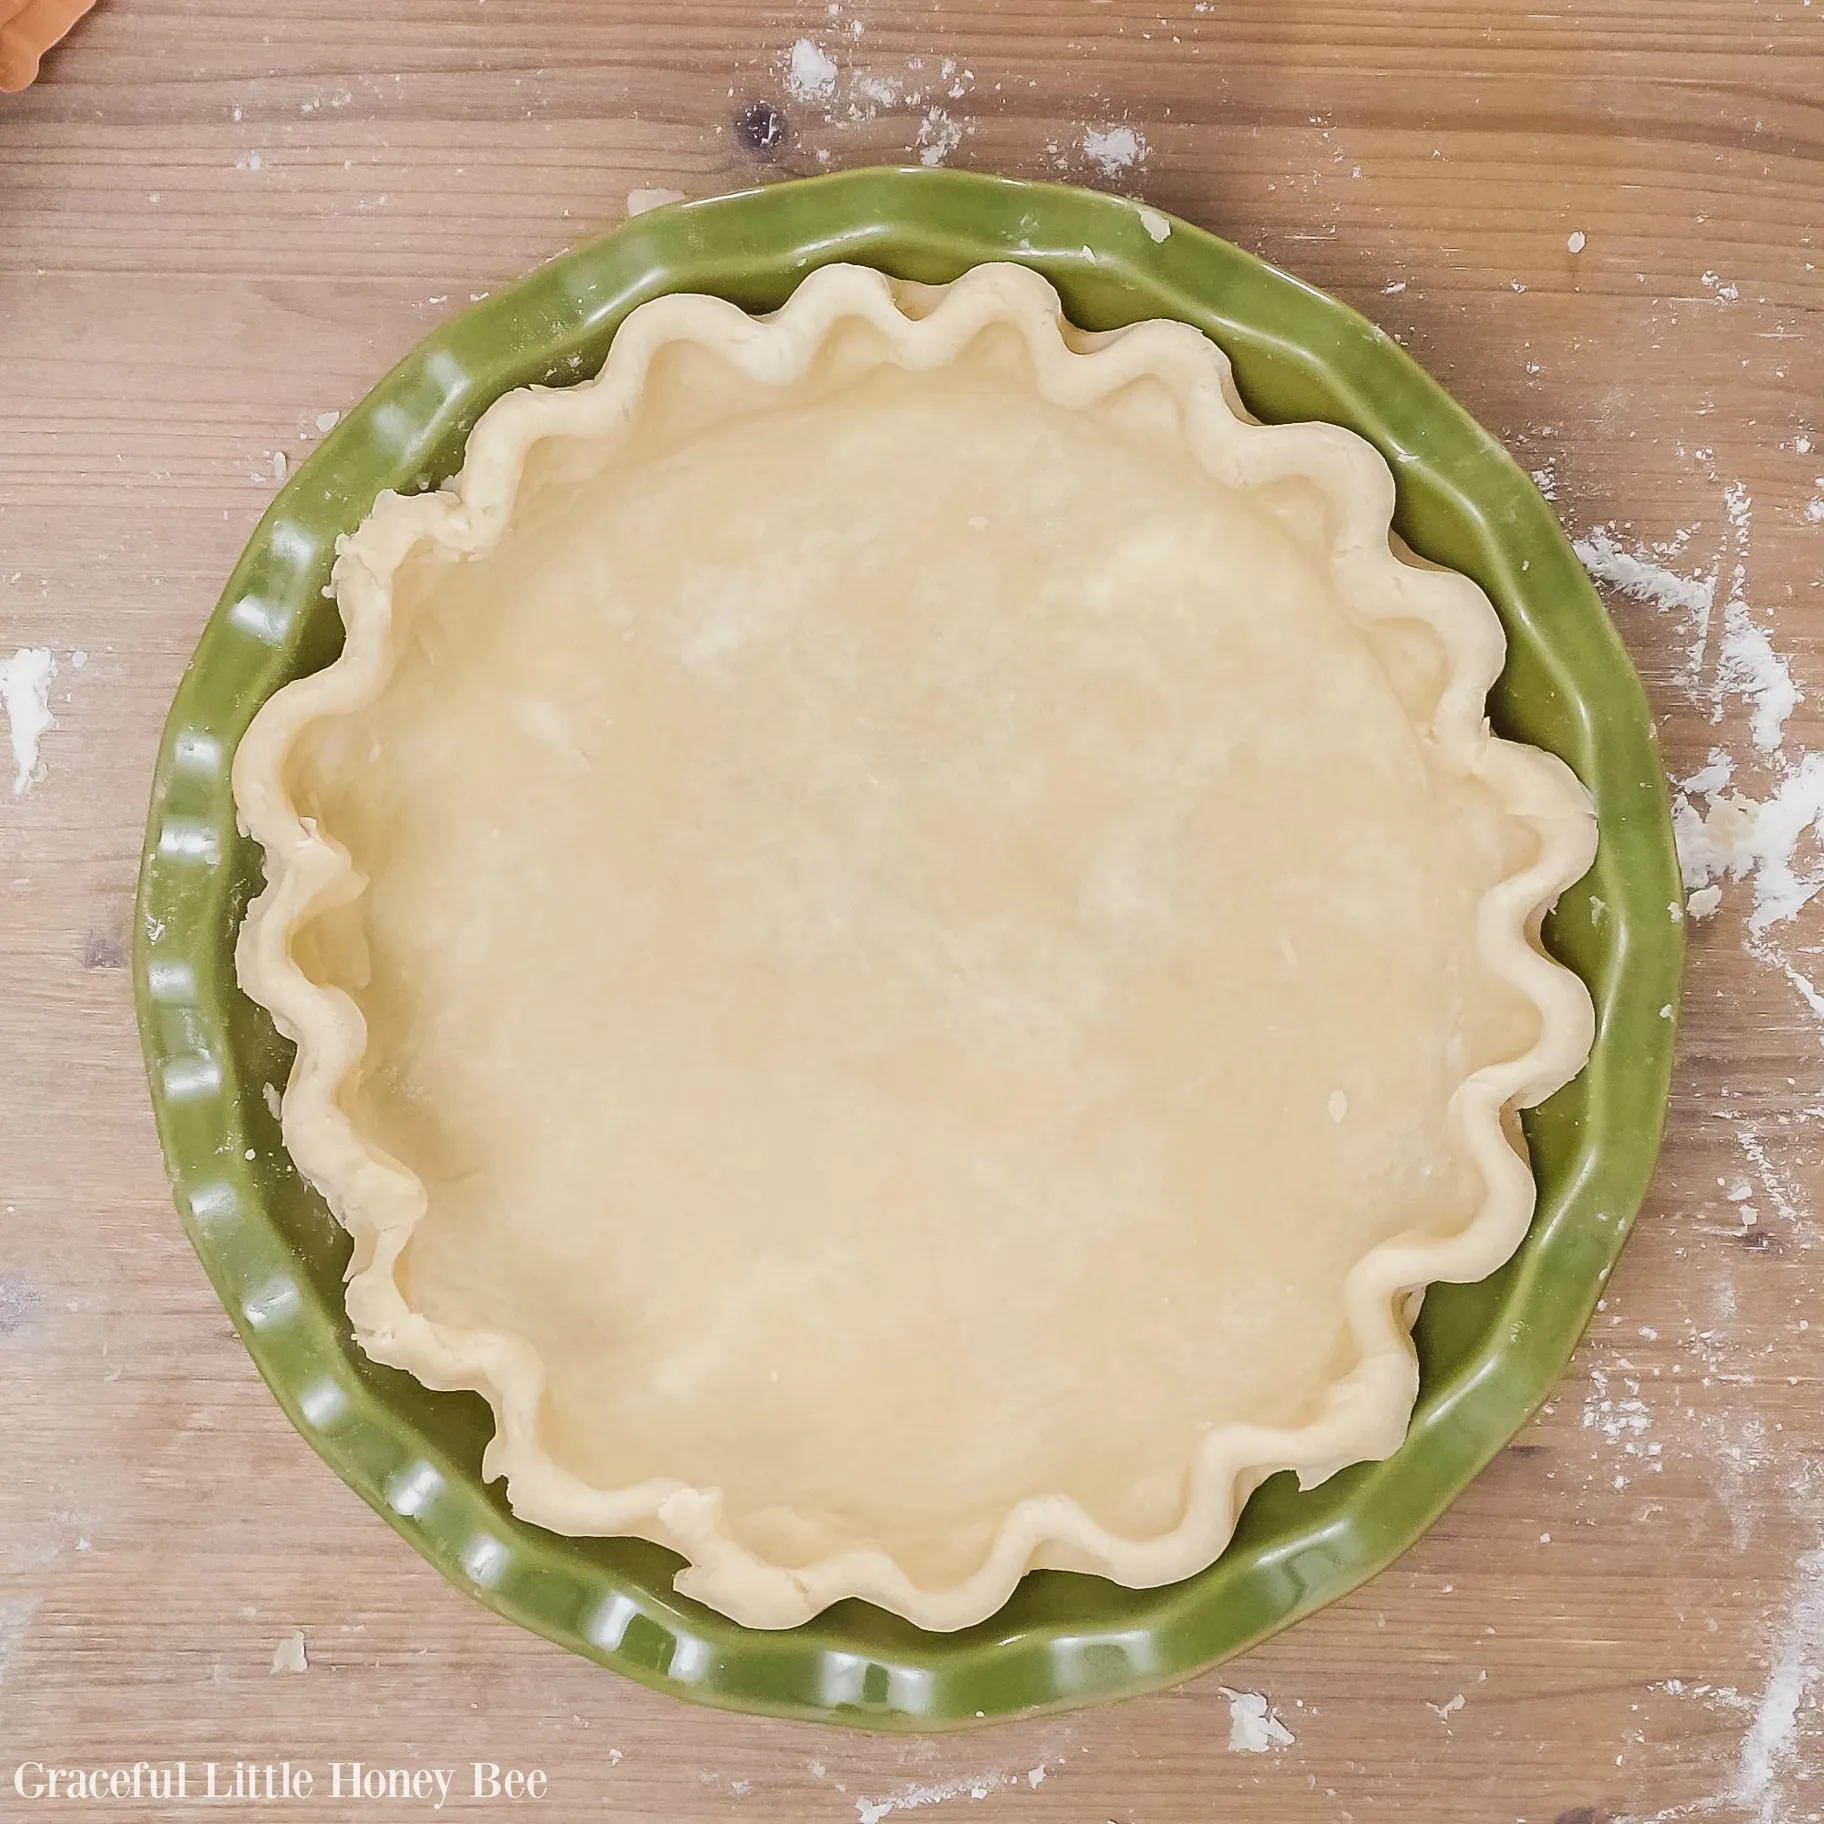
- Trim any excess dough hanging over the edges of the pie dish, leaving about 1 inch of overhang. Fold the overhang under itself to create a thicker edge, and crimp the edges with your fingers or a fork for a decorative finish.
- Your pie crust is now ready to be filled with your desired filling. If you’re making a baked pie, you can pre-bake the crust according to your recipe's instructions.
Tips
- Chill Your Ingredients: For the flakiest crust, make sure your butter is chilled and diced before mixing. You can even chill your flour for an extra boost!
- Don’t Overmix: When combining the dough, be gentle! Overmixing can lead to a tough crust, so stop mixing as soon as the dough comes together.
- Perfectly Measure Your Water: Add the ice water gradually, one tablespoon at a time. This allows you to control the texture of the dough and avoid making it too wet.
- Rest is Key: After shaping the dough into a disk, let it chill in the refrigerator for at least 30 minutes. This step is crucial for achieving that tender, flaky texture.
- Rolling Technique: When rolling out the dough, start from the center and work your way outwards. This helps maintain an even thickness throughout.
- Trim and Crimp: Don’t forget to trim the excess dough and crimp the edges for a beautiful finish. This not only looks great but also helps prevent the crust from shrinking during baking.
- Pre-Baking Tips: If you’re making a baked pie, consider pre-baking the crust. Use pie weights or dried beans to prevent it from puffing up while baking. With these tips, you’ll be well on your way to creating a stunning pie crust that’s sure to impress!
Nutrition Facts
Calories: 150kcal
Carbohydrates: 100g
Protein: 2g
Fat: 10g
Saturated Fat: 50g
Cholesterol: 26mg