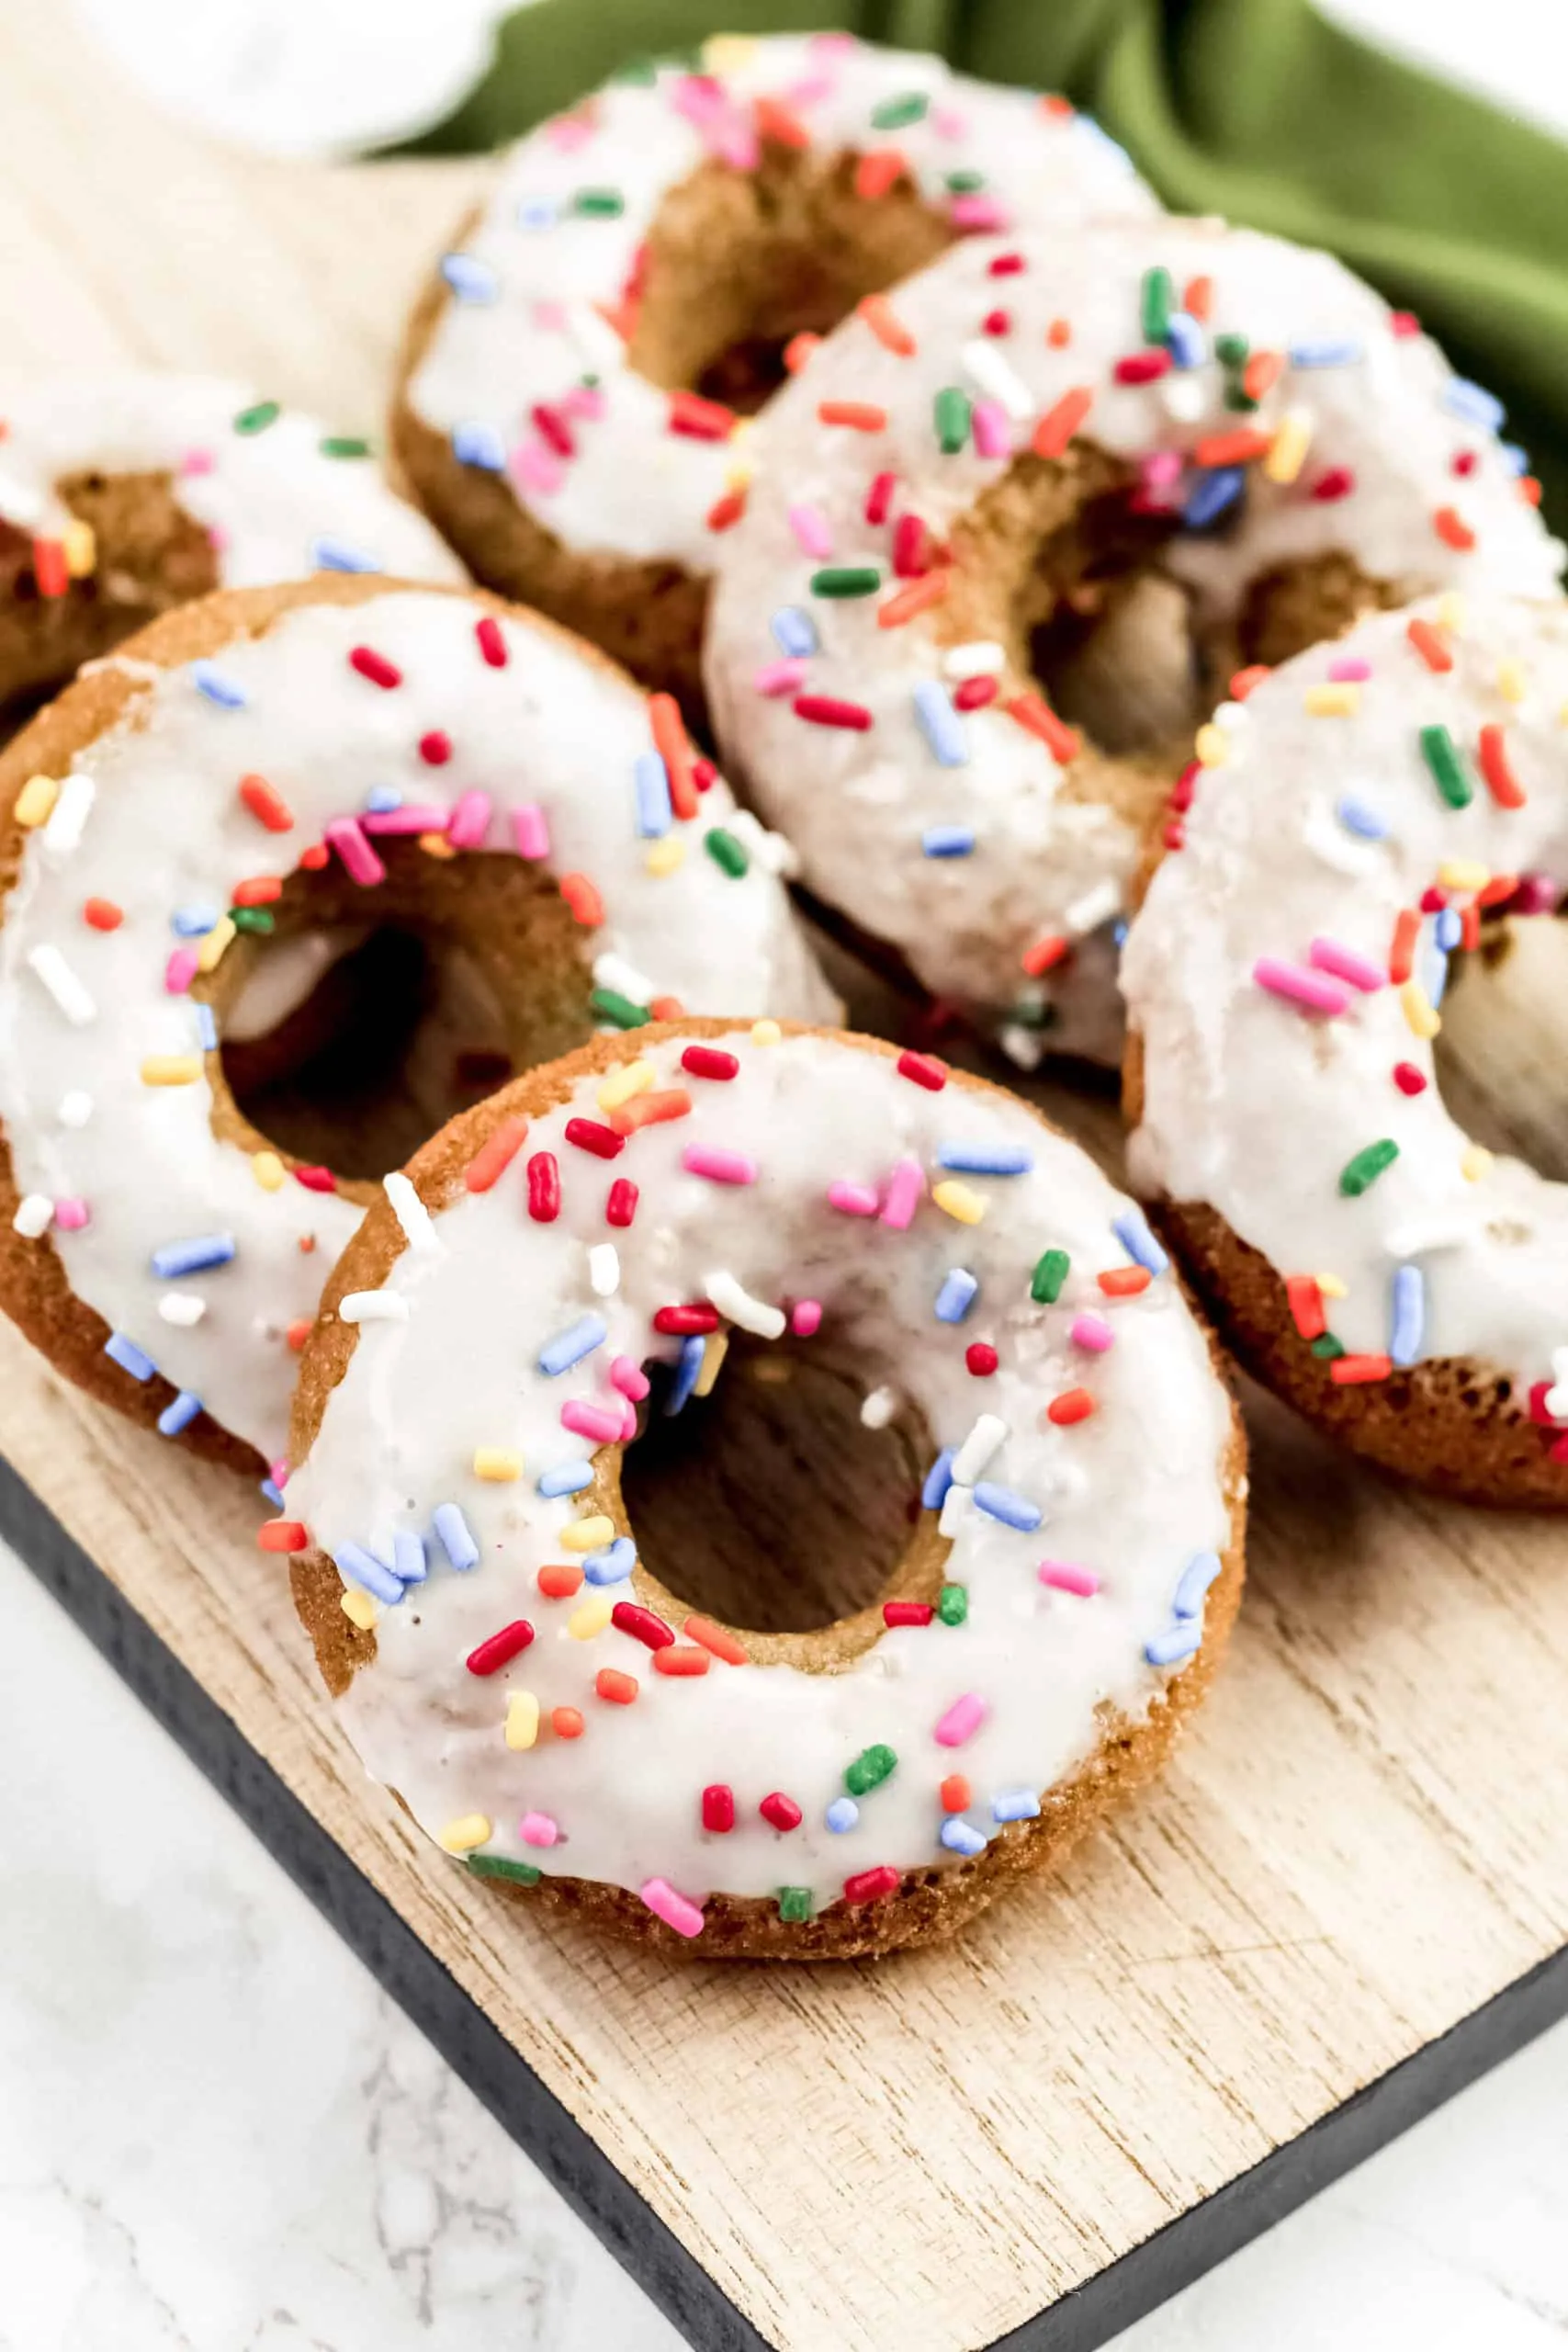
Indulge your sweet tooth without the gluten guilt! These delightful Gluten Free Vanilla Doughnuts are not just a treat for those with dietary restrictions; they’re a mouthwatering delight that everyone will love. With a soft, fluffy texture and a rich vanilla flavor, these doughnuts are perfect for breakfast, brunch, or a sweet snack any time of day. Ready in just 30 minutes, you’ll be amazed at how easy it is to whip up a batch of these delicious doughnuts. Get ready to impress your family and friends with a homemade treat that’s both scrumptious and gluten-free!
Prep Time: 15 mins
Cook Time: 15 mins
Total Time: 30 mins
Cuisine: American
Serves: 12 doughnuts
Ingredients
- 1 1/2 cups gluten free flour
- 1/2 cup sugar
- 1/2 cup milk
- 1/4 cup vegetable oil
- 2 eggs
- 1 tsp vanilla extract
- 1 tsp baking powder
- 1/2 tsp baking soda
- 1/4 tsp salt
Instructions
- Preheat the oven to 375°F (190°C). Thoroughly grease a 12-cavity non-stick doughnut pan with cooking spray or butter to prevent sticking.
- In a large mixing bowl, sift together the gluten-free flour, sugar, baking powder, baking soda, and salt to ensure no lumps and even distribution of dry ingredients.
- In a separate medium bowl, whisk together the milk, vegetable oil, eggs, and vanilla extract until well combined and slightly frothy.
- Pour the wet ingredients into the dry ingredients and mix gently with a spatula until just combined. Be careful not to overmix, which can make the doughnuts tough.
- Transfer the batter to a piping bag or a large zip-top bag with a corner snipped off for easy filling of the doughnut pan.
- Carefully pipe the batter into each doughnut cavity, filling about 2/3 to 3/4 full to allow room for rising.
- Bake in the preheated oven for 12-15 minutes, or until the doughnuts are golden brown and a toothpick inserted comes out clean.
- Remove from the oven and let cool in the pan for 5 minutes before gently removing and transferring to a wire rack to cool completely.
- Optional: Once cooled, dust with powdered sugar, dip in glaze, or decorate as desired.
Tips
- Sift the Dry Ingredients: Sifting the gluten-free flour, sugar, baking powder, baking soda, and salt not only helps eliminate lumps but also ensures even distribution, leading to a lighter doughnut.
- Don’t Overmix: When combining the wet and dry ingredients, mix gently until just combined. Overmixing can result in tough doughnuts, so be careful to maintain that fluffy texture.
- Use a Piping Bag: For easy filling of the doughnut pan, transfer the batter into a piping bag or a zip-top bag with a corner snipped off. This method minimizes mess and allows for more precise filling.
- Fill the Pan Correctly: Fill each doughnut cavity about 2/3 to 3/4 full to allow enough room for the doughnuts to rise without overflowing.
- Check for Doneness: Keep an eye on your doughnuts as they bake. A toothpick inserted into the center should come out clean when they’re done, ensuring a perfectly baked treat.
- Cool Before Decorating: Allow the doughnuts to cool in the pan for a few minutes before transferring them to a wire rack. This helps maintain their shape and prevents them from falling apart.
- Get Creative with Toppings: Once cooled, feel free to dust your doughnuts with powdered sugar, dip them in a sweet glaze, or add sprinkles for a fun and festive touch!
Nutrition Facts
Calories: 220kcal
Carbohydrates: 28g
Protein: 3g
Fat: 12g
Saturated Fat: 2g
Cholesterol: 35mg