Imagine the irresistible aroma of freshly baked pretzels wafting through your kitchen, their golden-brown crust beckoning you to take a bite. Homemade Soft Pretzel Twists are not just a delightful snack; they’re a culinary adventure that brings the taste of German street fairs right to your home! With just a handful of ingredients and a little love, you can create these chewy, salty delights that are perfect for any occasion—game day, movie night, or a cozy gathering with friends. Ready to impress your taste buds and your guests? Let’s dive into the delicious world of homemade pretzels!
Prep Time: 20 mins
Cook Time: 15 mins
Total Time: 35 mins
Cuisine: German
Serves: 12 pretzels
Ingredients
- 4 cups all-purpose flour
- 1 packet active dry yeast
- 1 1/2 cups warm water
- 1/4 cup granulated sugar
- 1/2 cup baking soda
- 1 egg, beaten
- Coarse salt for sprinkling
Instructions
- In a large mixing bowl, dissolve the active dry yeast in warm water (around 110°F). Let it sit for 5 minutes until the mixture becomes frothy and activated.
- Add granulated sugar to the yeast mixture and stir until completely dissolved. This helps activate the yeast and adds a subtle sweetness to the pretzels.
- Gradually add flour to the liquid mixture, stirring continuously until a soft, slightly sticky dough forms. Knead the dough on a lightly floured surface for about 8-10 minutes until smooth and elastic.
- Place the dough in a lightly greased bowl, cover with a clean kitchen towel, and let it rise in a warm, draft-free area for approximately 1 hour or until the dough has doubled in size.
- After rising, punch down the dough and divide it into 12 equal portions. Roll each portion into a long rope, about 18-20 inches long.
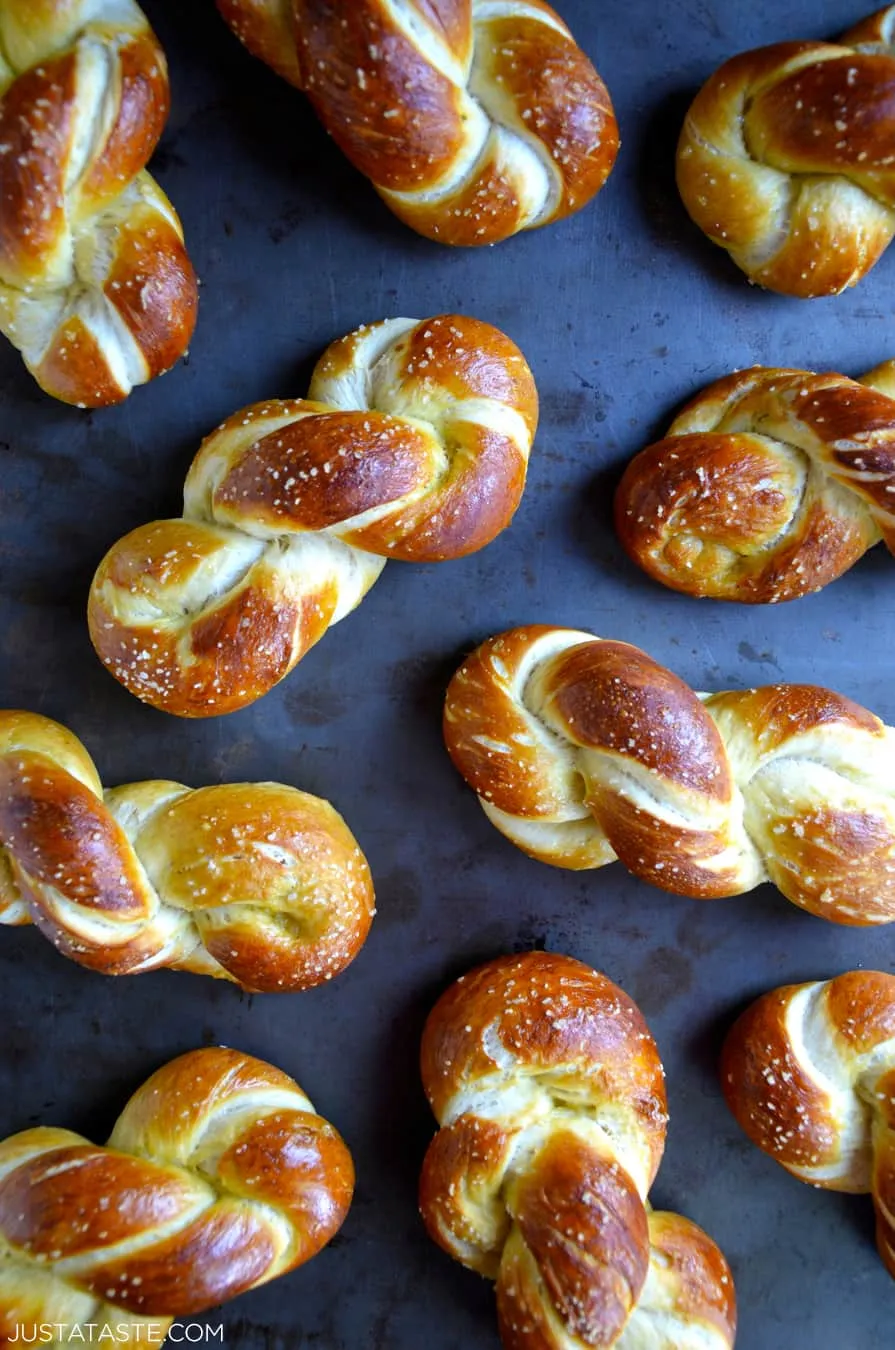
- Shape each rope into a classic pretzel twist by forming a U-shape, crossing the ends, and pressing them onto the bottom of the U to create the traditional pretzel shape.
- Preheat the oven to 450°F and prepare the baking soda bath. In a large pot, dissolve 1/2 cup of baking soda in 8-10 cups of water. Bring the mixture to a gentle boil.
- Carefully dip each pretzel into the boiling baking soda water for about 30 seconds. This step gives pretzels their characteristic dark, glossy brown exterior and distinctive flavor.
- Remove pretzels from the water using a slotted spoon, allowing excess water to drain. Place them on a parchment-lined baking sheet.
- Brush each pretzel with beaten egg and sprinkle generously with coarse salt. This will create a shiny, golden-brown surface with a delightful salty crunch.
- Bake in the preheated oven for 12-15 minutes, or until the pretzels are deep golden brown and have a crispy exterior.
- Remove from the oven and let cool on a wire rack for 5-10 minutes. Serve warm with mustard or cheese sauce for dipping.
Tips
- Perfect Yeast Activation: Make sure your water is warm but not too hot—around 110°F is ideal. This temperature helps activate the yeast without killing it, ensuring a perfect rise.
- Knead for Texture: Knead the dough until it’s smooth and elastic. This step is crucial for developing the gluten, which gives your pretzels that signature chewy texture.
- Don’t Rush the Rise: Allow the dough to rise in a warm, draft-free area. Patience is key here; letting the dough double in size will result in fluffier pretzels.
- Baking Soda Bath: The boiling baking soda bath is what gives pretzels their characteristic color and flavor. Don’t skip this step—it's essential for achieving that classic pretzel taste!
- Egg Wash for Shine: Brushing the pretzels with a beaten egg before baking not only adds a beautiful golden color but also helps the salt stick better.
- Serve Warm: For the best experience, serve your pretzels warm with a side of mustard or cheese sauce. They’re best enjoyed fresh out of the oven!
Nutrition Facts
Calories: 250kcal
Carbohydrates: 45g
Protein: 6g
Fat: 3g
Saturated Fat: g
Cholesterol: 20mg