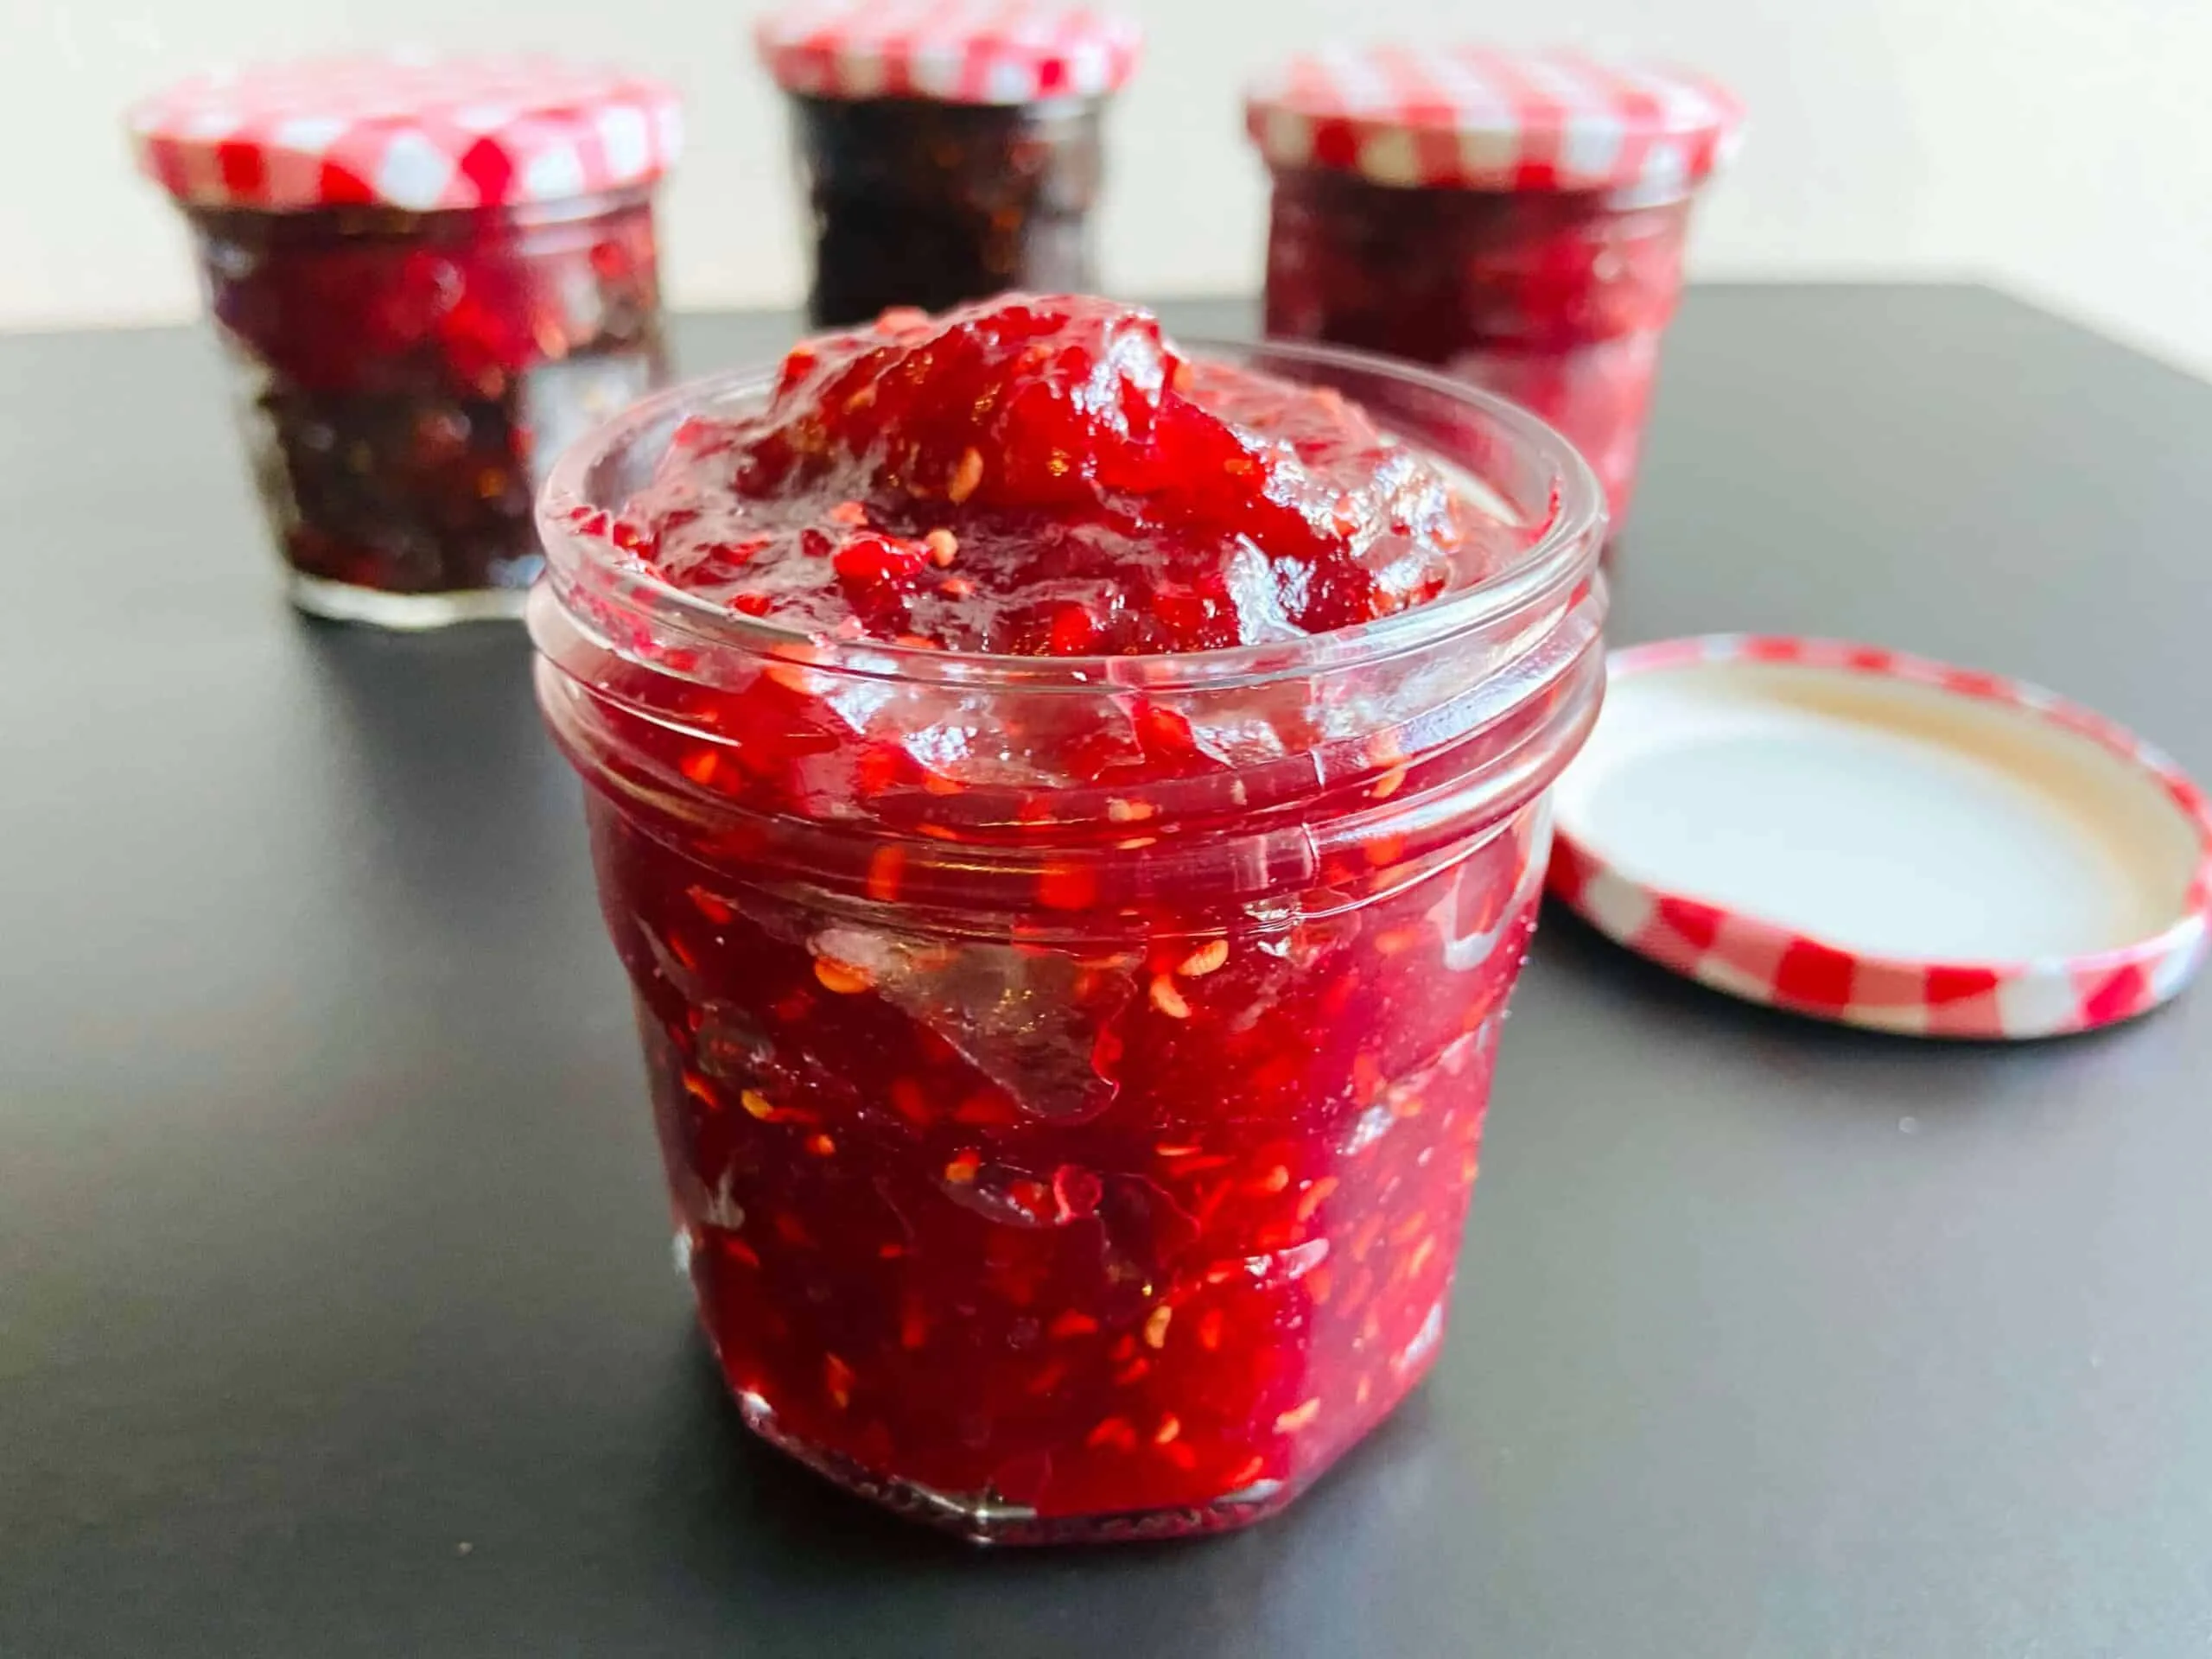
Imagine spreading a vibrant, glossy jelly that captures the essence of sun-ripened apples and luscious raspberries on your morning toast. This isn't just any ordinary preserve – it's a culinary masterpiece that transforms simple fruit juices into a luxurious, jewel-toned delicacy that will make your taste buds dance with joy. Whether you're a seasoned canner or a first-time jelly maker, this Apple Raspberry Jelly recipe promises to elevate your preserving game and impress everyone who gets a taste of your homemade creation.
Prep Time: 15 mins
Cook Time: 30 mins
Total Time: 45 mins
Cuisine: American
Serves: 5 jars
Ingredients
- 4 cups apple juice
- 1 cup raspberry juice
- 1 package pectin
- 5 cups sugar
Instructions
- Begin by gathering all your ingredients and tools. You will need 4 cups of apple juice, 1 cup of raspberry juice, 1 package of pectin, and 5 cups of sugar. Make sure you have clean jars ready for canning, a large pot for cooking the jelly, a measuring cup, a stirring spoon, and a ladle for filling the jars.
- In a large pot, combine the 4 cups of apple juice and 1 cup of raspberry juice. Stir the juices together until well blended.
- Sprinkle the package of pectin over the juice mixture. Stir it in thoroughly to ensure that the pectin is evenly distributed throughout the liquid.
- Place the pot on the stove over medium-high heat. Bring the mixture to a boil, stirring constantly to prevent it from sticking to the bottom of the pot.
- Once the mixture reaches a rolling boil (a boil that cannot be stirred down), quickly add the 5 cups of sugar all at once. Stir vigorously to dissolve the sugar completely.
- Continue to boil the mixture for exactly 1 minute, stirring constantly. This step is crucial for achieving the right consistency in your jelly.
- After boiling for 1 minute, remove the pot from the heat. Skim off any foam that may have formed on the surface of the jelly using a spoon.
- Carefully ladle the hot jelly into your prepared jars, leaving about 1/4 inch of headspace at the top of each jar. Be cautious, as the jelly will be very hot.
- Wipe the rims of the jars with a clean, damp cloth to remove any residue. This ensures a proper seal when you apply the lids.
- Place the lids on the jars and screw on the metal bands until they are fingertip-tight. Do not overtighten, as this can prevent proper sealing.
- If you prefer to process the jars for longer shelf life, you can place them in a boiling water bath. Ensure the jars are covered by at least an inch of water and process for 5-10 minutes.
- Once processed, remove the jars from the water bath and let them cool on a clean kitchen towel or cooling rack. You should hear a popping sound as the jars seal.
- After the jars have cooled completely, check the seals by pressing down in the center of each lid. If it pops back, the jar did not seal properly and should be refrigerated and used within a few weeks.
- Label the jars with the date and contents. Store the sealed jars in a cool, dark place. Your Apple Raspberry Jelly is now ready to enjoy!
Tips
- Use fresh, high-quality juices for the best flavor and consistency.
- Invest in a reliable candy thermometer to ensure precise temperature control.
- Sterilize your jars and equipment thoroughly before starting to prevent contamination.
- Measure ingredients exactly – jelly-making is a science that requires precision.
- Don't rush the boiling process; follow the timing instructions carefully.
- Have all your tools and ingredients prepared before you start cooking.
- Work quickly when filling jars to maintain the jelly's temperature and texture.
- Store sealed jars in a cool, dark place to preserve flavor and extend shelf life.
- If the jelly doesn't set, you can re-cook it with additional pectin.
- Always label your jars with the date and type of jelly for easy tracking.
Nutrition Facts
Calories: 832kcal
Carbohydrates: 115g
Protein: 0g
Fat: 0g
Saturated Fat: 0g
Cholesterol: 0mg