Get ready to transform your kitchen into a nostalgic haven of warmth and deliciousness with this incredible Apple Butter recipe that's been passed down through generations! Imagine spreading a rich, velvety spoonful of pure autumn bliss on your morning toast, filling your home with the irresistible aroma of cinnamon, cloves, and perfectly caramelized apples. This isn't just a recipe—it's a culinary journey that connects you to traditional home cooking and promises to become your new favorite preserve.
Prep Time: 20 mins
Cook Time: 2 hrs
Total Time: 2 hrs 20 mins
Cuisine: American
Serves: 4 pints
Ingredients
- 10 cups apples, peeled and chopped
- 2 cups sugar
- 1 tablespoon ground cinnamon
- 1/2 teaspoon ground cloves
- 1/4 teaspoon ground nutmeg
- 1/4 teaspoon salt
Instructions
- Begin by preparing your apples. Peel and chop 10 cups of apples into small pieces. You can use a variety of apples for a more complex flavor, such as a mix of sweet and tart apples like Granny Smith and Fuji.
- Once the apples are prepared, place them in a large pot or Dutch oven. Add 2 cups of sugar to the apples, ensuring they are well-coated.
- Next, add the spices: 1 tablespoon of ground cinnamon, 1/2 teaspoon of ground cloves, 1/4 teaspoon of ground nutmeg, and 1/4 teaspoon of salt. Stir the mixture well to evenly distribute the sugar and spices throughout the apples.
- Cover the pot and cook the apple mixture over medium heat for about 20 minutes, stirring occasionally. This will help the apples soften and release their juices.
- After 20 minutes, reduce the heat to low and continue to cook uncovered for about 1 hour and 40 minutes. Stir the mixture every 15-20 minutes to prevent it from sticking to the bottom of the pot. The apples will break down and the mixture will thicken as it cooks.
- To test the consistency, you can use an immersion blender to puree the mixture to your desired smoothness, or leave it chunky if you prefer a more rustic texture.
- Once the apple butter has reached your desired thickness and flavor, remove it from heat. Allow it to cool slightly before transferring it into sterilized jars.
- Fill the jars with the hot apple butter, leaving about 1/4 inch of headspace at the top. Wipe the rims of the jars with a clean cloth to ensure a good seal.
- Seal the jars with lids and process them in a boiling water bath for 10 minutes to ensure they are properly preserved.
- After processing, carefully remove the jars from the water bath and allow them to cool completely on a clean towel or cooling rack. You should hear a popping sound as the jars seal.
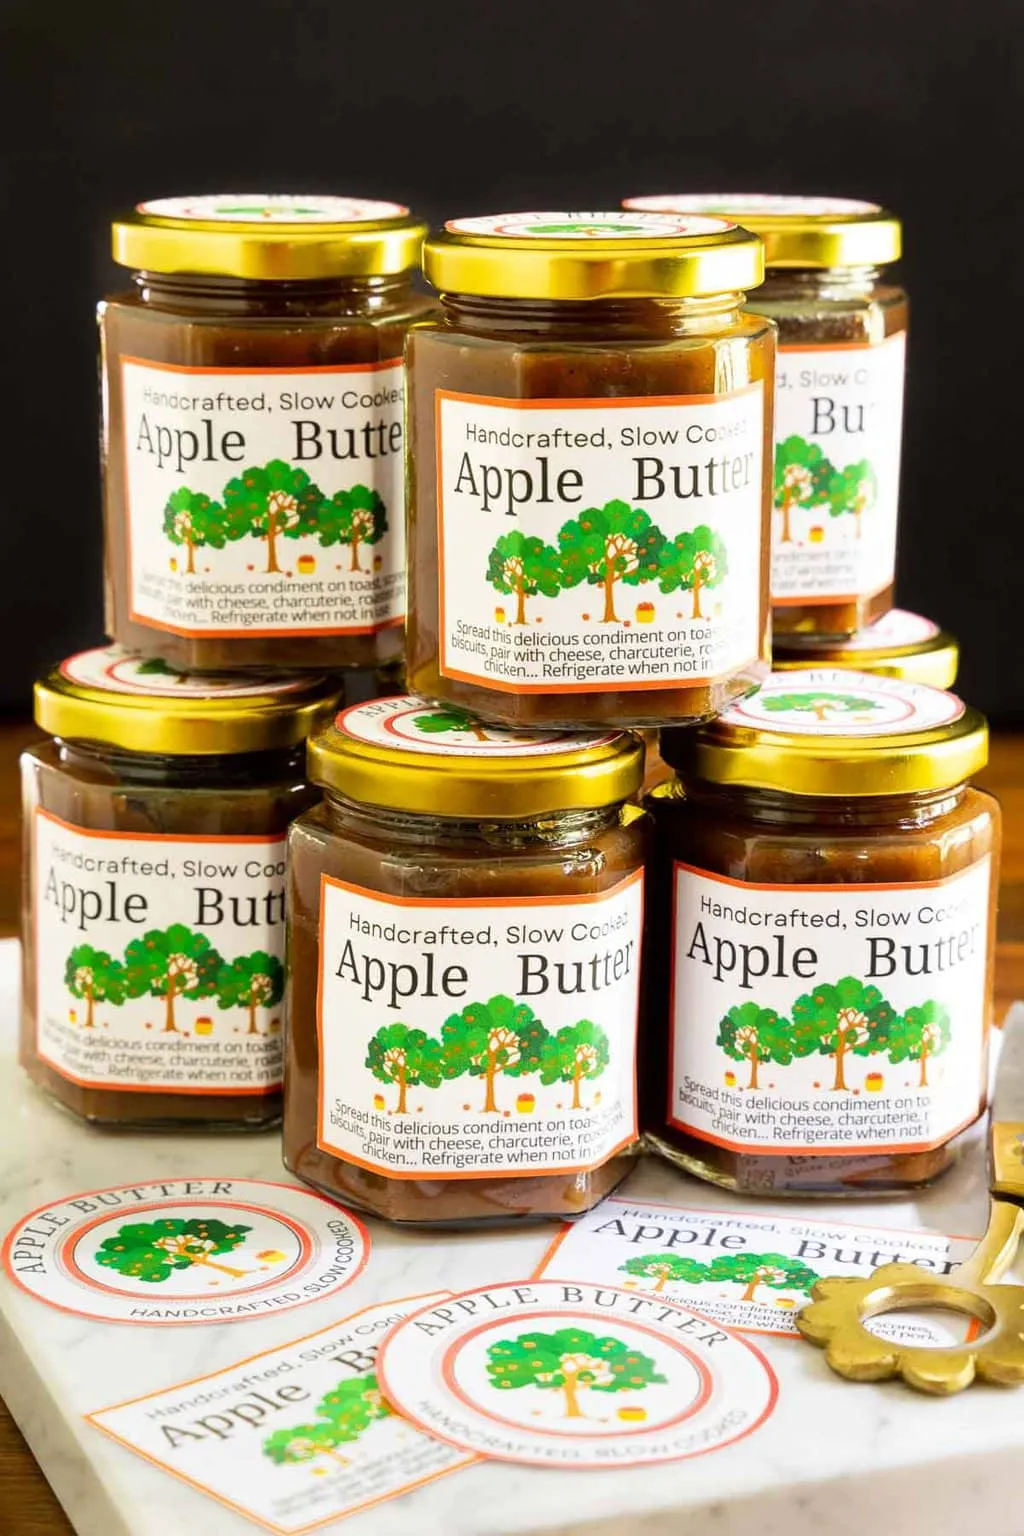
- Once cooled, check the seals by pressing down in the center of the lid. If it doesn’t pop back, the jar is sealed. Store the sealed jars in a cool, dark place. Enjoy your homemade Apple Butter Irma Jenkins on toast, biscuits, or as a delicious addition to various recipes!
Tips
- • Choose a mix of apple varieties like Granny Smith and Fuji for a more complex, balanced flavor profile. • Stir frequently during the long cooking process to prevent burning and ensure even caramelization. • Use an immersion blender for a smoother texture, or mash with a potato masher for a more rustic consistency. • Sterilize your jars thoroughly to ensure safe, long-lasting preservation. • Let the apple butter cool completely before sealing to help achieve a perfect set. • Store in a cool, dark place and enjoy within 6-12 months for maximum flavor and quality.
Nutrition Facts
Calories: 157kcal
Carbohydrates: 41g
Protein: g
Fat: 0g
Saturated Fat: 0g
Cholesterol: 0mg