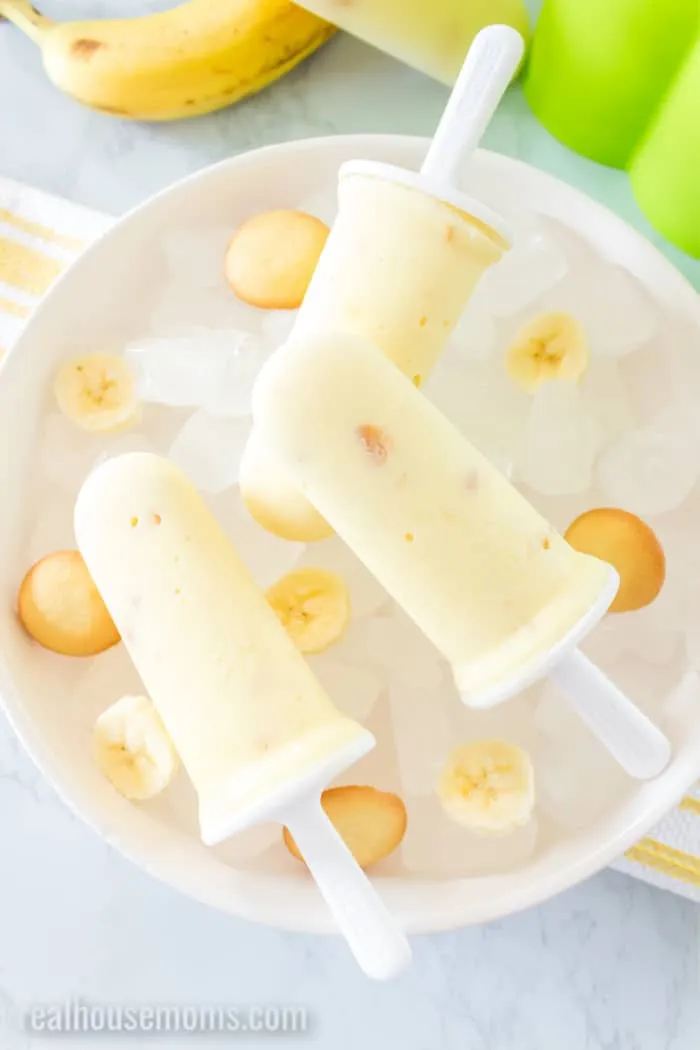
Imagine a dessert that combines the nostalgic comfort of banana pudding with the refreshing coolness of a popsicle – sounds irresistible, right? These Banana Pudding Pops are not just a treat; they're a summer sensation that will transport you to a world of creamy, sweet indulgence. Perfect for hot days, kids' parties, or when you simply need a delightful escape from the ordinary, these frozen delights are about to become your new obsession!
Prep Time: 15 mins
Cook Time: -
Total Time: 15 mins
Cuisine: American
Serves: 6 pops
Ingredients
- 2 ripe bananas
- 1 cup vanilla pudding
- 1/2 cup whipped cream
- 6 popsicle sticks
- 1/4 cup crushed vanilla wafers
Instructions
- Peel the ripe bananas and slice them into small chunks, ensuring they are soft and sweet.
- In a blender or food processor, combine the banana chunks with vanilla pudding and whipped cream. Blend until smooth and creamy, creating a uniform mixture.
- Prepare a popsicle mold by lightly greasing the interior with a neutral cooking spray to ensure easy removal of the pops.
- Pour the banana pudding mixture evenly into the popsicle molds, leaving a small space at the top for expansion during freezing.
- Insert a popsicle stick into the center of each mold, ensuring it stands upright and is securely positioned.
- Place the filled popsicle molds in the freezer and allow them to freeze completely, which typically takes about 4-6 hours or overnight.
- Once fully frozen, remove the molds from the freezer and gently run warm water over the exterior to help release the pops.
- Roll the released pops in crushed vanilla wafers, coating the surface evenly for added texture and flavor.
- Serve immediately or wrap individually in plastic wrap and store in the freezer for up to one week.
Tips
- Choose Overripe Bananas: The riper the bananas, the sweeter and more flavorful your pops will be. Look for bananas with lots of brown spots.
- Blend Thoroughly: Ensure your mixture is completely smooth to prevent icy chunks in your final product.
- Grease Molds Lightly: A quick spray of cooking oil will help your pops release easily without adding extra flavor.
- Freeze Completely: Be patient and allow 4-6 hours (or overnight) for a perfectly frozen texture.
- Room Temperature Release: If pops are stubborn, let the mold sit at room temperature for 1-2 minutes before gently pulling.
- Get Creative with Coatings: While vanilla wafers are classic, try crushed graham crackers or chocolate chips for variety.
- Make Ahead Friendly: These pops can be stored in the freezer for up to a week, making them a perfect make-ahead dessert!
Nutrition Facts
Calories: 110kcal
Carbohydrates: g
Protein: g
Fat: g
Saturated Fat: g
Cholesterol: mg