Imagine a dessert that combines the perfect balance of sweet and tart, wrapped in a golden, flaky crust that melts in your mouth. The Berry Apple Fantasy Pie is not just a dessert - it's a culinary adventure that will transport your taste buds to a world of pure deliciousness! With a magical blend of juicy berries, crisp apples, and a hint of warm cinnamon, this pie is about to become the star of your next gathering or a delightful treat for your family.
Prep Time: 20 mins
Cook Time: 45 mins
Total Time: 1 hrs 5 mins
Cuisine: American
Serves: 8 servings
Ingredients
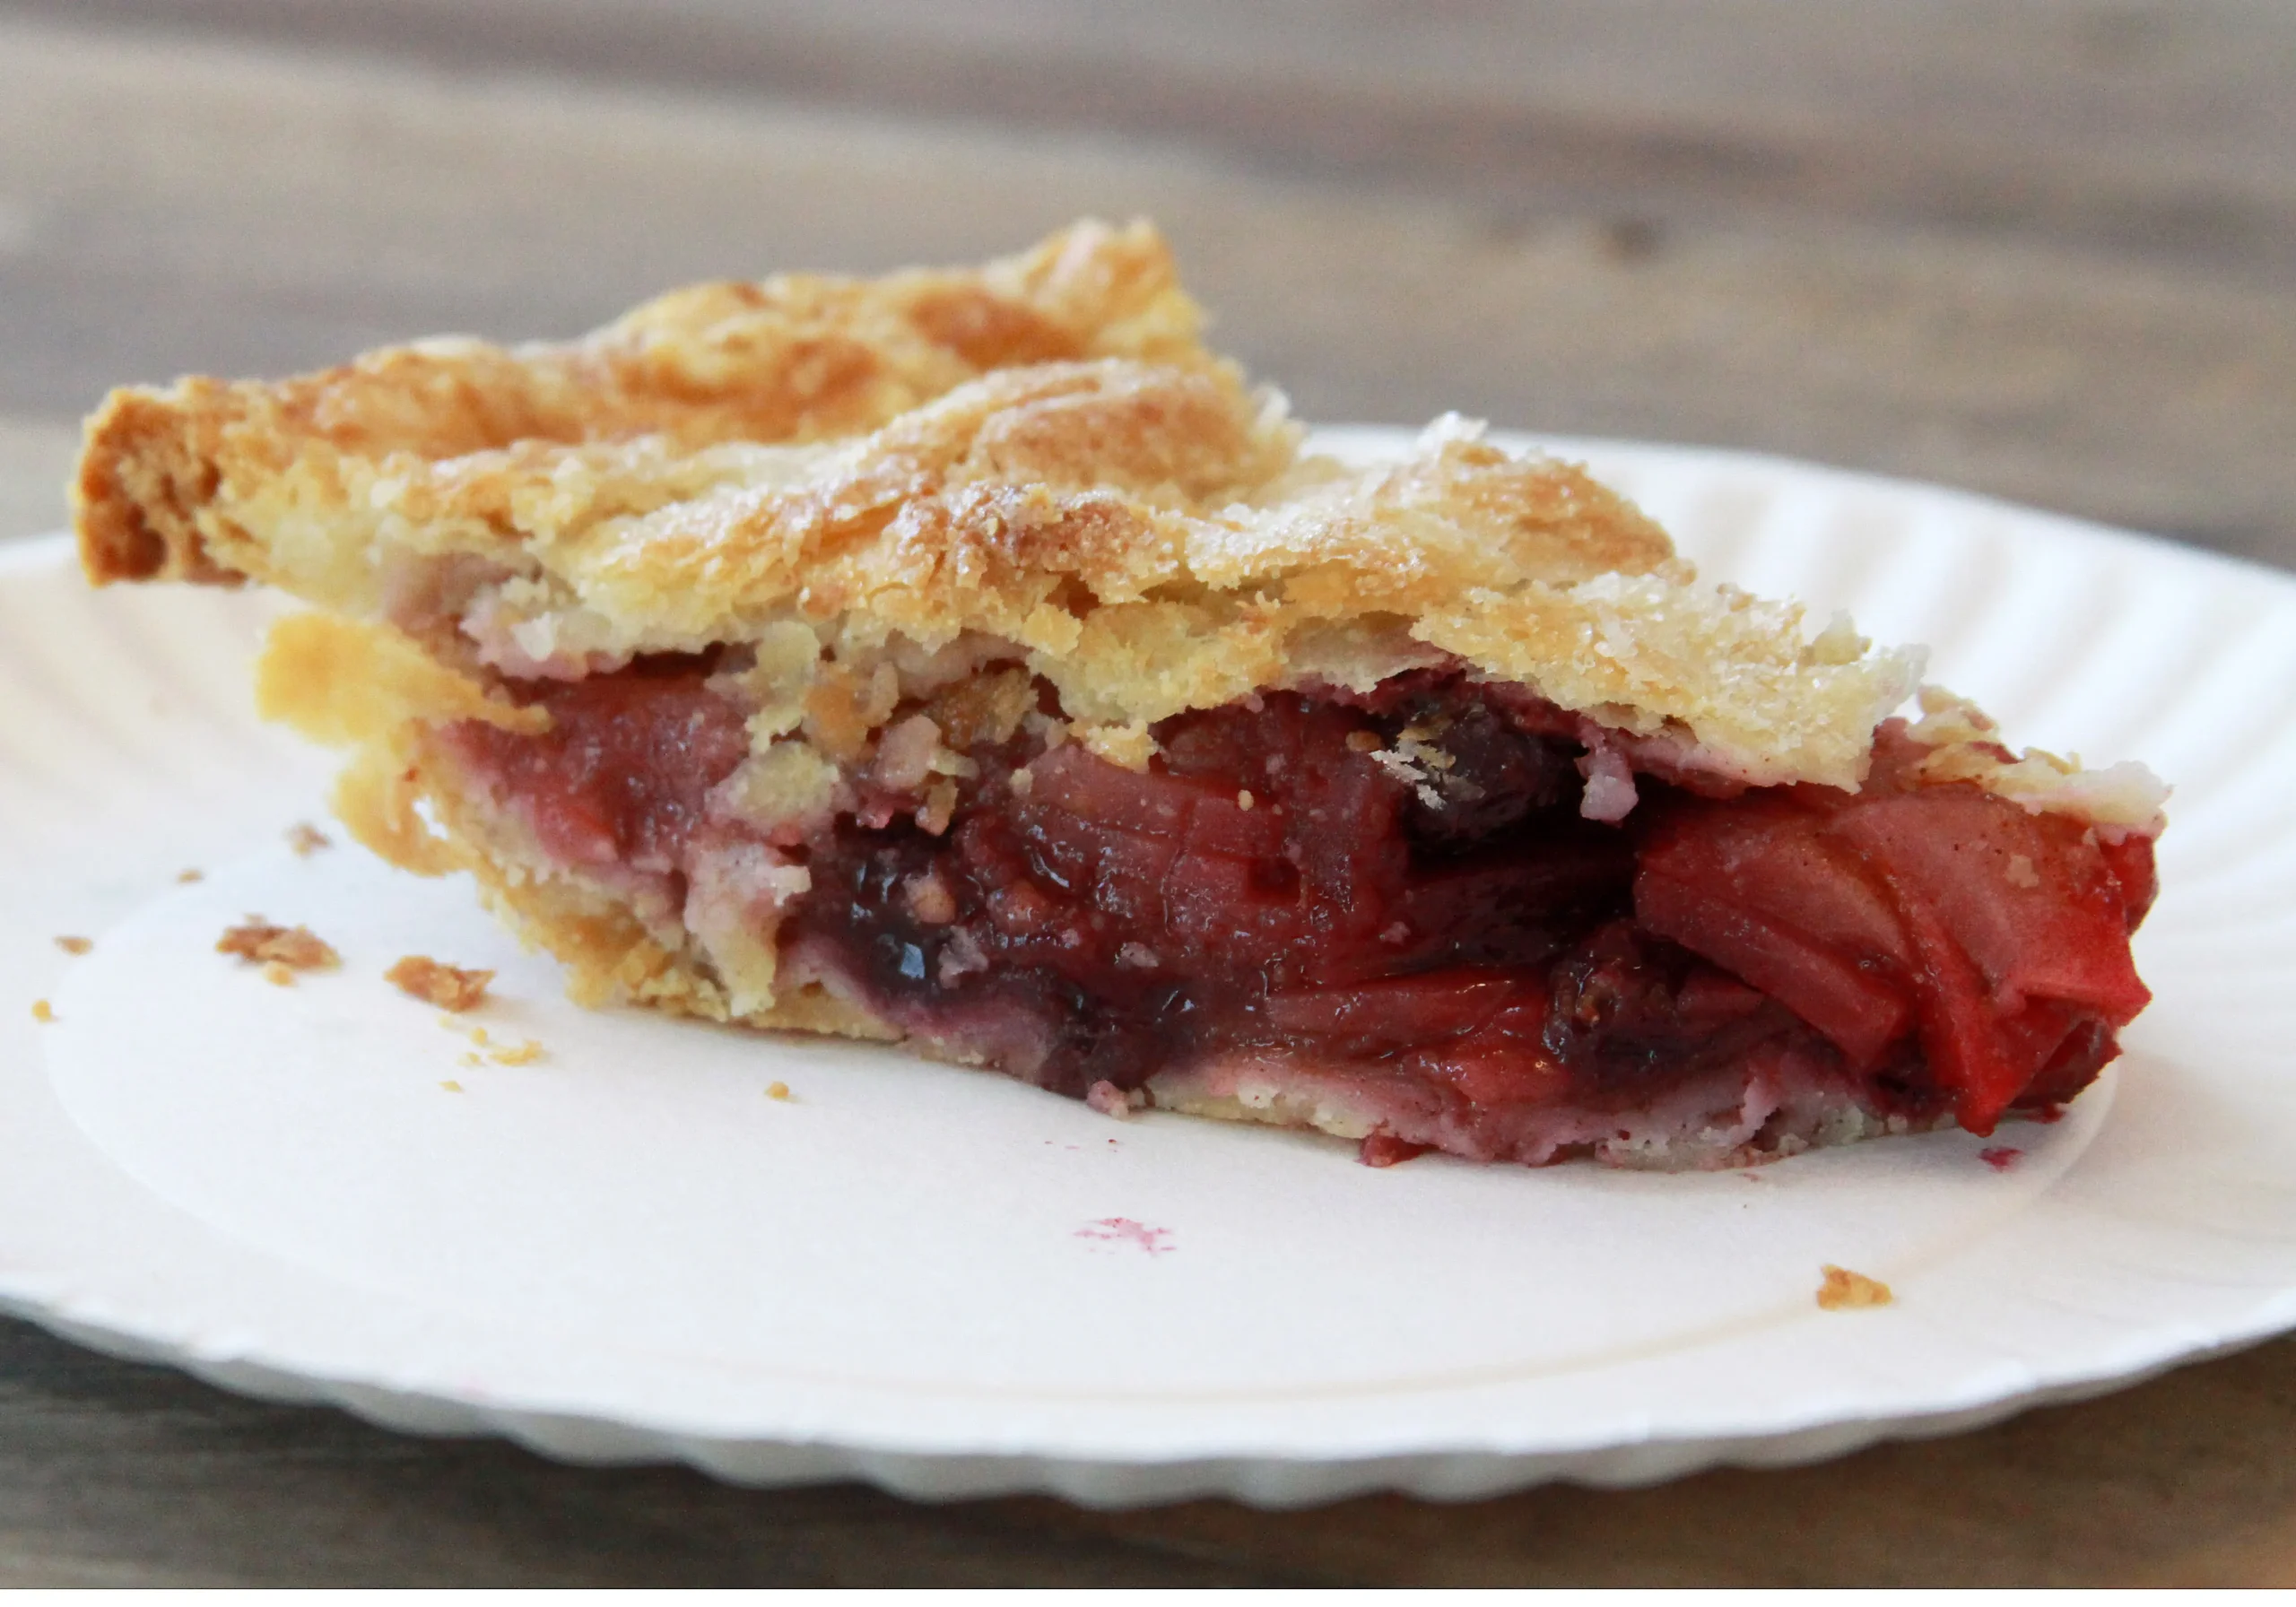
- 1 pie crust
- 2 cups mixed berries (blueberries, raspberries)
- 2 cups apples, sliced
- 1/2 cup sugar
- 1 tbsp lemon juice
- 2 tbsp cornstarch
- 1 tsp cinnamon
Instructions
- Preheat your oven to 425°F (220°C). This ensures that your pie crust will bake evenly and become golden brown.
- Prepare your pie crust by either using a store-bought crust or making your own. If using a store-bought crust, place it in a 9-inch pie dish and set aside. If making your own, roll out the dough and fit it into the pie dish, trimming any excess dough hanging over the edges.
- In a large mixing bowl, combine the mixed berries (blueberries and raspberries) and sliced apples. Ensure the fruits are evenly mixed for a balanced flavor in every bite.
- Add 1/2 cup of sugar to the fruit mixture. This will help sweeten the pie and enhance the natural flavors of the berries and apples.
- Pour in 1 tablespoon of lemon juice. This will add a nice acidity to balance the sweetness of the sugar and prevent the apples from browning.
- Sprinkle 2 tablespoons of cornstarch over the fruit mixture. The cornstarch will help thicken the juices released during baking, preventing the pie from becoming too runny.
- Add 1 teaspoon of cinnamon to the mixture for a warm, aromatic flavor that complements the fruits beautifully. Stir the mixture gently until all ingredients are well combined and the fruits are evenly coated.
- Pour the fruit mixture into the prepared pie crust, spreading it out evenly. This will ensure that every slice of pie has a delightful mix of fruits.
- If desired, you can add a lattice crust or additional crust on top. If using a full top crust, make sure to cut slits for steam to escape.
- Bake the pie in the preheated oven for 45 minutes, or until the crust is golden brown and the filling is bubbling. You may want to place a baking sheet on the rack below to catch any drips.
- Once baked, remove the pie from the oven and allow it to cool for at least 20 minutes before slicing. This will help the filling set up a bit more.
- Serve your Berry Apple Fantasy Pie warm or at room temperature, optionally with a scoop of vanilla ice cream or a dollop of whipped cream for an extra special treat.
Tips
- Fruit Selection Matters: Choose ripe, fresh berries and crisp apples for the most vibrant flavor. Mix different types of berries for a more complex taste profile.
- Cornstarch is Your Friend: Don't skip the cornstarch - it's crucial for creating that perfect, not-too-runny filling that holds together beautifully.
- Crust Creativity: Feel free to experiment with a lattice top or a full crust with decorative cutouts to make your pie visually stunning.
- Prevent Soggy Bottom: Brush the bottom crust with a thin layer of egg white before adding the filling to create a barrier that keeps the crust crisp.
- Cooling is Key: Allow the pie to cool for at least 20 minutes after baking. This helps the filling set and makes slicing much easier.
- Serving Suggestion: A scoop of vanilla ice cream or a dollop of whipped cream can elevate this pie from delicious to absolutely irresistible!
- Make Ahead Tip: This pie can be prepared a day in advance and reheated gently before serving, making it perfect for entertaining.
Nutrition Facts
Calories: 250kcal
Carbohydrates: 45g
Protein: 2g
Fat: 8g
Saturated Fat: 3g
Cholesterol: 10mg