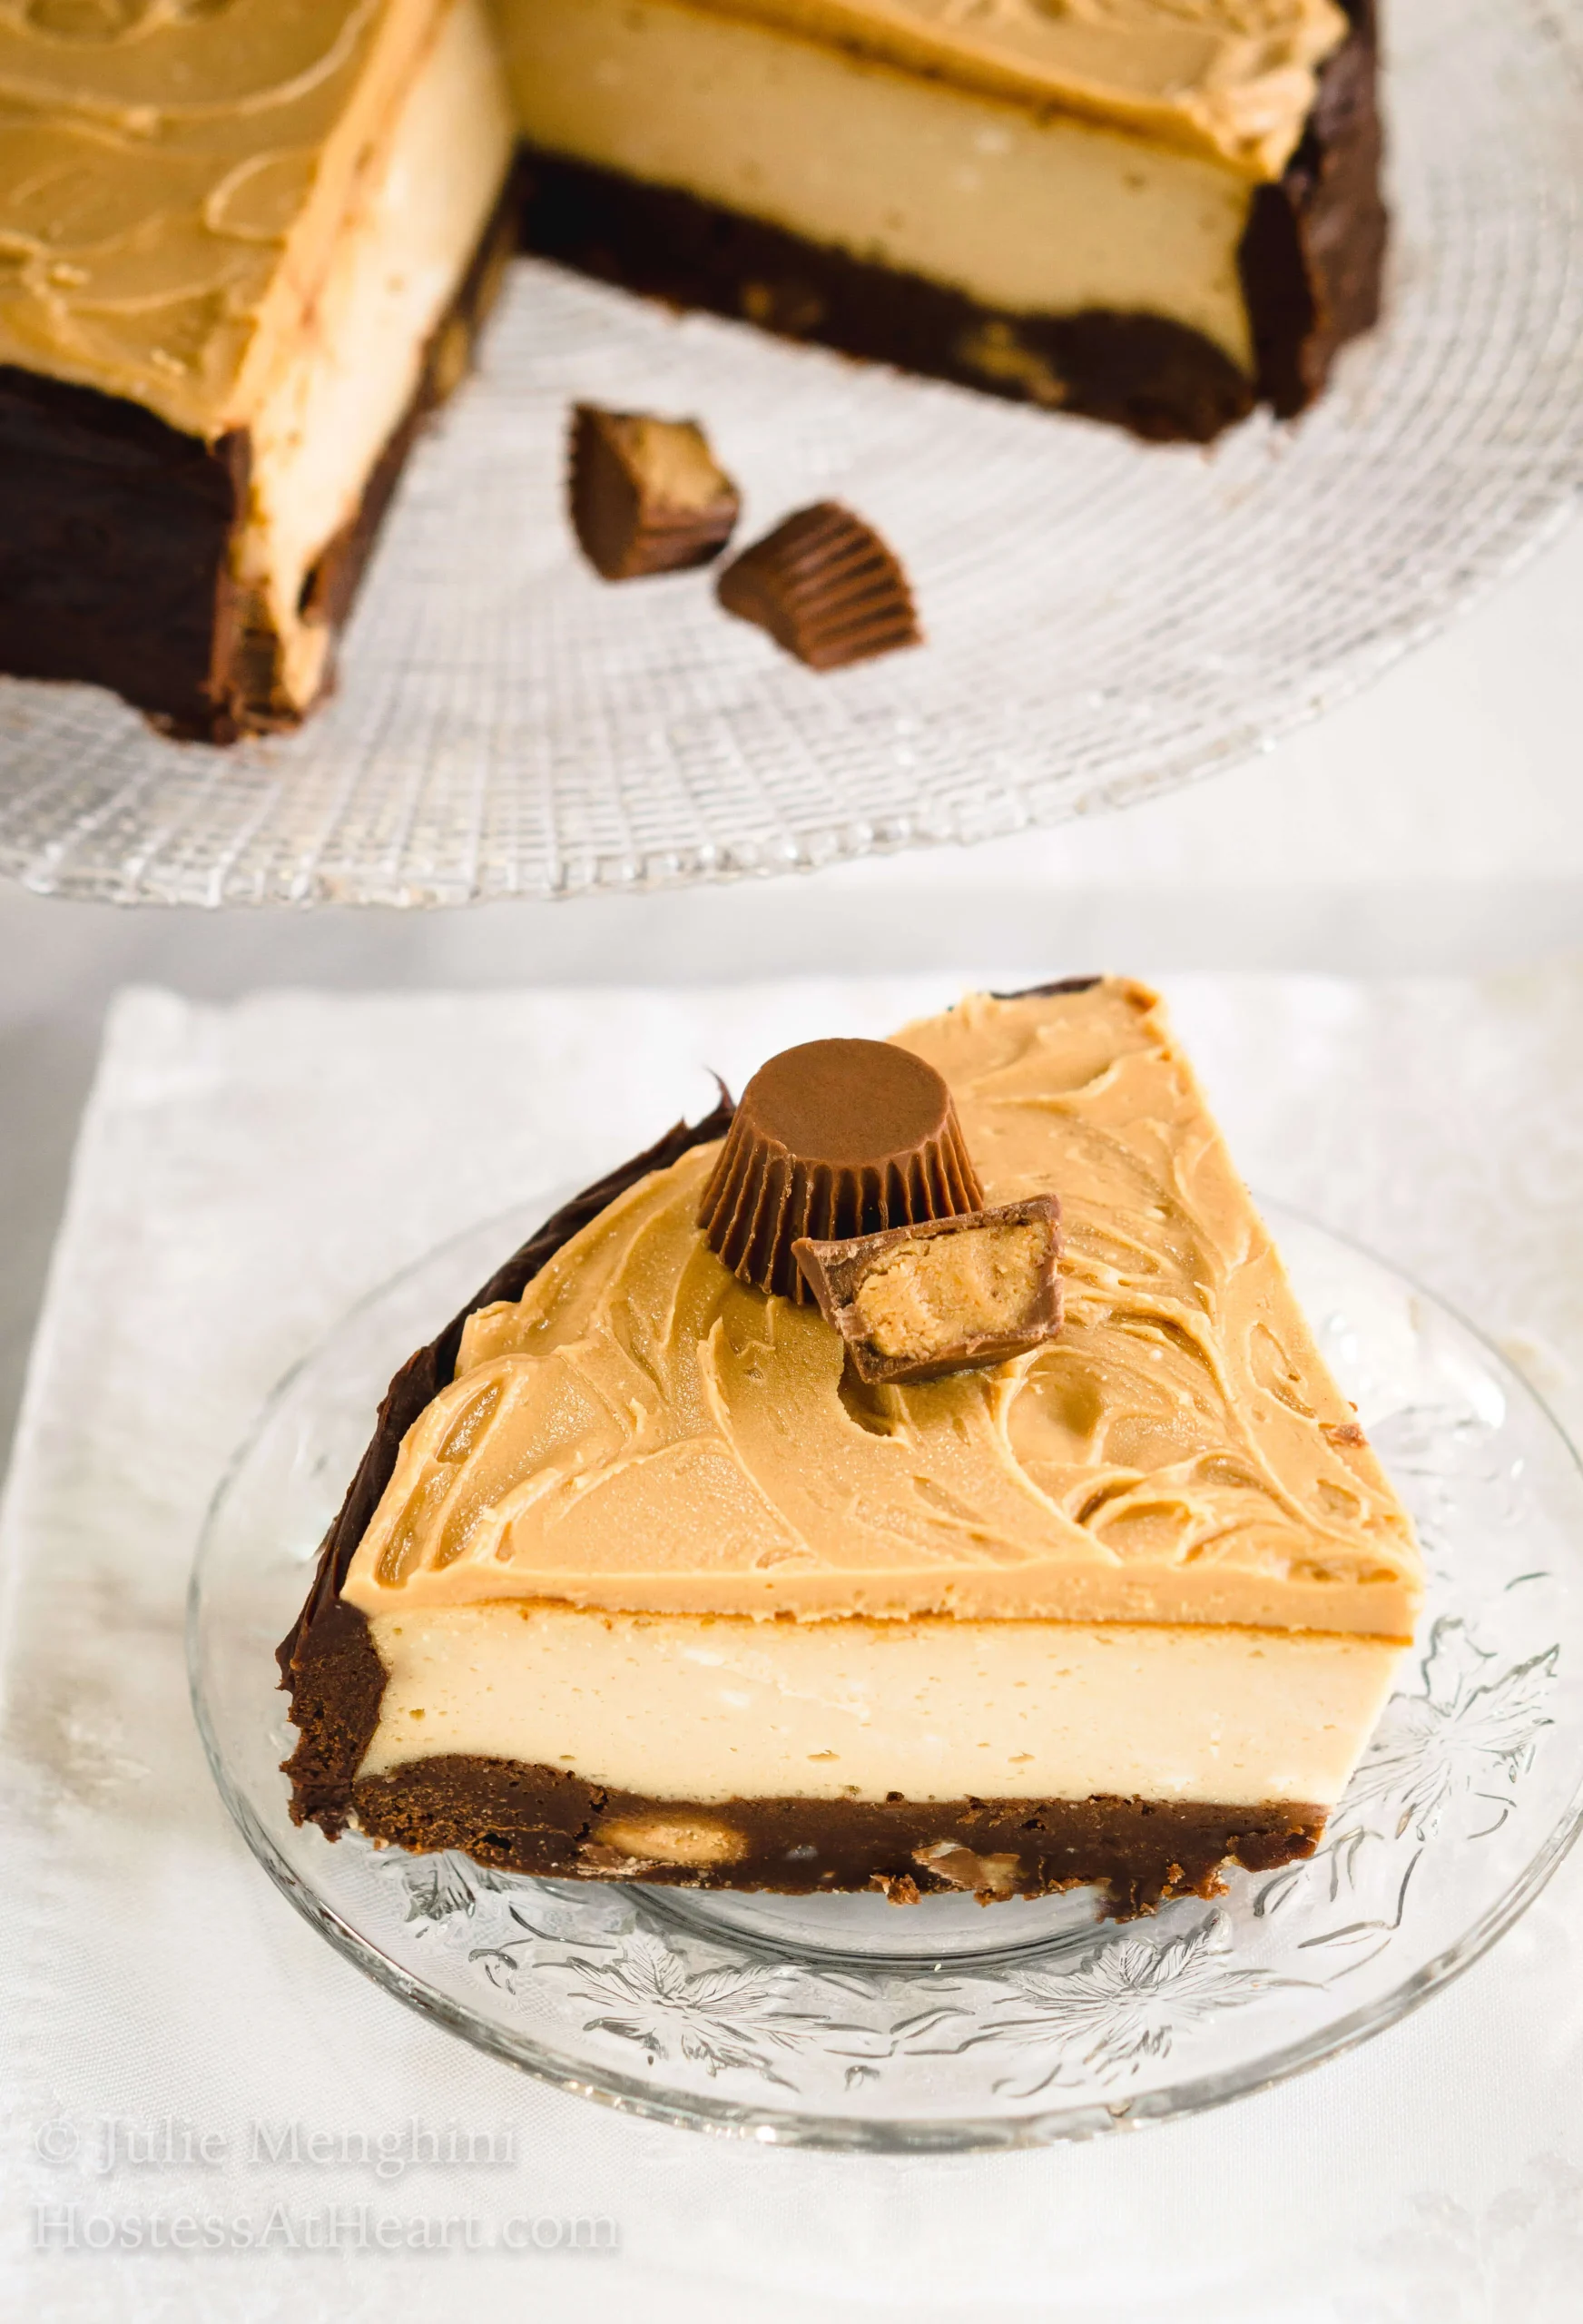
Indulge your taste buds with a heavenly dessert that combines the rich flavors of chocolate and peanut butter into a creamy masterpiece: the Buckeye Cheesecake with Brownie Crust! This decadent treat is perfect for any occasion, whether you're hosting a party or simply craving something sweet. Imagine a luscious cheesecake filling sitting atop a fudgy brownie crust, all drizzled with silky melted chocolate. It’s a dessert that promises to impress and leave everyone begging for seconds. Ready to embark on a delicious journey? Let’s dive into the delightful world of Buckeye Cheesecake!
Prep Time: 30 mins
Cook Time: 60 mins
Total Time: 90 mins
Cuisine: American
Serves: 12 servings
Ingredients
- 1 box brownie mix
- 1/4 cup vegetable oil
- 1/4 cup water
- 2 large eggs
- 16 oz cream cheese, softened
- 1 cup powdered sugar
- 1 cup creamy peanut butter
- 1 tsp vanilla extract
- 1 cup whipped cream
- 1/2 cup chocolate chips
Instructions
- Preheat the oven to 350°F (175°C) and prepare a 9-inch springform pan by lightly greasing it with butter or non-stick cooking spray.
- In a large mixing bowl, combine the brownie mix, vegetable oil, water, and eggs. Mix thoroughly until the batter is smooth and free of lumps.
- Pour the brownie batter into the prepared springform pan, spreading it evenly across the bottom to create a uniform crust.
- Bake the brownie crust for 15-20 minutes, or until a toothpick inserted comes out with a few moist crumbs. Remove from oven and let cool completely.
- In a separate large mixing bowl, beat the softened cream cheese until smooth and creamy using an electric mixer.
- Gradually add powdered sugar to the cream cheese, mixing on low speed until fully incorporated and smooth.
- Add the creamy peanut butter and vanilla extract to the cream cheese mixture, beating until well combined and no streaks remain.
- Gently fold in the whipped cream, ensuring it is evenly distributed throughout the cheesecake mixture.
- Pour the cheesecake filling over the cooled brownie crust, smoothing the top with a spatula to create an even layer.
- Refrigerate the cheesecake for at least 4 hours or overnight to allow it to set completely.
- Before serving, melt the chocolate chips in a microwave-safe bowl in 30-second intervals, stirring between each interval until smooth.
- Drizzle the melted chocolate over the top of the chilled cheesecake in a decorative pattern.
- Slice and serve chilled, optionally garnishing with additional chocolate chips or a sprinkle of cocoa powder.
Tips
- Choose Quality Ingredients: For the best flavor, opt for high-quality cream cheese and peanut butter. Natural peanut butter without added sugars or oils will enhance the taste.
- Don’t Overmix: When combining the cream cheese and powdered sugar, mix just until smooth to avoid incorporating too much air, which can lead to cracks in your cheesecake.
- Cool the Brownie Crust Completely: Ensure that the brownie crust is completely cooled before adding the cheesecake filling. This prevents the filling from melting and ensures a perfect layered effect.
- Chill Overnight: For the best texture and flavor, refrigerate the cheesecake overnight. This allows the flavors to meld beautifully and the cheesecake to set properly.
- Decorative Drizzle: When melting the chocolate chips for drizzling, be patient and stir frequently to avoid burning. A decorative pattern not only looks stunning but adds an extra layer of chocolatey goodness.
- Garnish for Flair: Consider adding a sprinkle of cocoa powder or a few extra chocolate chips on top before serving for an appealing presentation.
- Slice with Warm Knife: For clean slices, dip your knife in hot water and wipe it dry before cutting into the cheesecake. This helps achieve that perfect, Instagram-worthy slice!
Nutrition Facts
Calories: 544kcal
Carbohydrates: 53g
Protein: 13g
Fat: 37g
Saturated Fat: 14g
Cholesterol: 80mg