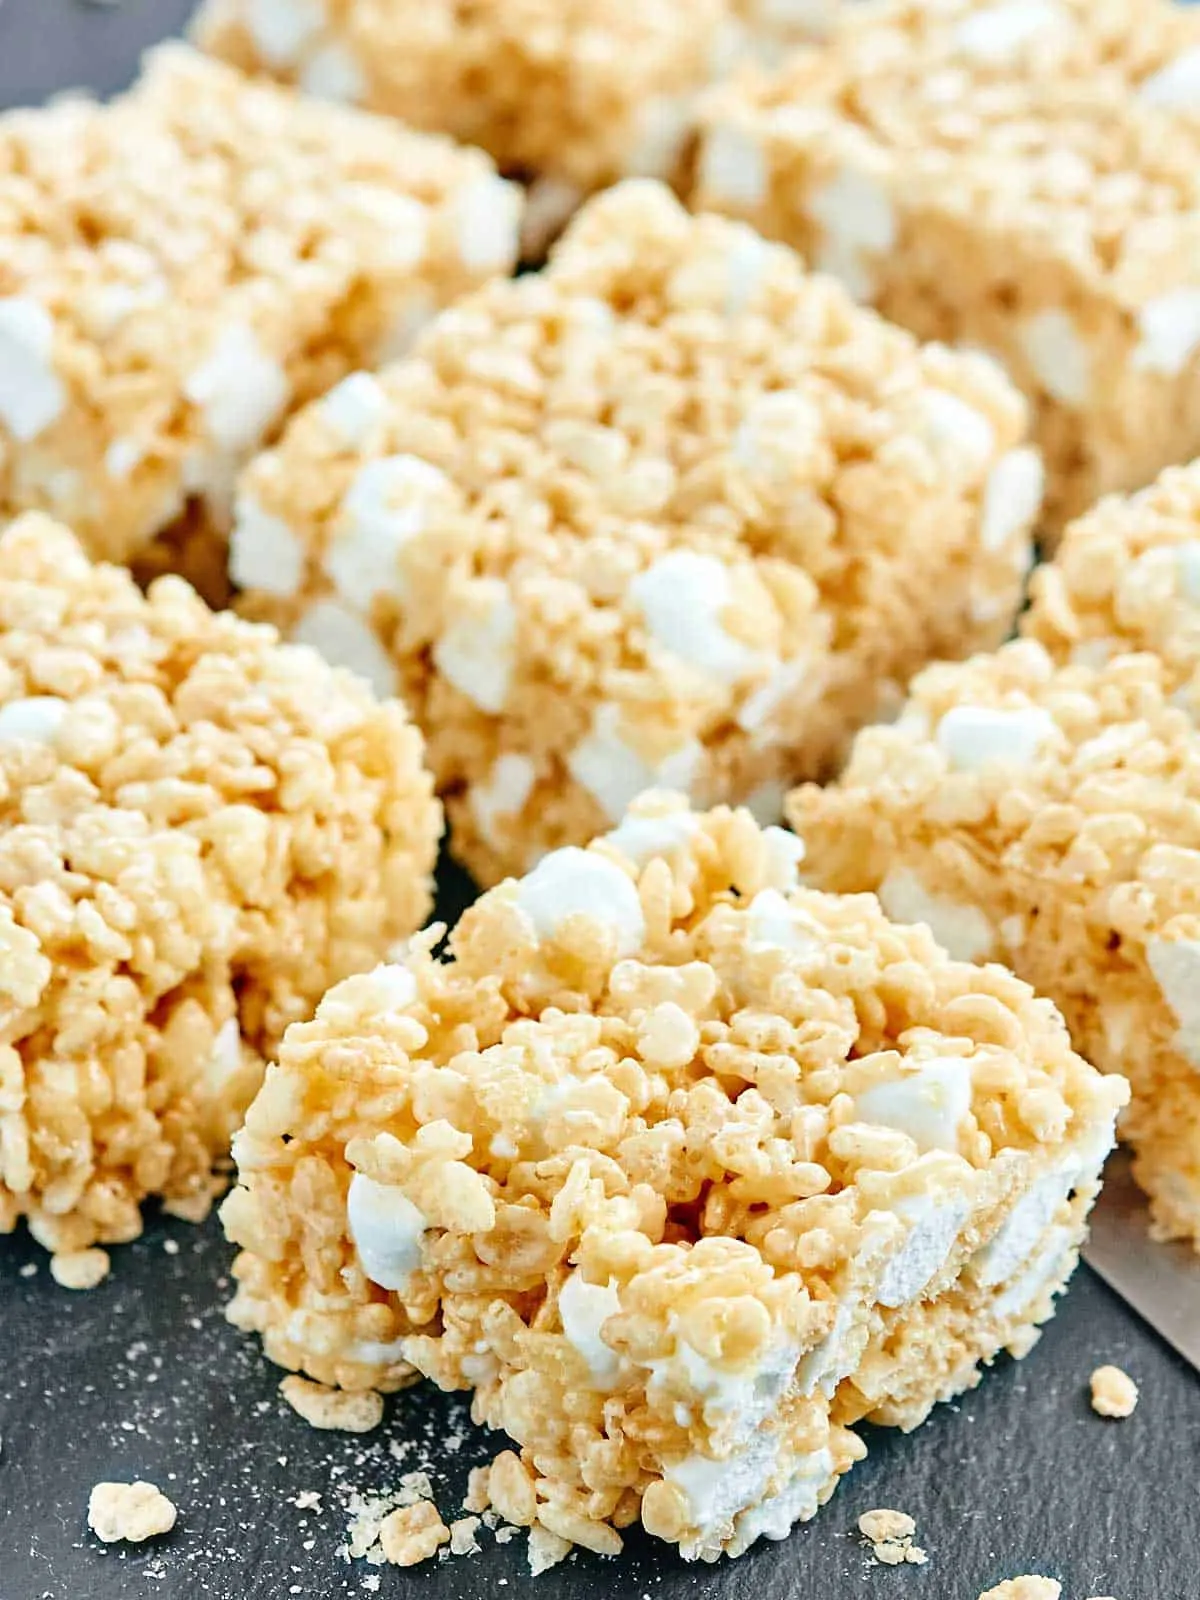
Get ready to hop into a world of sweetness with our delightful Chewy Gooey Rice Krispies Chicks! These adorable, vibrant treats are not only a feast for the eyes but also a nostalgic nod to childhood favorites. Perfect for spring celebrations, birthday parties, or just a fun family activity, these little chicks are sure to steal the show. With just a few simple ingredients and a dash of creativity, you can whip up a batch of these charming confections in no time. So, roll up your sleeves and prepare to create some edible cuteness that will have everyone clucking for more!
Prep Time: 10 mins
Cook Time: 10 mins
Total Time: 20 mins
Cuisine: American
Serves: 12 chicks
Ingredients
- 3 tbsp butter
- 1 package (10 oz) marshmallows
- 6 cups Rice Krispies cereal
- Yellow food coloring
- Chocolate chips (for eyes)
- Orange candy (for beaks)
Instructions
- Prepare your workspace by lining a large baking sheet with parchment paper and lightly greasing it with cooking spray to prevent sticking.
- In a large non-stick saucepan, melt butter over low heat until completely liquefied and smooth.
- Add marshmallows to the melted butter, stirring constantly with a silicone spatula until marshmallows are completely melted and mixture is smooth.
- Remove from heat and quickly add several drops of yellow food coloring, stirring thoroughly to create an even, bright yellow color throughout the mixture.
- Immediately add Rice Krispies cereal to the marshmallow mixture, gently folding and stirring until every piece is evenly coated.
- Allow mixture to cool slightly until comfortable to handle, about 2-3 minutes.
- Grease your hands with cooking spray or butter to prevent sticking, then shape the mixture into oval chick shapes, approximately 2-3 inches long.
- While the shapes are still warm and pliable, gently press two small chocolate chips into each chick to create eyes.
- Place a small piece of orange candy at the front of each chick to form a beak.
- Let the Rice Krispies chicks cool and set completely at room temperature for about 30 minutes before serving.
- For best texture and flavor, serve on the same day they are made, storing in an airtight container if not consuming immediately.
Tips
- Prep Your Workspace: Before you start, make sure to line your baking sheet with parchment paper and lightly grease it with cooking spray. This will help prevent the sticky mixture from sticking and make cleanup a breeze.
- Melt Butter Slowly: When melting the butter, keep the heat low to avoid burning. Stirring constantly will ensure a smooth, even melt.
- Choose the Right Food Coloring: For a vibrant yellow color, opt for gel food coloring instead of liquid. Gel colors provide a richer hue without adding too much liquid to your mixture.
- Work Quickly: Once the marshmallows are melted and colored, work quickly to mix in the Rice Krispies. The mixture will start to set as it cools, so shaping the chicks while it's still warm will make the process easier.
- Shape with Greased Hands: To prevent the mixture from sticking to your hands, grease them with cooking spray or butter before shaping the chicks. This will help you form neat, oval shapes without the mess.
- Personalize Your Chicks: Get creative with your decorations! Use different candies for eyes and beaks or even add sprinkles for extra flair.
- Serve Fresh: For the best texture and flavor, enjoy your Rice Krispies chicks on the same day they are made. If you need to store them, keep them in an airtight container at room temperature.
Nutrition Facts
Calories: 111kcal
Carbohydrates: 19g
Protein: 1g
Fat: 4g
Saturated Fat: 2g
Cholesterol: 9mg

