Are you tired of traditional pie crusts that leave you feeling heavy and bloated? Get ready to transform your baking game with this incredibly delicious and health-conscious Coconut Flour Pie Crust! Perfect for those following grain-free, low-carb, or ketogenic diets, this miraculous crust is not just a substitute – it's a game-changer that will make you forget all about wheat-based pastries. With just a few simple ingredients and minimal prep time, you'll create a versatile pie crust that's crispy, flavorful, and incredibly easy to make!
Prep Time: 10 mins
Cook Time: 15 mins
Total Time: 25 mins
Cuisine: Grain Free
Serves: 1 pie crust
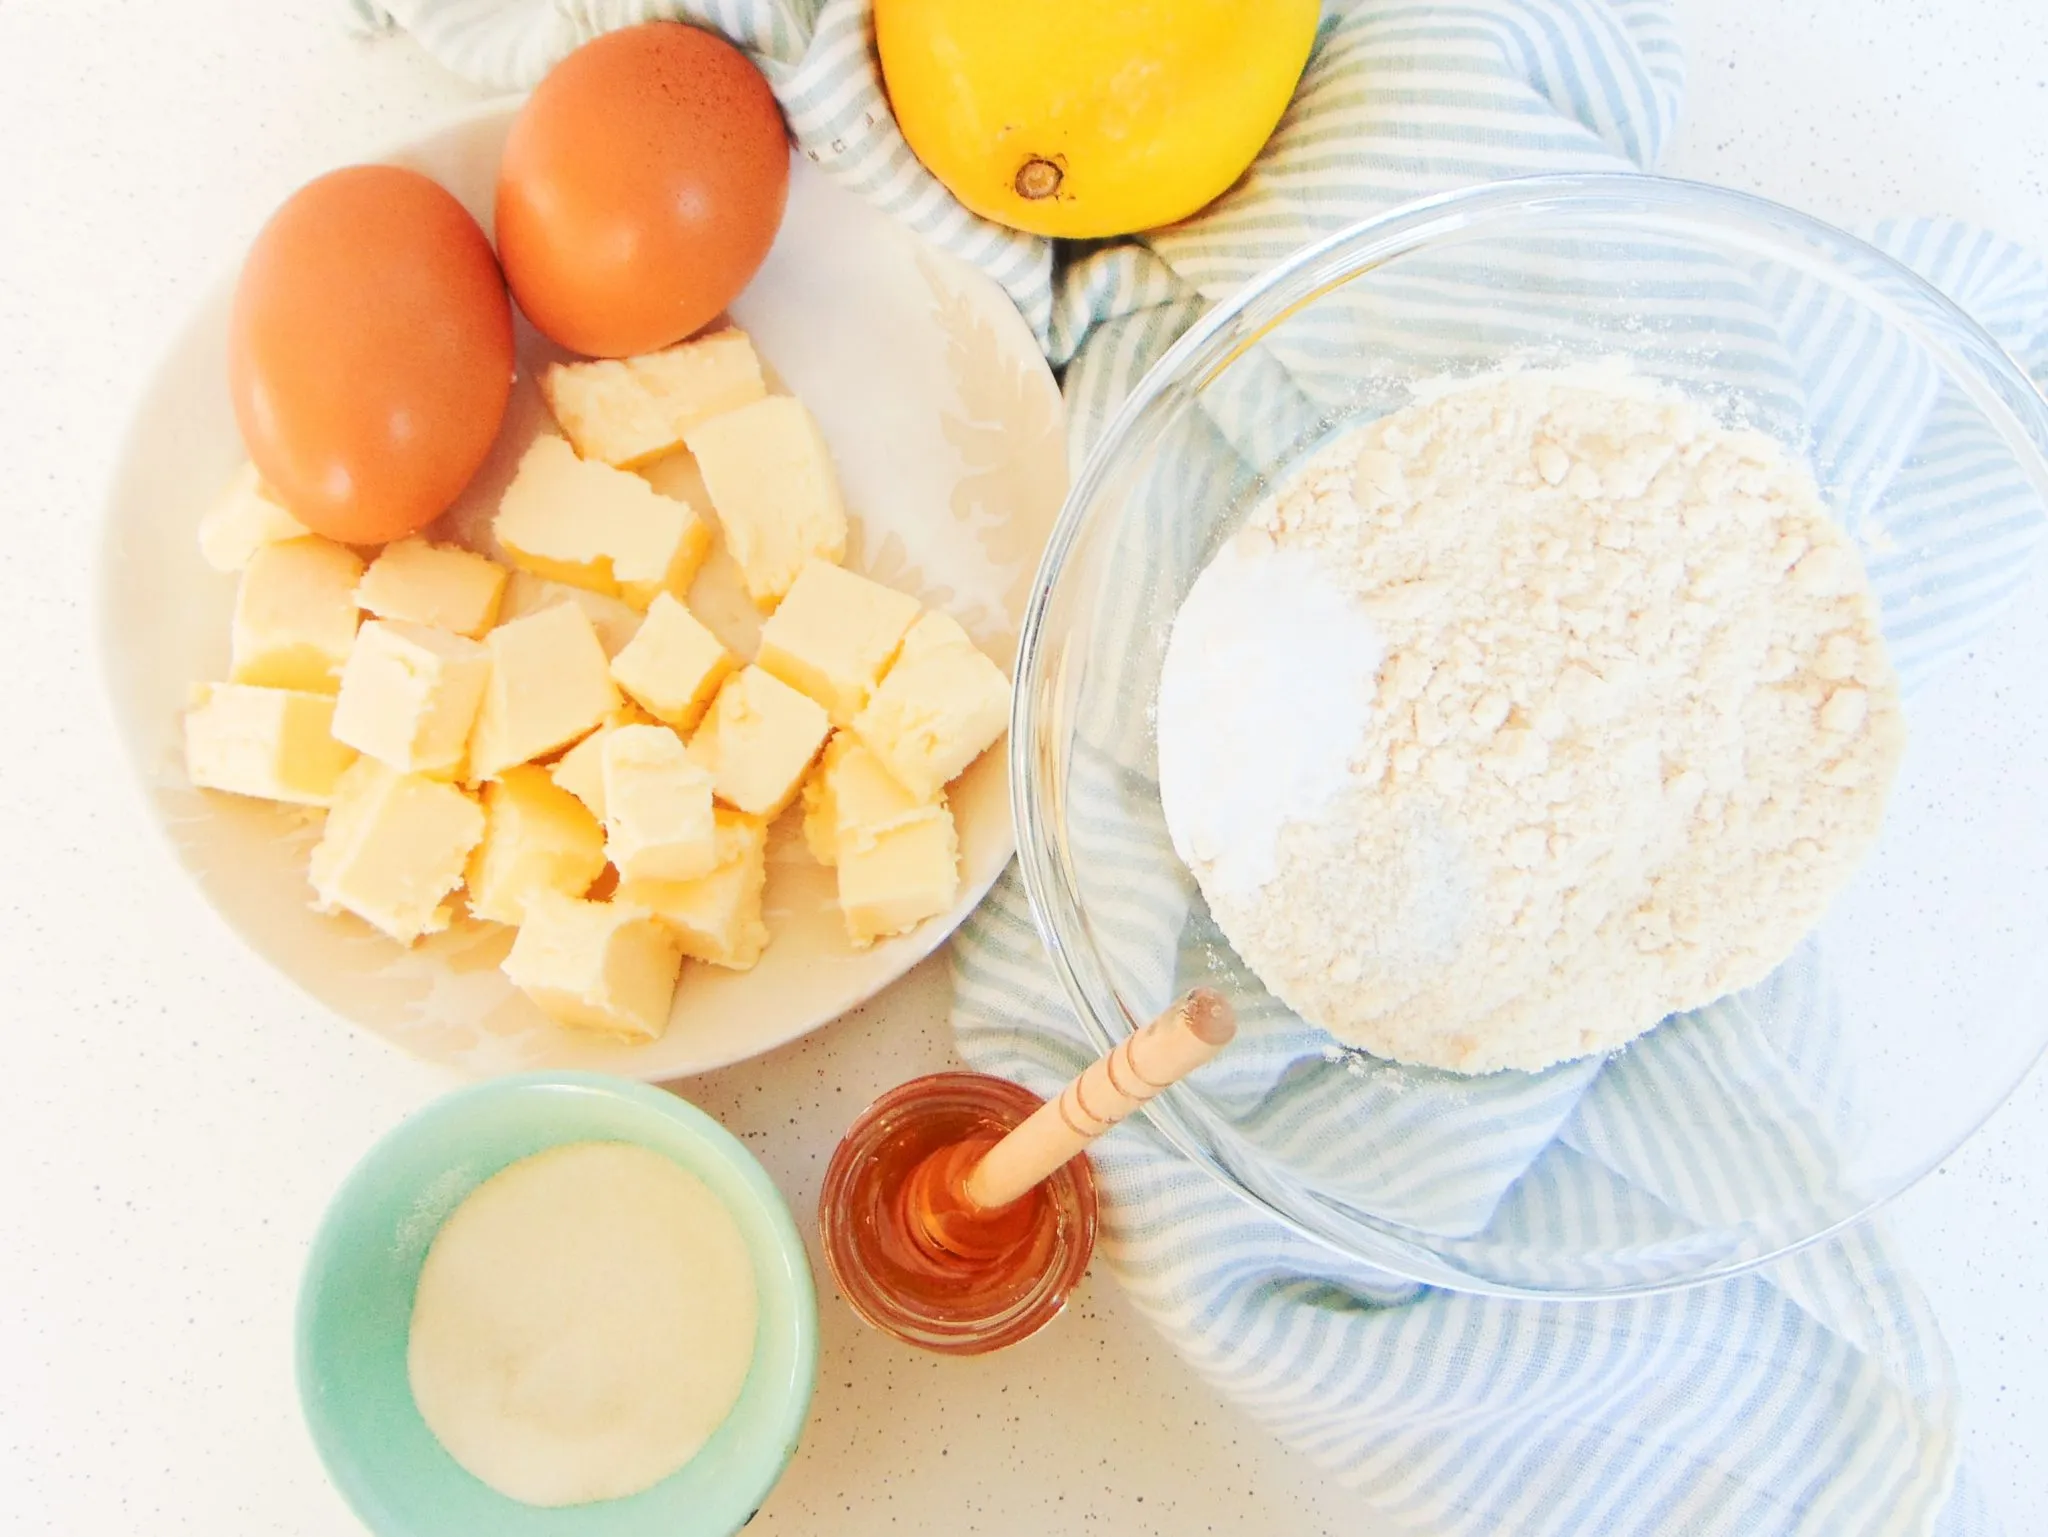
Ingredients
- 1 1/2 cups coconut flour
- 1/2 cup melted coconut oil
- 1/4 cup erythritol (or sweetener of choice)
- 1/4 teaspoon salt
- 3 eggs
Instructions
- Preheat the oven to 350°F (175°C). Prepare a 9-inch pie dish by lightly greasing it with coconut oil or using a non-stick baking spray.
- In a large mixing bowl, combine the coconut flour, salt, and erythritol (or preferred sweetener). Whisk these dry ingredients together until well incorporated and free of any lumps.
- In a separate bowl, crack the 3 eggs and whisk them thoroughly. Add the melted coconut oil to the eggs and mix until completely combined.
- Pour the wet ingredients into the dry ingredients. Use a spatula or wooden spoon to mix until a cohesive dough forms. The mixture might seem crumbly at first, but continue mixing until it comes together.
- If the dough seems too dry, add a small amount of water (1 tablespoon at a time) until it becomes more malleable. The consistency should be similar to a soft, slightly crumbly pie dough.
- Transfer the dough to the prepared pie dish. Use your fingers to press the dough evenly across the bottom and up the sides of the dish. Ensure the thickness is consistent throughout.
- Use a fork to prick the bottom of the crust several times. This helps prevent the crust from bubbling up during baking.
- Place the crust in the preheated oven and bake for 12-15 minutes, or until the edges begin to turn golden brown.
- Remove from the oven and let cool completely before adding your desired pie filling. The crust can be used for both sweet and savory pies.
- If not using immediately, you can store the baked crust in an airtight container in the refrigerator for up to 3 days.
Tips
- Consistency is Key: The dough might seem crumbly at first, but keep mixing. If it's too dry, add water one tablespoon at a time until it becomes malleable.
- Even Distribution: When pressing the dough into the pie dish, use your fingers to ensure an even thickness throughout the crust for consistent baking.
- Prevent Bubbling: Always remember to prick the bottom of the crust with a fork before baking to prevent unwanted air bubbles.
- Temperature Matters: Make sure your coconut oil is properly melted but not too hot when mixing with eggs to prevent scrambling.
- Cooling is Crucial: Allow the crust to cool completely before adding your filling to maintain its structural integrity.
- Versatility Tip: This crust works beautifully for both sweet and savory pies, so don't be afraid to get creative!
- Storage Hack: If you're not using the crust immediately, it can be stored in an airtight container in the refrigerator for up to 3 days.
Nutrition Facts
Calories: 1080kcal
Carbohydrates: 48g
Protein: 24g
Fat: 96g
Saturated Fat: 80g
Cholesterol: 375mg