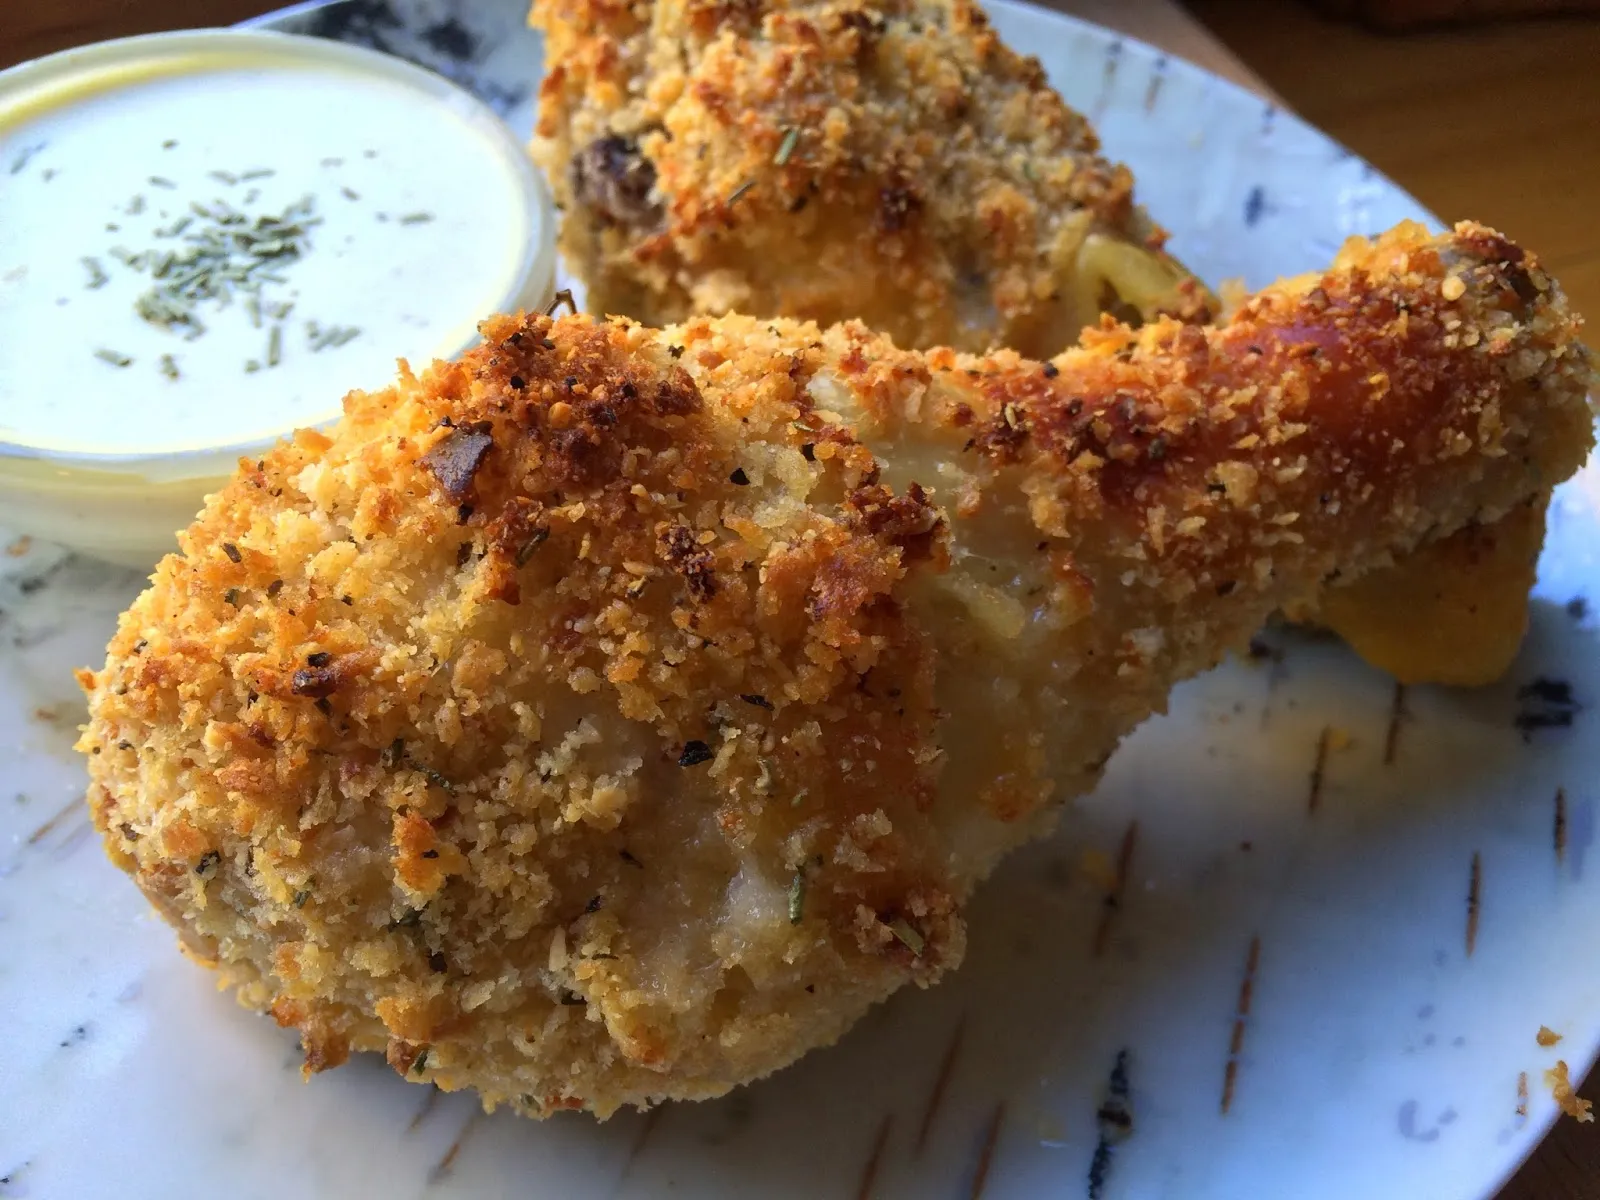
If you’re craving a crispy, golden-brown chicken dish that’s not only delicious but also easy to make, look no further! Our crispy oven-fried panko chicken thighs will have your taste buds dancing with delight. Imagine sinking your teeth into tender, juicy chicken enveloped in a crunchy panko crust, all without the guilt of frying. Perfect for a weeknight dinner or a weekend gathering, this recipe is sure to impress your family and friends. Ready to elevate your cooking game? Let’s dive into this mouthwatering recipe that promises to be a new favorite!
Prep Time: 15 mins
Cook Time: 45 mins
Total Time: 1 hrs
Cuisine: American
Serves: 4 servings
Ingredients
- 4 chicken thighs
- 1 cup panko breadcrumbs
- 1/2 cup all-purpose flour
- 2 large eggs
- 1 tsp garlic powder
- 1 tsp onion powder
- 1 tsp paprika
- Salt and pepper to taste
- Cooking spray
Instructions
- Preheat the oven to 425°F (218°C). Line a baking sheet with parchment paper or a wire rack for optimal crispiness.
- Pat chicken thighs dry with paper towels to remove excess moisture, which helps achieve a crispier coating.
- In a shallow dish, mix panko breadcrumbs, garlic powder, onion powder, paprika, salt, and pepper until well combined.
- In a separate shallow dish, whisk eggs until smooth. In another dish, place the all-purpose flour.
- Create a breading station: first dredge each chicken thigh in flour, shaking off excess. Then dip into whisked eggs, and finally coat thoroughly with seasoned panko breadcrumbs.
- Spray the breaded chicken thighs generously with cooking spray. This helps promote even browning and crispiness.
- Place chicken thighs on the prepared baking sheet, ensuring they are not touching each other for even air circulation.
- Bake in the preheated oven for 40-45 minutes, or until the internal temperature reaches 165°F (74°C) and the coating is golden brown and crispy.
- Remove from oven and let rest for 5 minutes before serving to allow juices to redistribute.
- Serve hot with your favorite dipping sauce or side dishes.
Tips
- Pat Dry for Extra Crispiness: Make sure to pat your chicken thighs dry with paper towels before breading. This step removes excess moisture and helps the coating adhere better, resulting in a crunchier texture.
- Create a Breading Station: Organize your breading station with flour, eggs, and the seasoned panko breadcrumbs lined up in that order. This will make the breading process smoother and more efficient.
- Don’t Skimp on the Cooking Spray: Generously spray the breaded chicken thighs with cooking spray before baking. This not only helps achieve that golden-brown color but also ensures even crispiness.
- Use a Wire Rack: If possible, place the chicken thighs on a wire rack set over the baking sheet. This allows air to circulate around the chicken, enhancing the crispiness on all sides.
- Check Internal Temperature: Use a meat thermometer to ensure the chicken reaches an internal temperature of 165°F (74°C). This guarantees that your chicken is cooked through while still remaining juicy.
- Let It Rest: After baking, let the chicken rest for about 5 minutes before serving. This allows the juices to redistribute, ensuring every bite is tender and flavorful.
- Pair with Dipping Sauces: Serve your crispy chicken thighs with your favorite dipping sauces or side dishes like coleslaw or mashed potatoes for a complete meal that everyone will love!
Nutrition Facts
Calories: 380kcal
Carbohydrates: 22g
Protein: 30g
Fat: 18g
Saturated Fat: 5g
Cholesterol: 180mg

