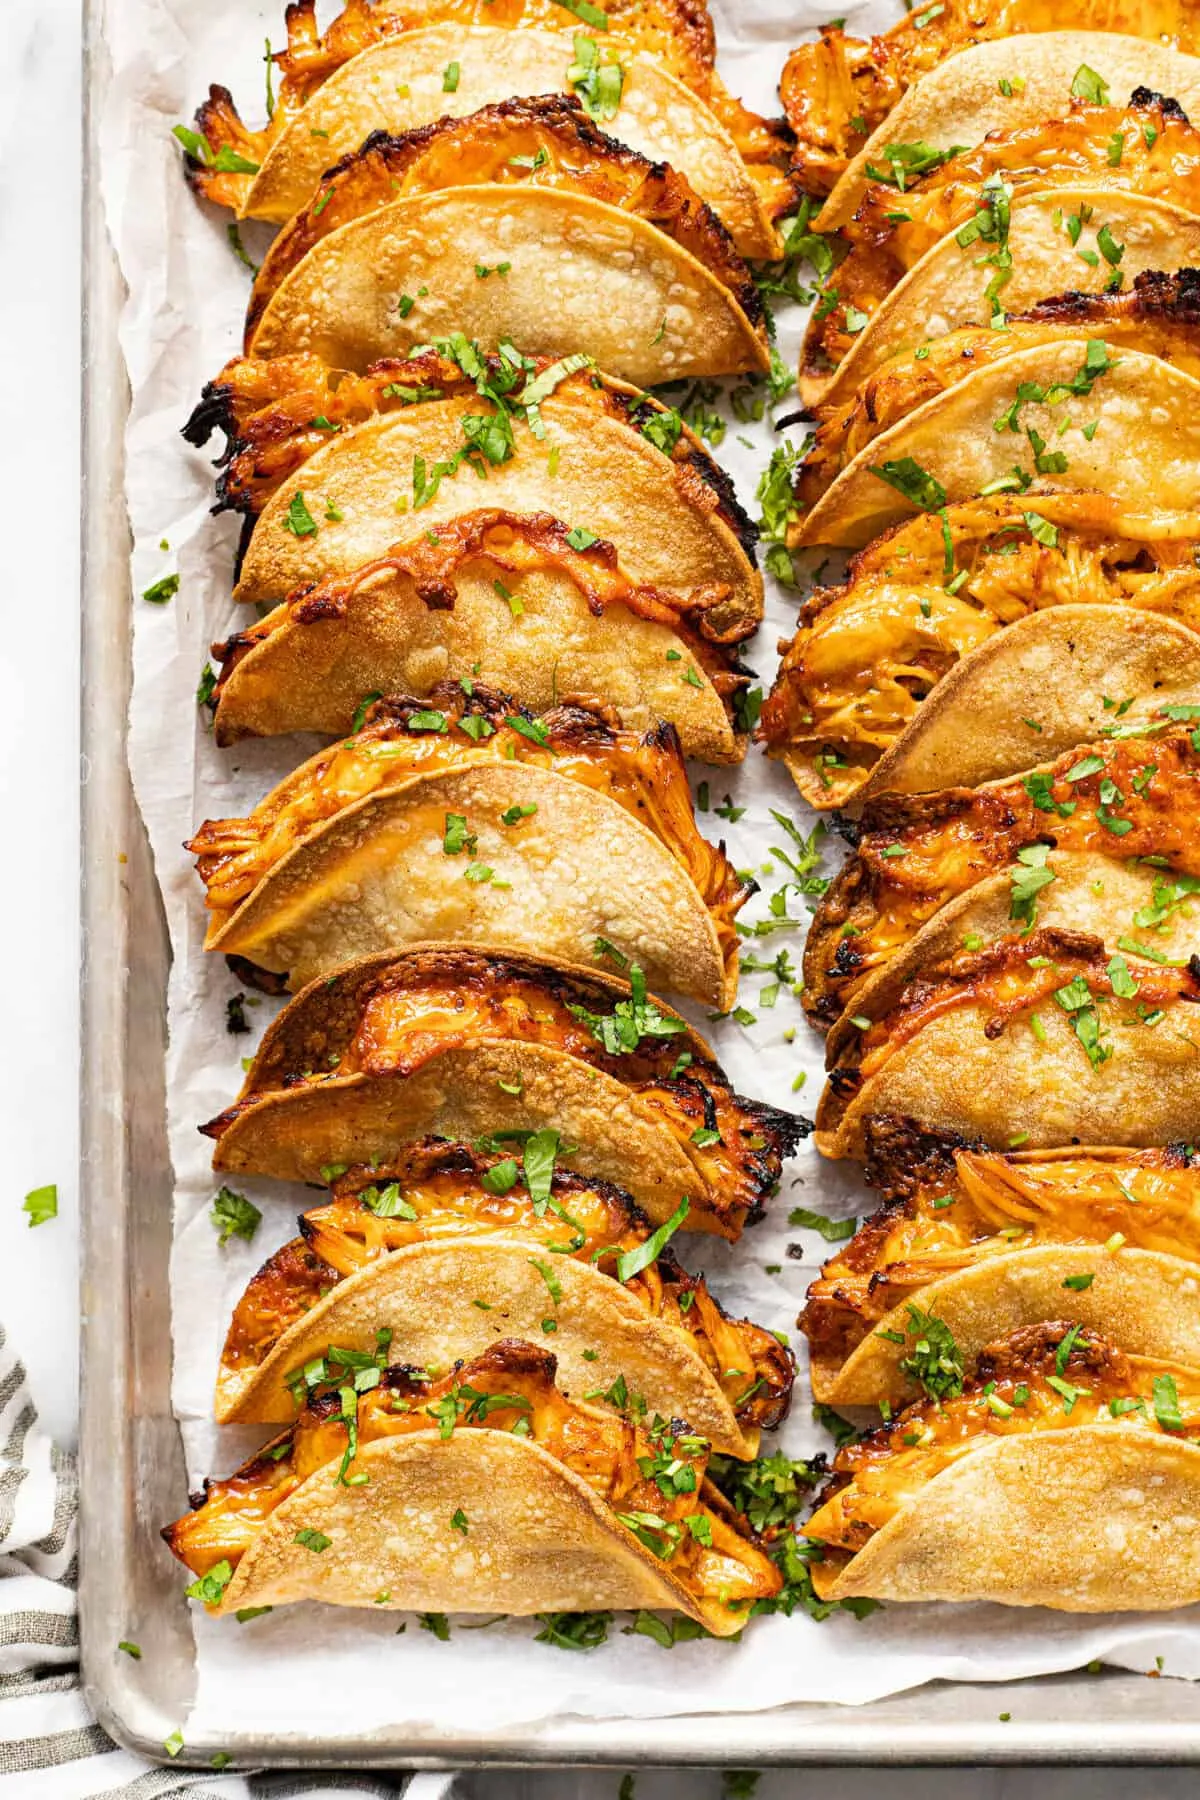
Get ready to transform your ordinary chicken dinner into a crispy, cheesy, Mexican-inspired masterpiece that will have your family begging for seconds! This Crunchy Taco Chip Chicken is not just another boring protein dish – it's a culinary adventure that combines the irresistible crunch of taco chips with tender, juicy chicken and a zesty salsa kick. Imagine biting into a perfectly golden, cheese-topped chicken breast that's packed with bold flavors and an unbelievably satisfying crunch – this recipe is about to become your new weeknight superhero!
Prep Time: 10 mins
Cook Time: 25 mins
Total Time: 35 mins
Cuisine: Mexican
Serves: 4 servings
Ingredients
- 4 chicken breasts
- 2 cups crushed taco chips
- 1/2 cup salsa
- 1 cup shredded cheese
- 1 teaspoon cumin
- Salt and pepper to taste
Instructions
- Preheat the oven to 375°F (190°C). Prepare a large baking sheet by lining it with parchment paper or lightly greasing it with cooking spray.
- Pat the chicken breasts dry with paper towels to remove excess moisture. This helps the coating adhere better.
- In a shallow dish, crush the taco chips into fine crumbs using a rolling pin or food processor. Mix in the cumin, salt, and pepper to create a seasoned coating.
- If the chicken breasts are thick, use a meat mallet to pound them to an even 1/2-inch thickness to ensure uniform cooking.
- Spread a thin layer of salsa on each chicken breast, which will help the chip coating stick and add moisture to the meat.
- Dredge each chicken breast in the crushed taco chip mixture, pressing firmly to ensure a thick, even coating on all sides.
- Place the coated chicken breasts on the prepared baking sheet, leaving space between each piece for even cooking.
- Bake in the preheated oven for 20-25 minutes, or until the chicken is golden brown and reaches an internal temperature of 165°F (74°C).
- During the last 5 minutes of cooking, sprinkle shredded cheese over the top of each chicken breast to create a melted, golden cheese layer.
- Remove from the oven and let the chicken rest for 5 minutes before serving. This allows the juices to redistribute, ensuring a moist and flavorful dish.
- Serve hot, garnished with additional salsa, chopped cilantro, or a dollop of sour cream if desired.
Tips
- Ensure your taco chips are crushed extremely fine for the most even and crispy coating. Use a food processor or place chips in a sealed bag and crush with a rolling pin.
- Pat the chicken breasts completely dry before coating to help the chip mixture adhere better and create a crispier exterior.
- For extra flavor, try using flavored taco chips like nacho cheese or spicy varieties to add more depth to your coating.
- Use a meat thermometer to ensure the chicken reaches exactly 165°F (74°C) for perfect doneness without drying out.
- If you want an extra crispy finish, you can briefly broil the chicken for 1-2 minutes after baking to achieve a golden, crunchy top.
- Experiment with different types of cheese – pepper jack, Mexican blend, or sharp cheddar can all add unique flavor profiles to the dish.
- Prep the chicken ahead of time and refrigerate before baking to help the coating set and become even crunchier when cooked.
Nutrition Facts
Calories: 420kcal
Carbohydrates: 15g
Protein: 35g
Fat: 25g
Saturated Fat: 8g
Cholesterol: 110mg

