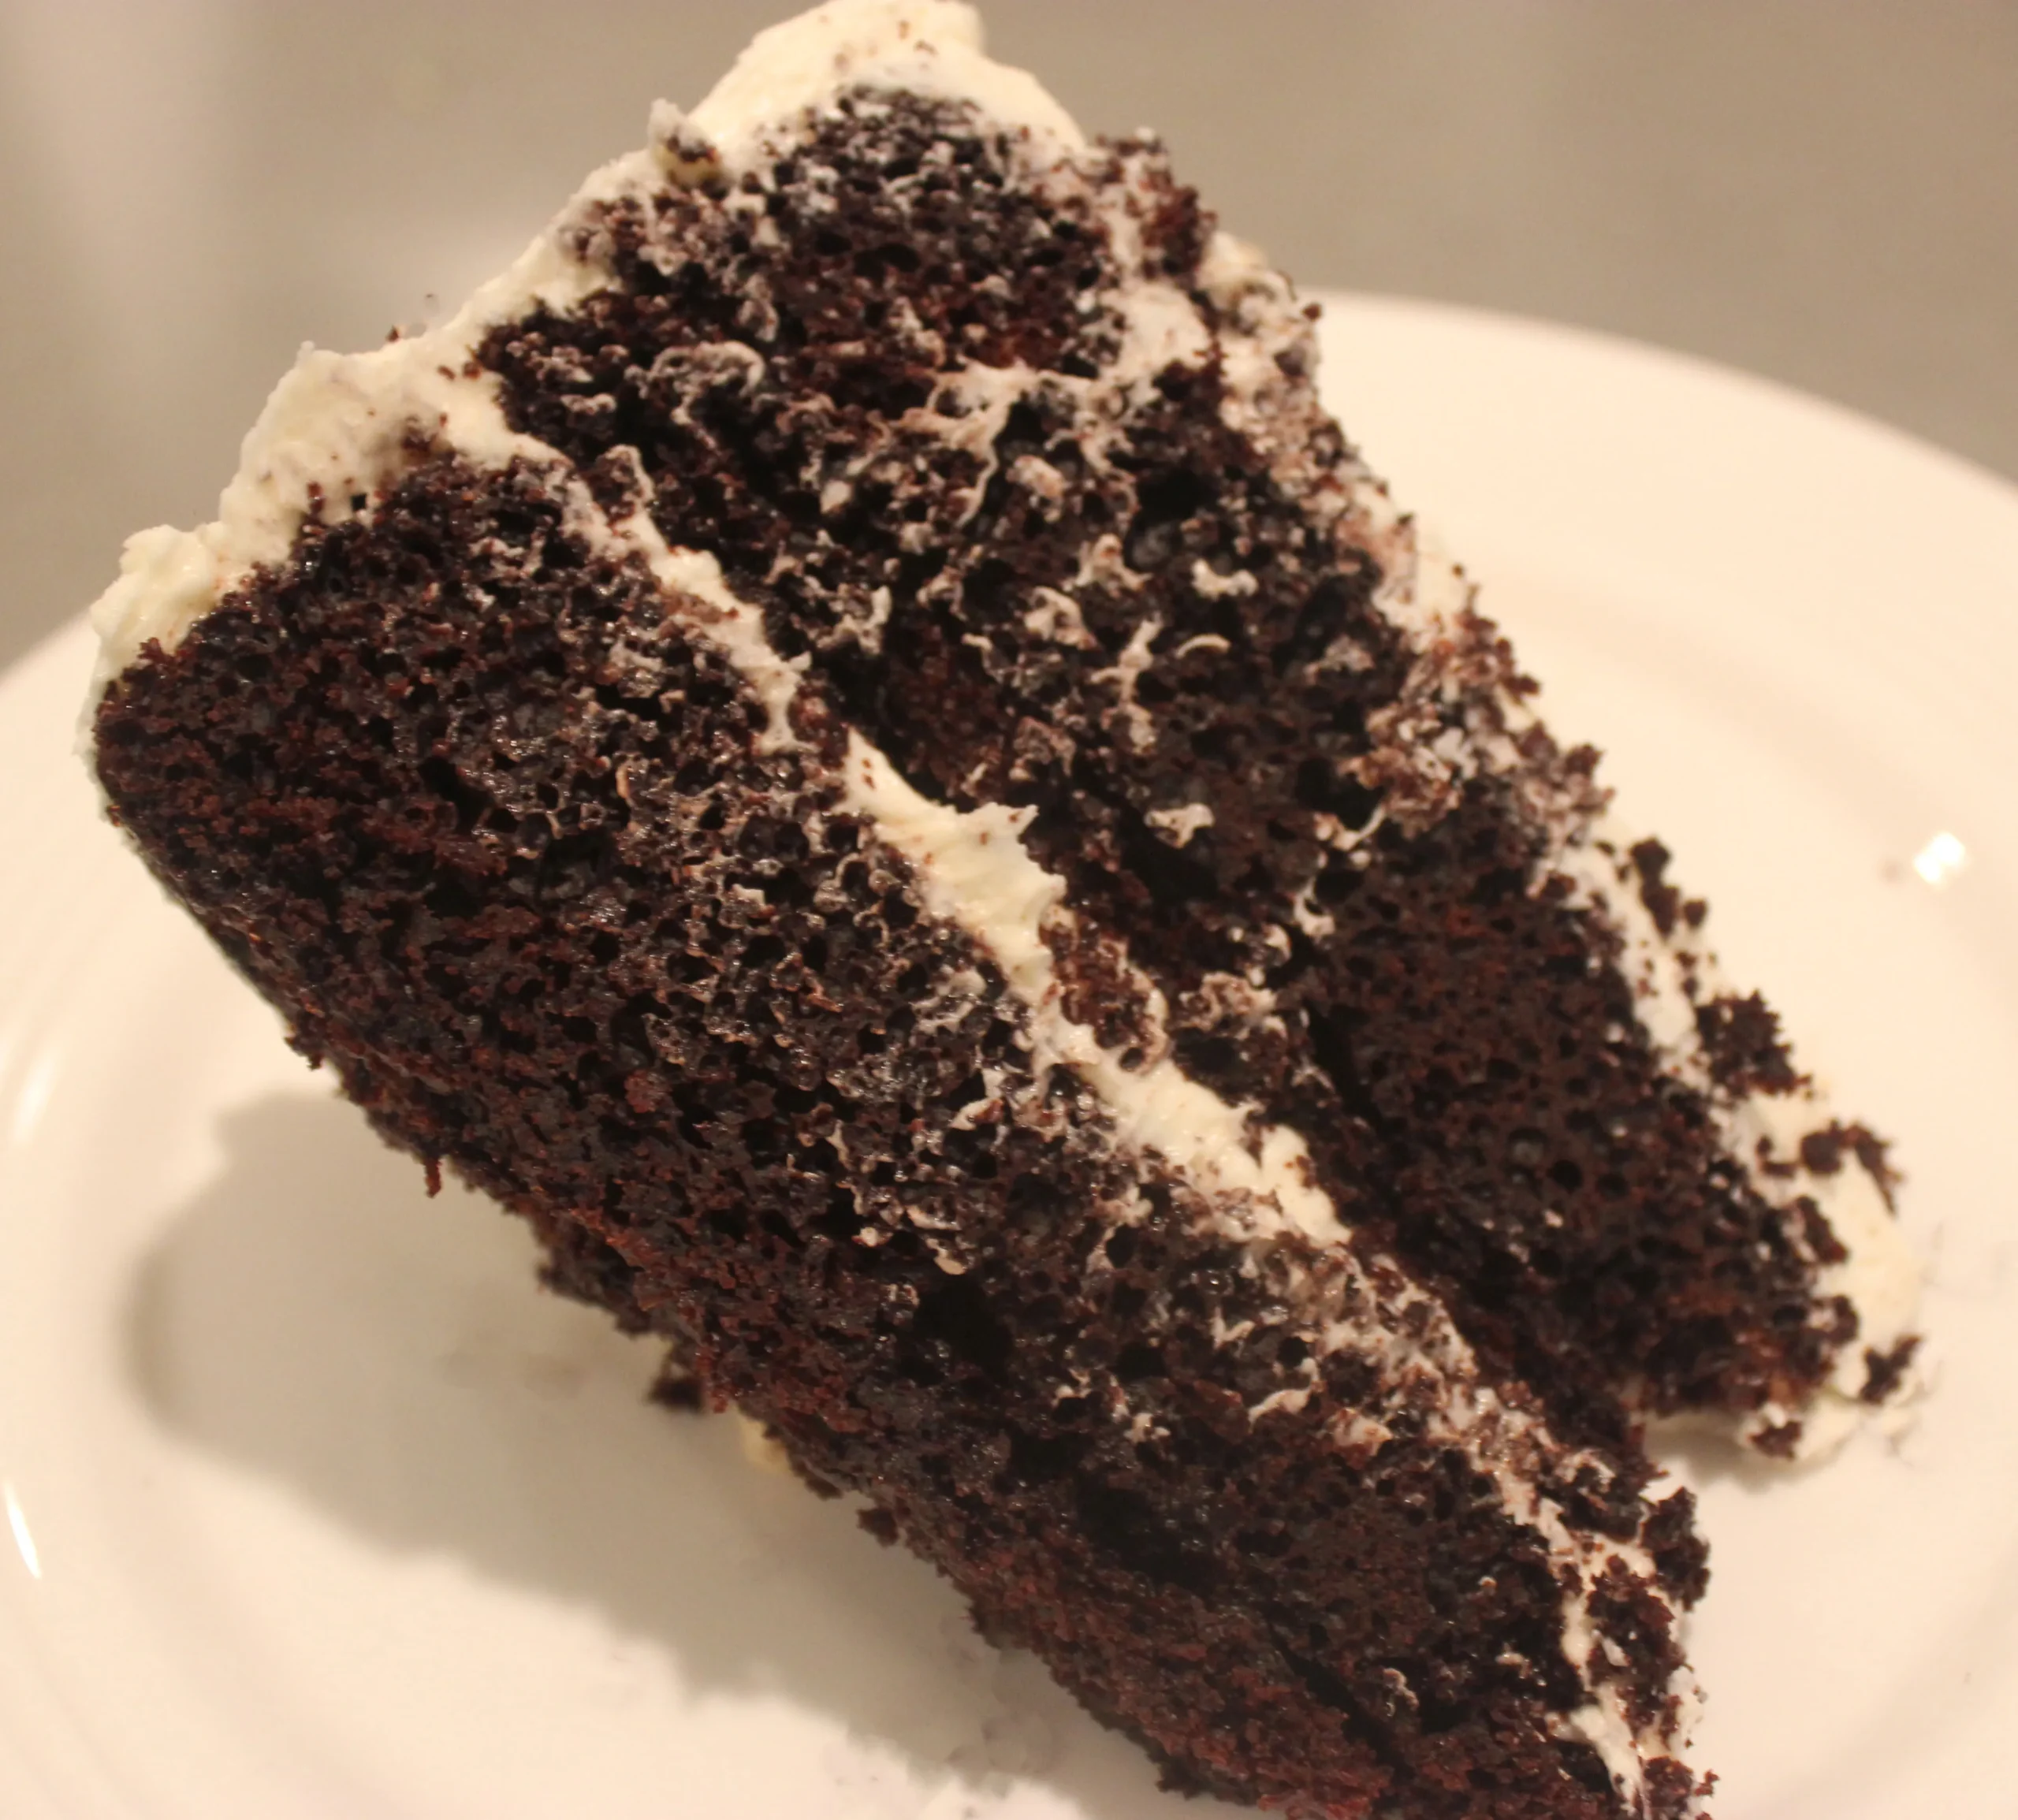
Prepare to embark on a decadent chocolate journey that will transform your ordinary dessert experience into an extraordinary culinary adventure! This Devil's Food Cake isn't just another chocolate cake - it's a rich, velvety masterpiece that promises to seduce your senses with its intense cocoa flavor and irresistibly fluffy frosting. Whether you're a seasoned baker or a curious home cook, this recipe will elevate your baking game and impress everyone who takes a bite.
Prep Time: 20 mins
Cook Time: 30 mins
Total Time: 50 mins
Cuisine: American
Serves: 12 servings
Ingredients
- 1 3/4 cups all-purpose flour
- 1 1/2 cups sugar
- 3/4 cup unsweetened cocoa powder
- 1 1/2 teaspoons baking powder
- 1 1/2 teaspoons baking soda
- 1 teaspoon salt
- 2 large eggs
- 1 cup milk
- 1/2 cup vegetable oil
- 2 teaspoons vanilla extract
- 1 cup boiling water
- 1 cup butter, softened
- 4 cups powdered sugar
- 1/4 cup milk (for frosting)
- 1 teaspoon vanilla extract (for frosting)
Instructions
- Preheat the oven to 350°F (175°C). Grease and flour two 9-inch round cake pans, ensuring complete coverage to prevent sticking.
- In a large mixing bowl, sift together the all-purpose flour, sugar, unsweetened cocoa powder, baking powder, baking soda, and salt. Whisk the dry ingredients until thoroughly combined and no lumps remain.
- In a separate medium bowl, beat the eggs until well blended. Add milk, vegetable oil, and vanilla extract. Whisk the wet ingredients until smooth and fully incorporated.
- Pour the wet ingredient mixture into the dry ingredients. Mix with an electric mixer on medium speed for about 2 minutes until the batter is smooth and well blended.
- Carefully add the boiling water to the batter, stirring gently until the water is completely integrated. The batter will be thin, which is normal for Devil's Food Cake.
- Divide the batter evenly between the prepared cake pans. Tap the pans gently on the counter to release any air bubbles.
- Bake in the preheated oven for 30-35 minutes. Test for doneness by inserting a toothpick into the center of the cakes - it should come out clean with just a few moist crumbs.
- Remove cakes from the oven and let them cool in the pans for 10 minutes. Then turn out onto wire racks to cool completely.
- For the frosting, beat the softened butter in a large bowl until creamy and smooth using an electric mixer.
- Gradually add powdered sugar, alternating with milk. Beat on medium-high speed until the frosting is light, fluffy, and reaches spreading consistency.
- Mix in vanilla extract for the frosting and beat for an additional minute to ensure even flavor distribution.
- Once the cake layers are completely cool, place one layer on a serving plate. Spread a generous layer of frosting on top.
- Carefully place the second cake layer on top. Frost the top and sides of the cake with the remaining frosting, creating smooth or decorative swirls as desired.
- For best flavor and texture, let the cake sit for 30 minutes before serving to allow the frosting to set and flavors to meld.
Tips
- Use room temperature ingredients to ensure smoother mixing and better cake texture.
- Sift dry ingredients to prevent lumps and create a more uniform cake batter.
- Don't overmix the batter - mix just until ingredients are combined to keep the cake tender.
- Use boiling water as specified - it helps bloom the cocoa powder and creates a richer chocolate flavor.
- Allow cake layers to cool completely before frosting to prevent melting and sliding.
- For extra moisture, consider brushing cake layers with simple syrup before frosting.
- Use an offset spatula for smooth, professional-looking frosting application.
- Store the cake in a cool place, and it will stay moist and delicious for 3-4 days.
Nutrition Facts
Calories: 375kcal
Carbohydrates: g
Protein: g
Fat: 20g
Saturated Fat: g
Cholesterol: mg

