Imagine waking up to the warm, spicy aroma of gingerbread filling your kitchen, without worrying about gluten! These incredible Gluten-Free Gingerbread Waffles are about to revolutionize your breakfast routine, delivering all the nostalgic holiday flavors in a crispy, golden package that's both delicious and dietary-friendly. Whether you're celiac, gluten-sensitive, or just looking for a healthier breakfast option, these waffles promise to transport you to a winter wonderland of taste with every single bite.
Prep Time: 10 mins
Cook Time: 15 mins
Total Time: 25 mins
Cuisine: American
Serves: 4 servings
Ingredients
- 1 cup gluten-free all-purpose flour
- 1 tablespoon baking powder
- 1 teaspoon ground ginger
- 1 teaspoon ground cinnamon
- 1/2 teaspoon ground nutmeg
- 1/4 teaspoon salt
- 1 cup milk
- 2 large eggs
- 1/4 cup molasses
- 2 tablespoons melted butter
Instructions
- Preheat your waffle iron to medium-high heat and lightly grease the surface with non-stick cooking spray or melted butter.
- In a large mixing bowl, whisk together the gluten-free all-purpose flour, baking powder, ground ginger, ground cinnamon, ground nutmeg, and salt until well combined.
- In a separate medium bowl, whisk together the milk, eggs, molasses, and melted butter until smooth and fully incorporated.
- Pour the wet ingredients into the dry ingredients and mix gently with a spatula until just combined. Be careful not to overmix; some small lumps are okay.
- Let the batter rest for 2-3 minutes to allow the gluten-free flour to absorb the liquid and the baking powder to activate.
- Scoop the appropriate amount of batter onto the preheated waffle iron (follow your waffle iron's specific guidelines for batter quantity).
- Close the waffle iron and cook until the waffles are golden brown and crisp, typically 3-4 minutes depending on your waffle maker.
- Carefully remove the waffle using a fork or silicone spatula and place on a wire rack to prevent sogginess.
- Repeat with remaining batter, re-greasing the waffle iron as needed between batches.
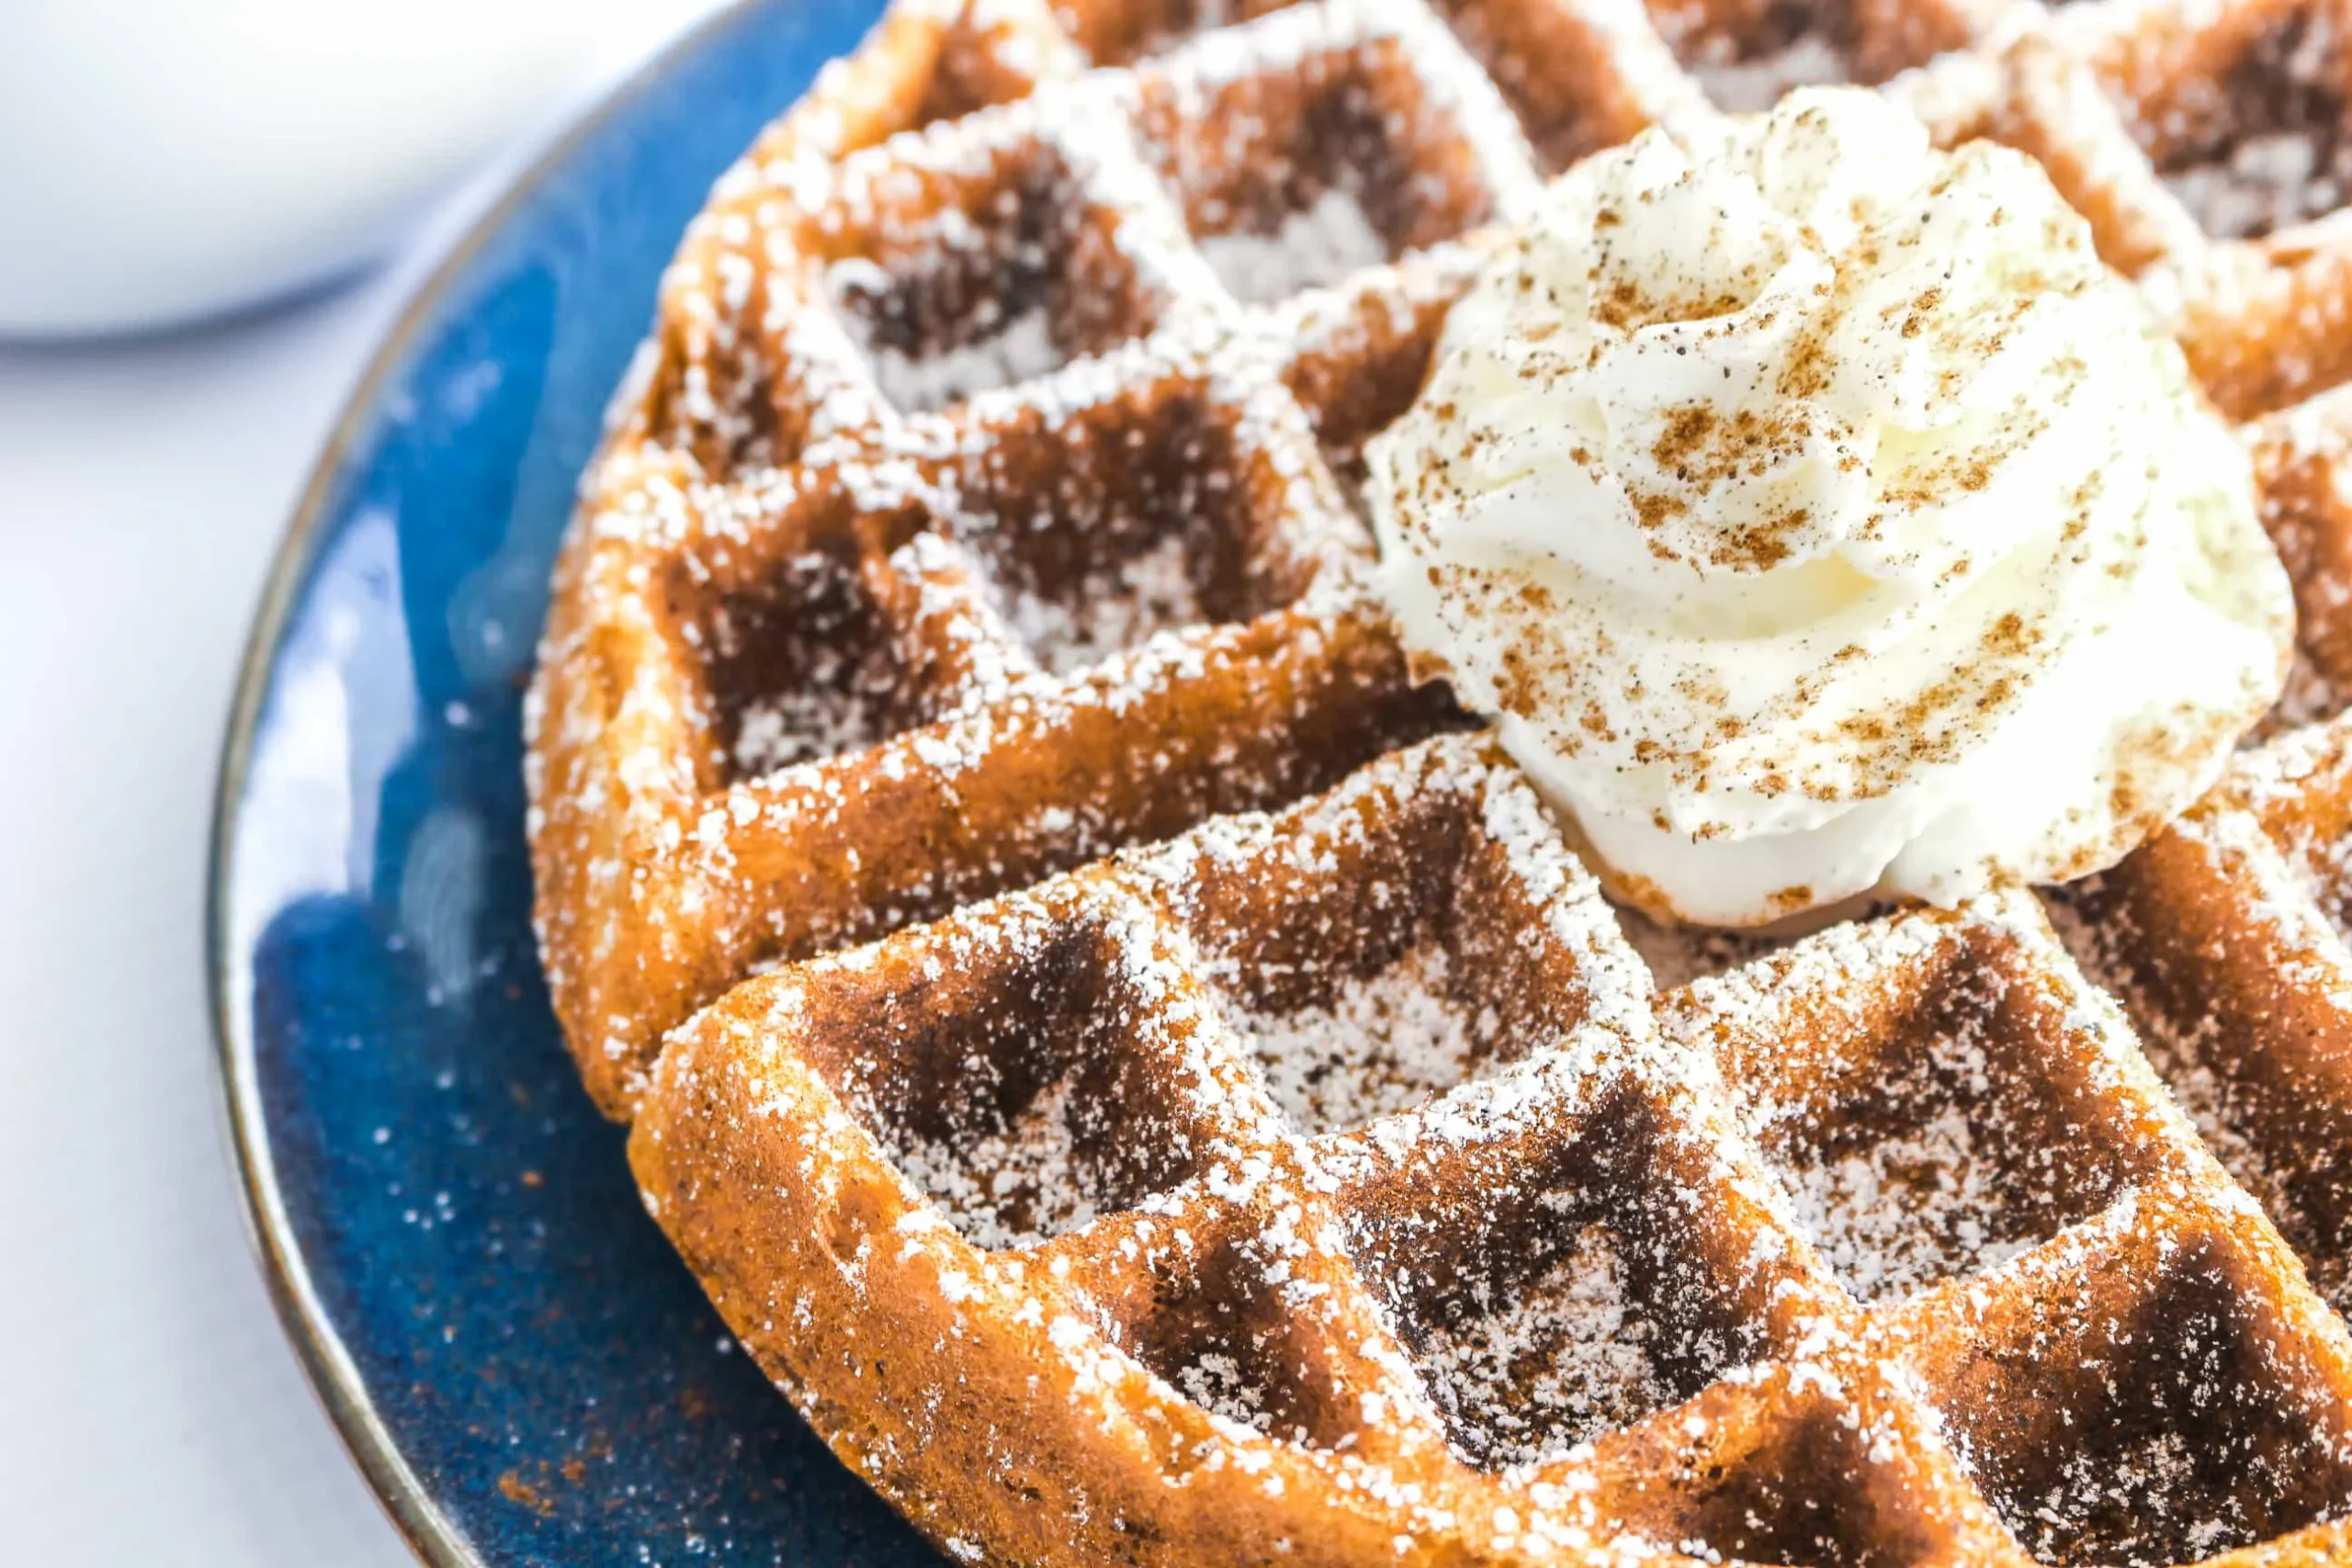
- Serve warm with optional toppings like maple syrup, whipped cream, or a dusting of powdered sugar.
Tips
- Always let your batter rest for 2-3 minutes after mixing to allow gluten-free flour to properly absorb liquids and improve texture.
- Use a non-stick waffle iron and generously grease it to prevent sticking, which can be more challenging with gluten-free batters.
- Don't overmix the batter - a few small lumps are perfectly fine and will help maintain a tender waffle.
- Cook on medium-high heat to achieve that perfect golden-brown exterior with a crispy crunch.
- If you want extra flavor, consider adding a pinch of ground cloves or a dash of vanilla extract to enhance the warm spice profile.
- For best results, serve immediately after cooking to maintain maximum crispiness.
Nutrition Facts
Calories: 280kcal
Carbohydrates: 38g
Protein: 7g
Fat: 11g
Saturated Fat: 6g
Cholesterol: 95mg