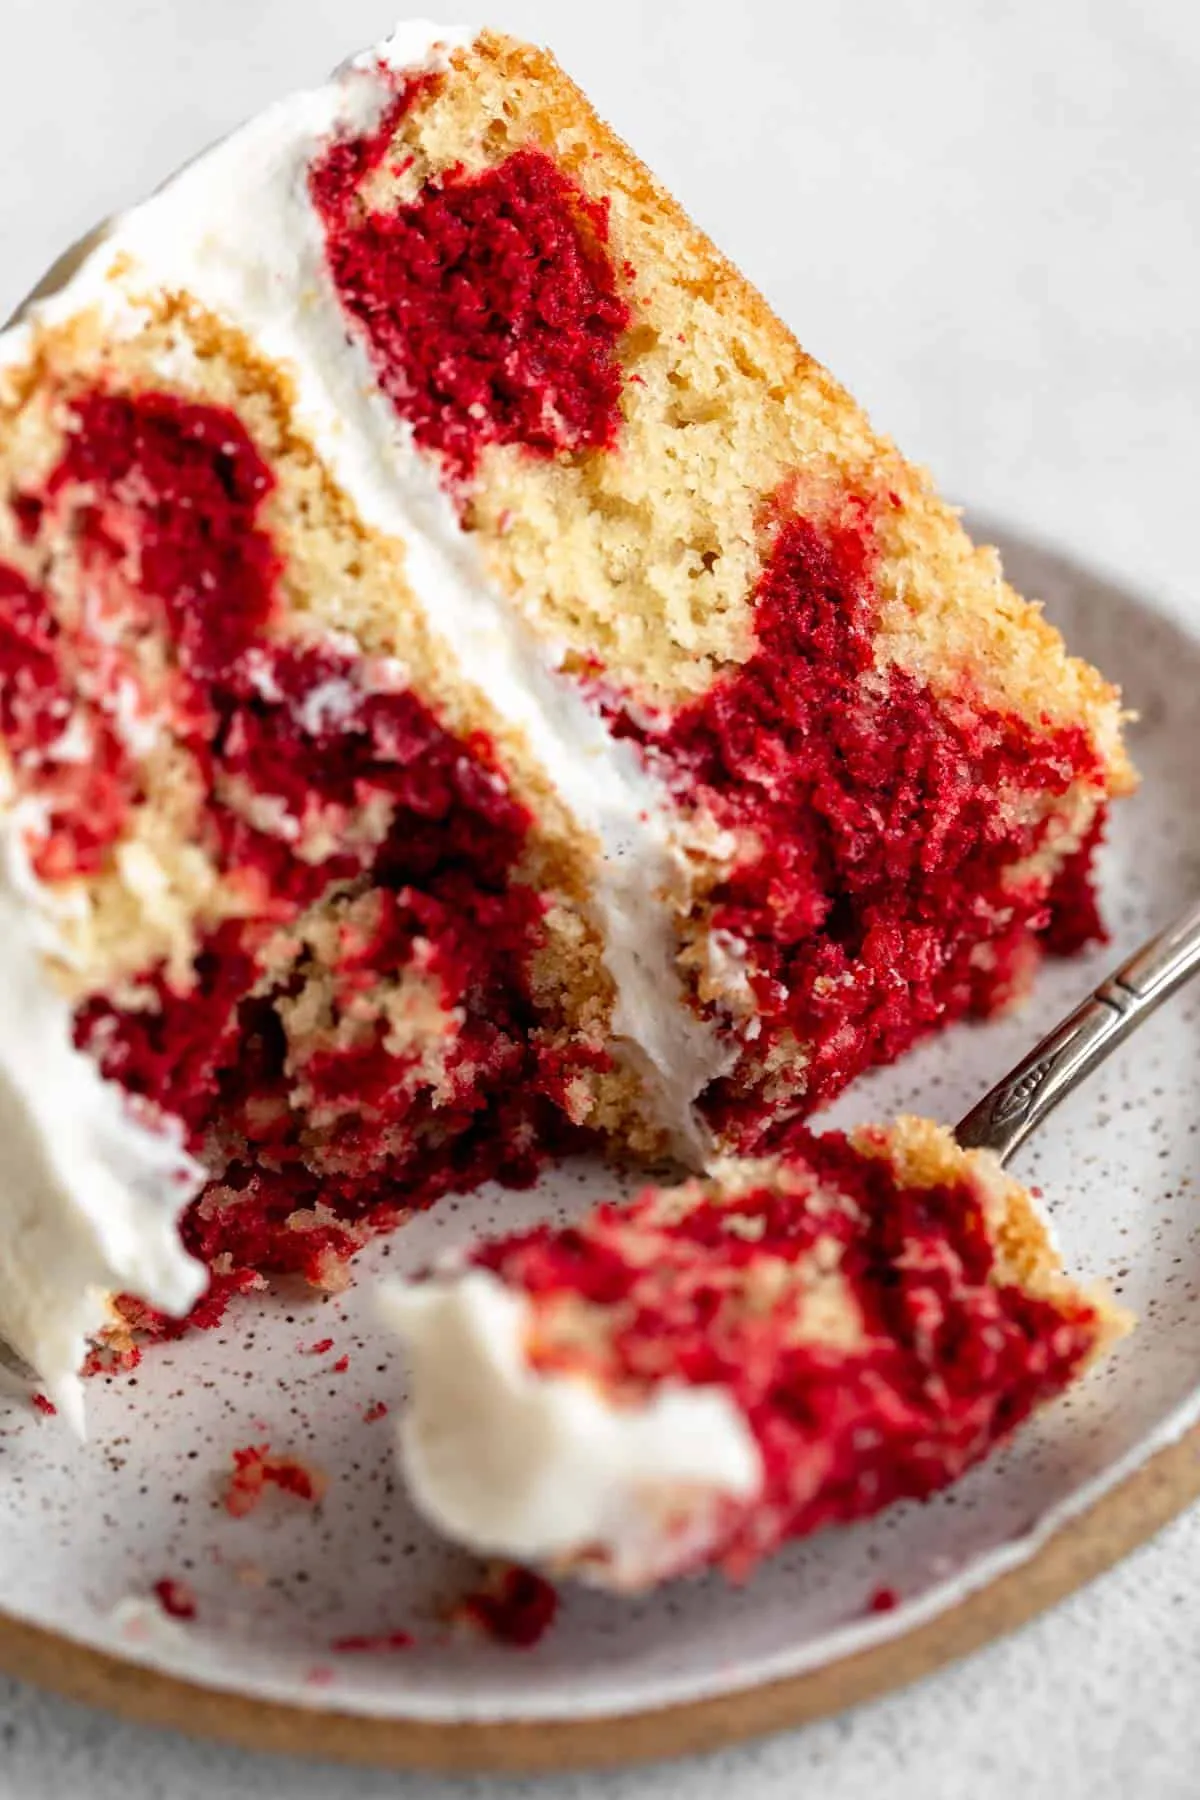
Prepare to be amazed by a show-stopping dessert that proves gluten-free baking can be just as decadent and beautiful as traditional recipes! This Red Velvet Marble Cake is not just a treat for those with dietary restrictions, but a culinary masterpiece that will have everyone begging for a second slice. With its stunning swirled pattern of rich red and chocolate hues, this cake is a visual and taste sensation that transforms ordinary gluten-free baking into an extraordinary experience.
Prep Time: 20 mins
Cook Time: 30 mins
Total Time: 50 mins
Cuisine: American
Serves: 8 servings
Ingredients
- 1 ½ cups gluten-free all-purpose flour
- 1 cup sugar
- ½ cup unsweetened cocoa powder
- 1 tsp baking soda
- ½ tsp salt
- 1 cup buttermilk
- ½ cup vegetable oil
- 2 large eggs
- 1 tsp vanilla extract
- 1 tbsp red food coloring
Instructions
- Preheat the oven to 350°F (175°C). Grease a 9-inch round cake pan with gluten-free cooking spray or butter, and line the bottom with parchment paper.
- In a large mixing bowl, sift together the gluten-free all-purpose flour, cocoa powder, baking soda, and salt. This ensures a smooth, lump-free dry mixture.
- In a separate bowl, whisk together sugar, buttermilk, vegetable oil, eggs, vanilla extract, and red food coloring until well combined and smooth.
- Gradually add the dry ingredients to the wet ingredients, stirring carefully until just combined. Be careful not to overmix, as this can make the cake dense.
- Pour about half the batter into the prepared cake pan. Then, drizzle the remaining batter on top in a swirling motion to create a marbled effect.
- Use a butter knife or skewer to gently swirl the batters together, creating a marbled pattern. Avoid overmixing to maintain distinct color variations.
- Tap the pan gently on the counter to remove any air bubbles and ensure even baking.
- Bake in the preheated oven for 25-30 minutes, or until a toothpick inserted into the center comes out clean.
- Remove from the oven and let the cake cool in the pan for 10 minutes, then turn out onto a wire rack to cool completely.
- Once cooled, frost with cream cheese frosting or dust with powdered sugar before serving.
Tips
- Sifting is Key: Always sift your dry ingredients to prevent lumps and ensure a smooth, consistent texture in your gluten-free cake.
- Don't Overmix: Mix your batter just until ingredients are combined. Overmixing can lead to a dense, tough cake.
- Room Temperature Ingredients: Use eggs and buttermilk at room temperature for better incorporation and a more even bake.
- Marbling Technique: When creating the marble effect, use a light hand. Gentle swirling creates beautiful patterns without muddying the colors.
- Check for Doneness: Gluten-free cakes can be tricky. Use the toothpick test and look for a clean insertion to ensure perfect baking.
- Cooling Matters: Allow the cake to cool completely before frosting to prevent melting and ensure a professional finish.
- Storage Tip: Store the cake in an airtight container to maintain moisture and freshness.
Nutrition Facts
Calories: 320kcal
Carbohydrates: 45g
Protein: 4g
Fat: 16g
Saturated Fat: g
Cholesterol: 40mg