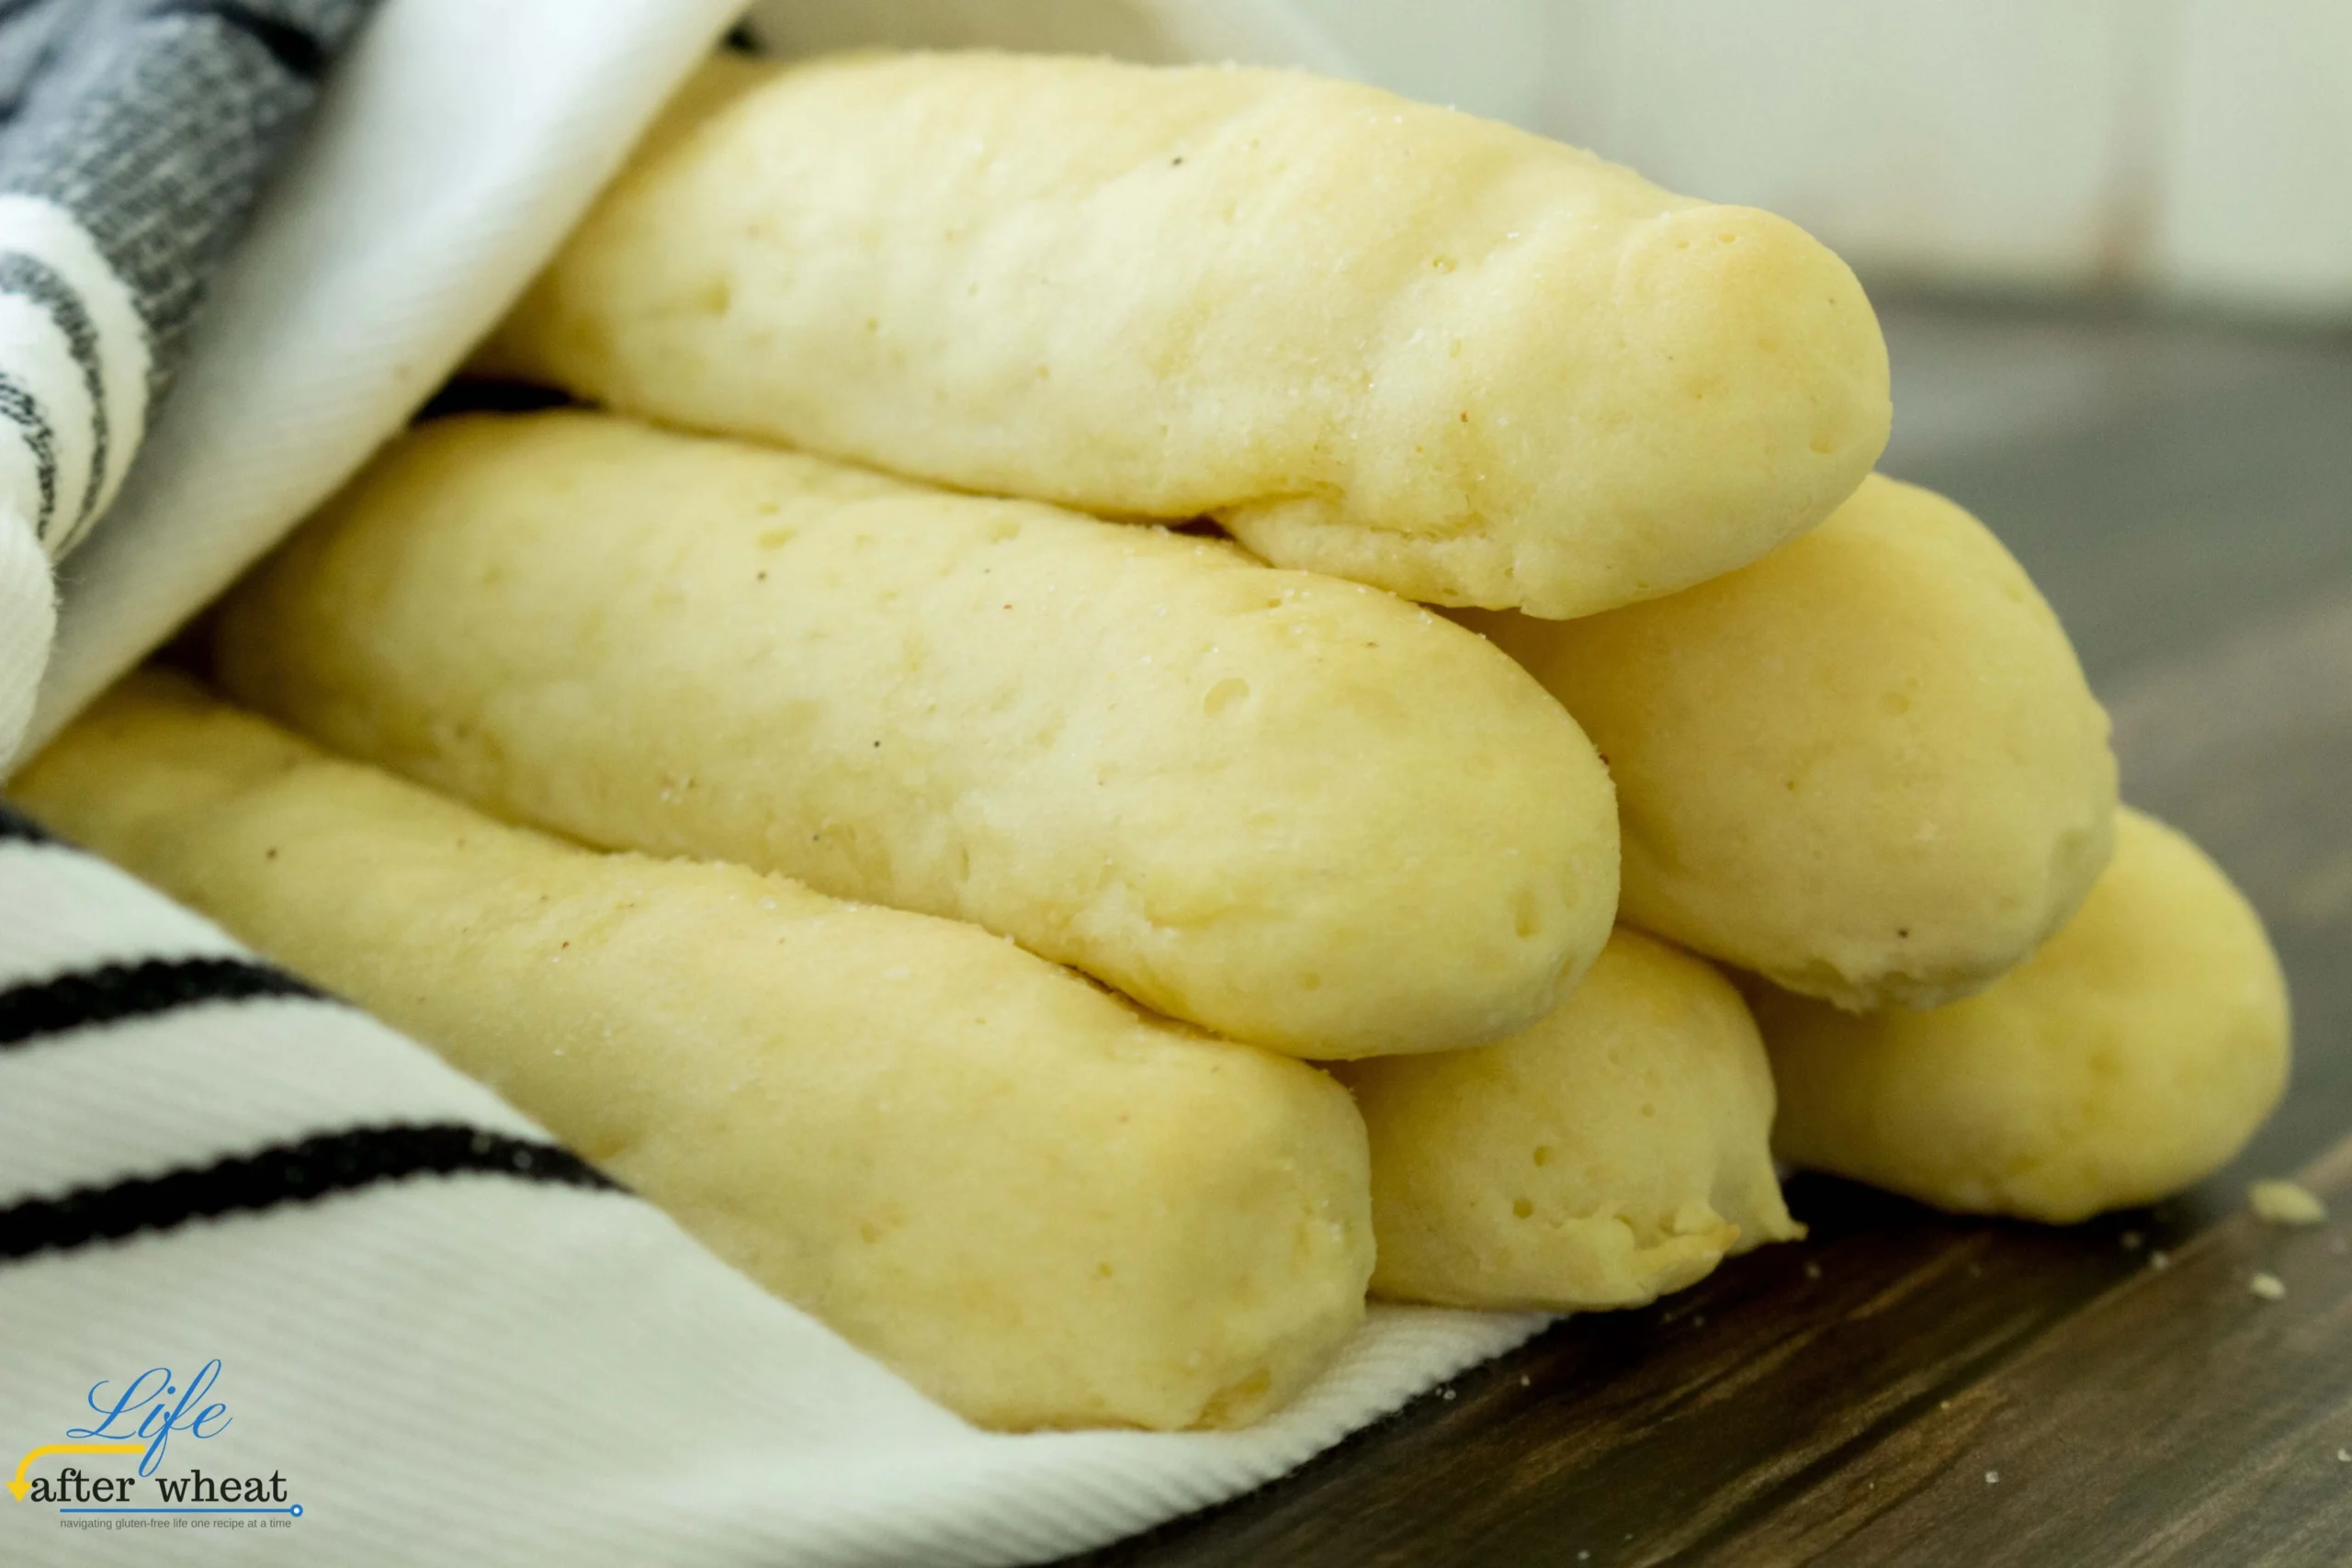
Craving the perfect breadstick but struggling with gluten restrictions? Prepare to be amazed by these mouthwatering Gluten-Free Soft Garlic Breadsticks that prove dietary limitations never mean compromising on flavor! Whether you're celiac, gluten-sensitive, or simply looking for a delicious alternative, these golden, garlicky delights will transform your meal from ordinary to extraordinary in just 35 minutes.
Prep Time: 15 mins
Cook Time: 20 mins
Total Time: 35 mins
Cuisine: Italian
Serves: 12 breadsticks
Ingredients
- 2 cups gluten-free all-purpose flour
- 1 tablespoon sugar
- 1 teaspoon salt
- 1 tablespoon garlic powder
- 1 tablespoon active dry yeast
- 1 cup warm water
- 2 tablespoons olive oil
Instructions
- In a large mixing bowl, combine the gluten-free all-purpose flour, sugar, salt, and garlic powder. Whisk these dry ingredients together until well blended.
- In a separate small bowl, dissolve the active dry yeast in warm water (approximately 110°F). Let the mixture sit for 5 minutes until it becomes frothy and activated.
- Create a well in the center of the dry ingredients and pour in the yeast mixture and olive oil. Mix with a wooden spoon or electric mixer until a soft, slightly sticky dough forms.
- Cover the bowl with a clean kitchen towel and let the dough rest in a warm, draft-free area for 10 minutes to allow the gluten-free flour to hydrate.
- Preheat the oven to 375°F (190°C) and line a baking sheet with parchment paper.
- Lightly oil your hands to prevent sticking. Divide the dough into 12 equal portions and roll each portion into a breadstick shape, about 6-7 inches long.
- Place the breadsticks on the prepared baking sheet, leaving about an inch of space between each stick.
- Optional: Brush the breadsticks with additional olive oil and sprinkle with extra garlic powder or dried herbs for added flavor.
- Bake in the preheated oven for 18-20 minutes, or until the breadsticks are golden brown and sound hollow when tapped.
- Remove from the oven and let cool on a wire rack for 5 minutes before serving.
Tips
- Temperature Matters: Ensure your water is precisely warm (around 110°F) when activating the yeast. Too hot or cold can prevent proper yeast activation.
- Hydration is Key: Allow the dough to rest for 10 minutes after mixing. This helps gluten-free flour absorb moisture and improves texture.
- Oily Hands Technique: Lightly oil your hands when shaping breadsticks to prevent sticky dough from clinging to your fingers.
- Even Sizing: Use a knife or dough scraper to divide the dough into equal portions for consistent breadstick sizes.
- Flavor Boosters: Experiment with additional herbs like dried basil, oregano, or rosemary for extra flavor complexity.
- Storage Tip: Store cooled breadsticks in an airtight container and reheat briefly in the oven to restore their crispy exterior.
Nutrition Facts
Calories: 120kcal
Carbohydrates: 20g
Protein: 2g
Fat: g
Saturated Fat: g
Cholesterol: 0mg