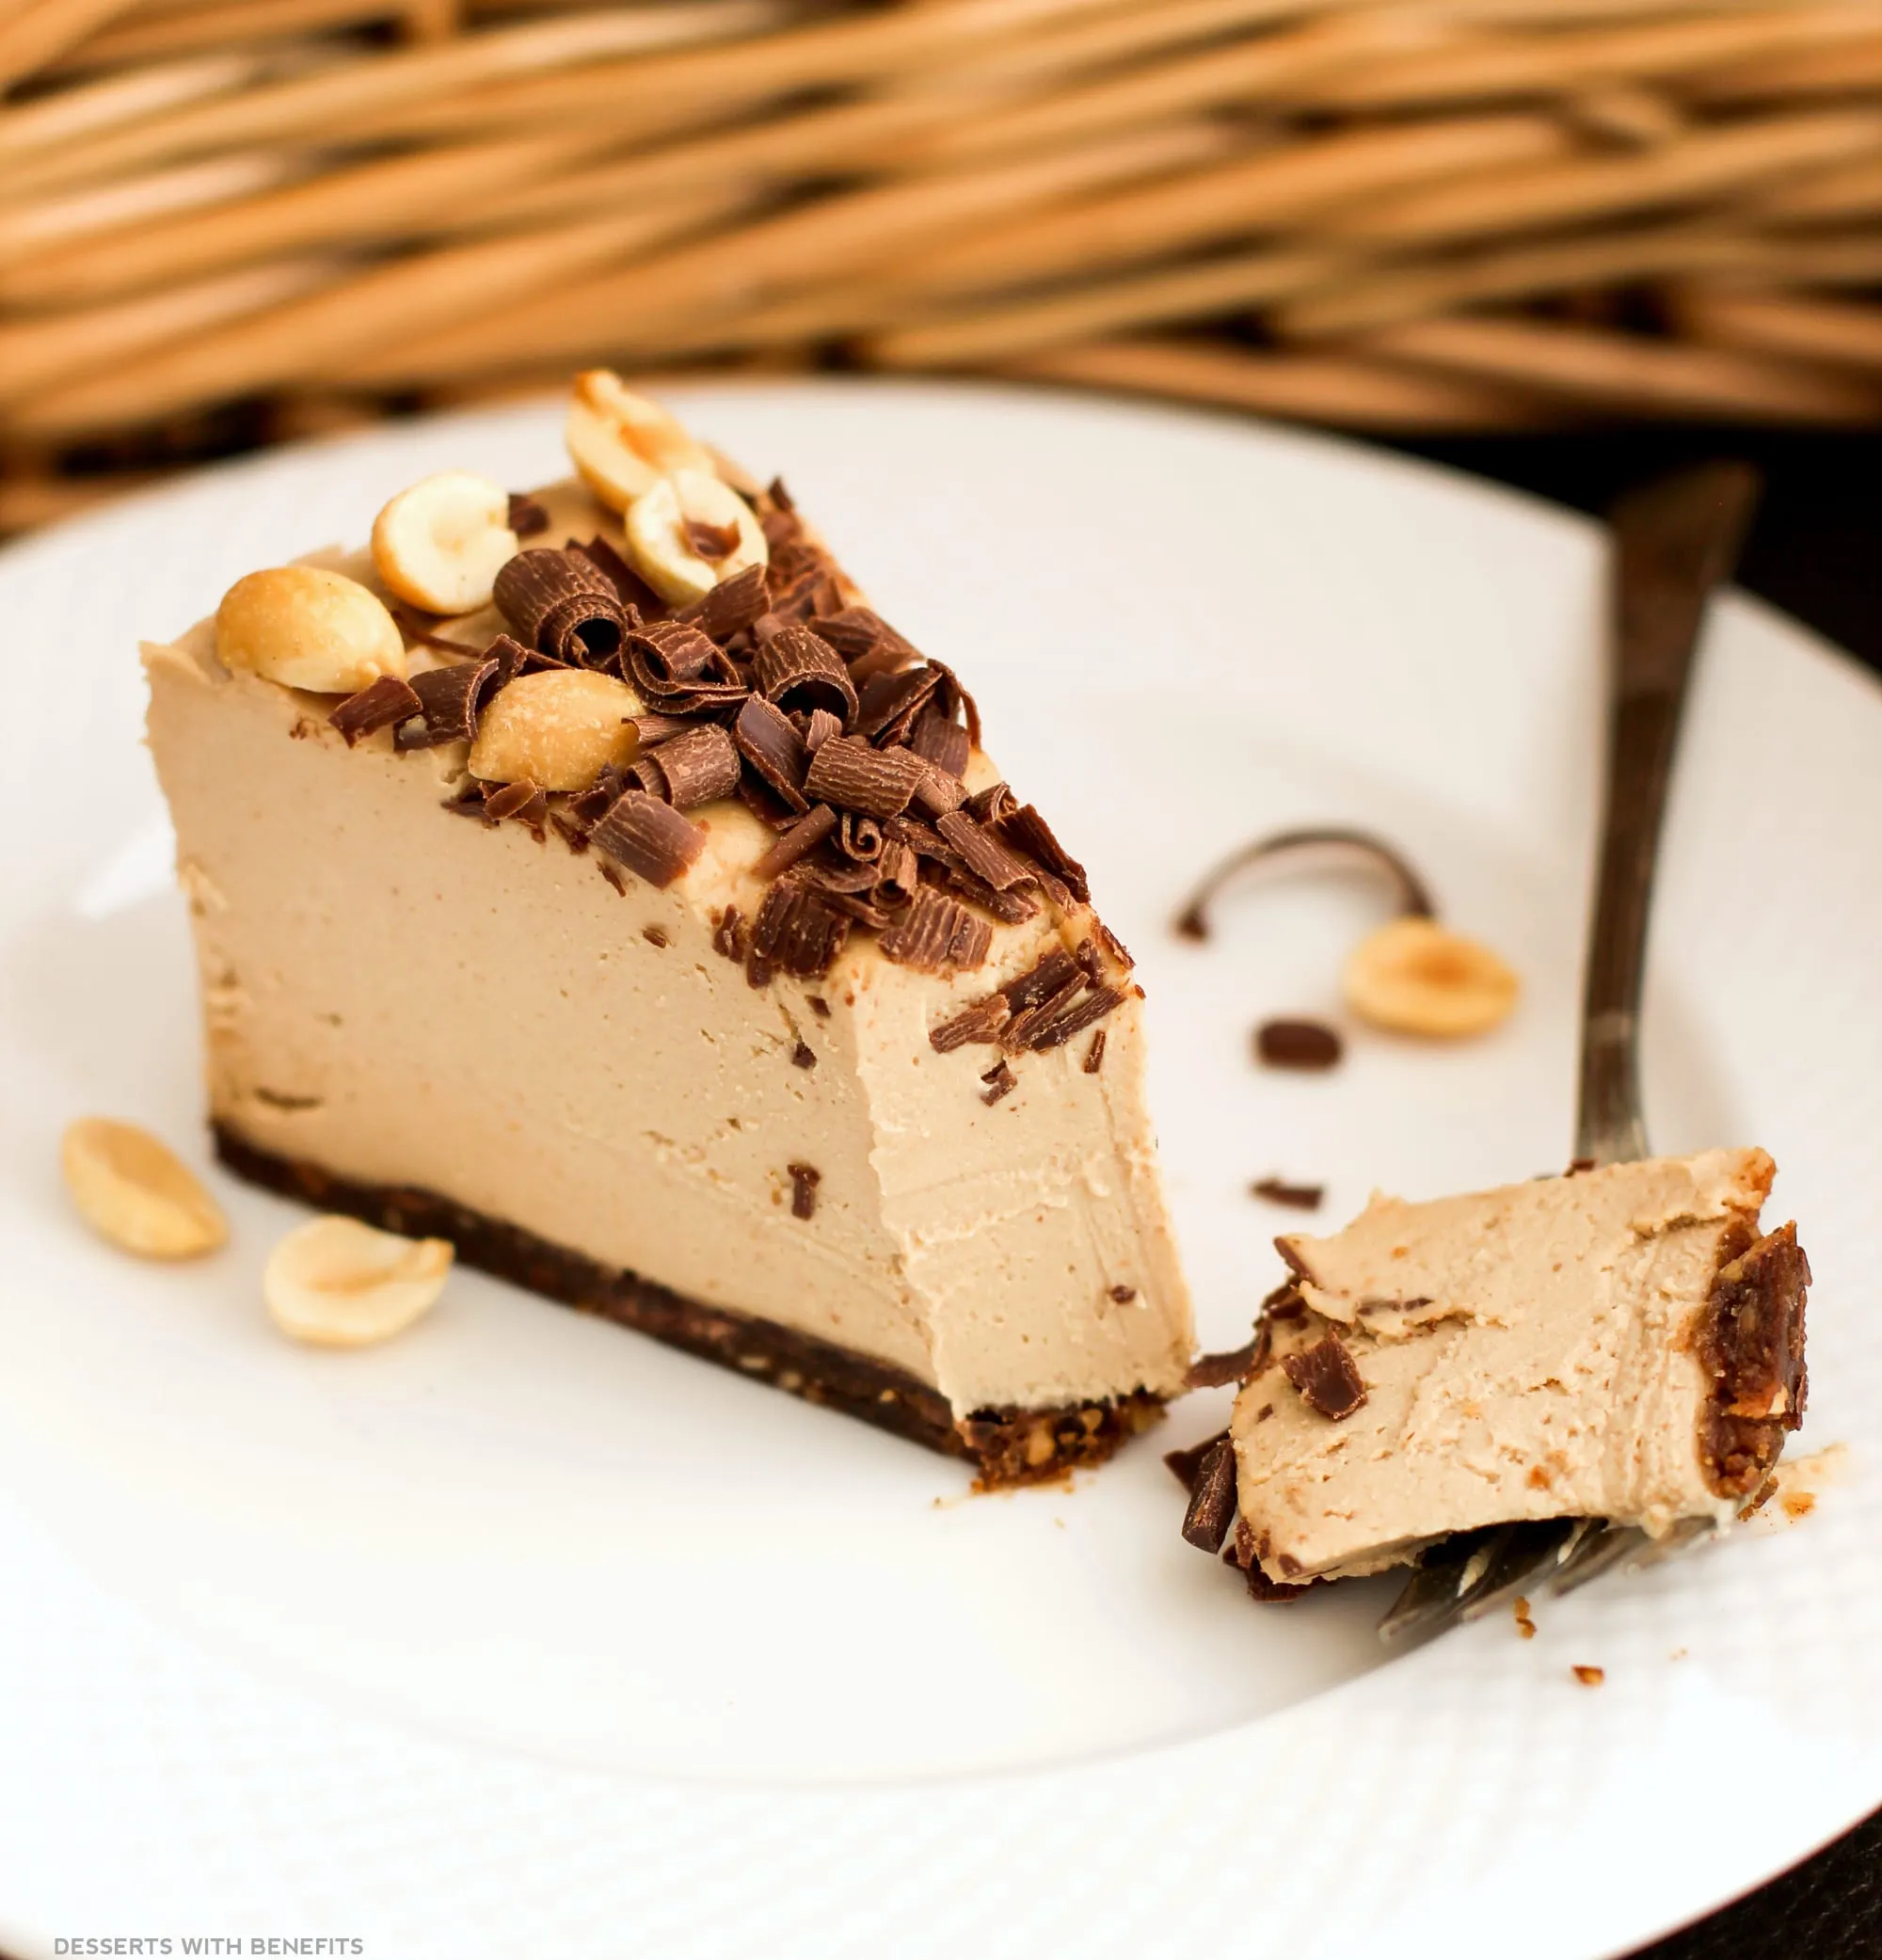
Indulging in dessert doesn't have to come with a side of guilt! Our Guilt Free No Bake Cheesecake is the perfect solution for those craving something sweet without compromising on health. This high-protein, gluten-free delight is not only easy to whip up in just 15 minutes, but it also promises a creamy texture and rich flavor that will leave your taste buds dancing. Imagine a cheesecake that's packed with protein and made with wholesome ingredients—sounds too good to be true, right? Well, it's not! Dive into this recipe and discover how you can treat yourself while staying true to your health goals.
Prep Time: 15 mins
Cook Time: -
Total Time: 15 mins
Cuisine: American
Serves: 8 servings
Ingredients
- 1 cup almond flour
- 1/4 cup coconut oil, melted
- 16 oz Greek yogurt
- 1/2 cup protein powder
- 1/4 cup honey or agave syrup
- 1 teaspoon vanilla extract
- Fresh fruit for topping
Instructions
- Prepare a 9-inch springform pan by lightly greasing the bottom with coconut oil or lining with parchment paper.
- For the crust, combine almond flour and melted coconut oil in a mixing bowl. Mix thoroughly until the mixture resembles coarse crumbs that hold together when pressed.
- Press the almond flour mixture firmly and evenly into the bottom of the prepared pan, creating a compact base. Use the back of a spoon or flat-bottomed measuring cup to ensure an even surface.
- In a large mixing bowl, combine Greek yogurt, protein powder, honey (or agave syrup), and vanilla extract. Whisk vigorously until the mixture is smooth and completely blended with no lumps.
- Carefully pour the cheesecake filling over the prepared almond flour crust, spreading it evenly with a spatula.
- Place the cheesecake in the refrigerator and chill for at least 4 hours, or preferably overnight, to allow it to set completely.
- Before serving, remove the cheesecake from the springform pan and garnish with fresh seasonal fruits of your choice.
- Slice into 8 equal portions and serve chilled. Store any leftovers in an airtight container in the refrigerator for up to 5 days.
Tips
- Choose the Right Sweetener: If you prefer a lower-calorie option, consider using stevia or monk fruit sweetener instead of honey or agave syrup for a guilt-free treat.
- Customize Your Toppings: Get creative with your toppings! Fresh berries, sliced kiwi, or a drizzle of dark chocolate can elevate the presentation and flavor of your cheesecake.
- Let It Chill: For the best texture, allow the cheesecake to chill in the refrigerator for at least 4 hours, but overnight is even better. This helps it set perfectly and enhances the flavors.
- Use a Quality Protein Powder: The flavor and texture of your cheesecake can greatly depend on the protein powder you choose. Opt for a high-quality, unflavored or vanilla protein powder for the best results.
- Make It Ahead of Time: This cheesecake is perfect for meal prep! Make it a day or two in advance for a quick and satisfying dessert option throughout the week.
- Experiment with Flavors: Feel free to add a splash of lemon juice or a teaspoon of cocoa powder to the filling for a unique twist on this classic dessert.
- Store Properly: If you have leftovers, store them in an airtight container in the refrigerator for up to 5 days to maintain freshness.
Nutrition Facts
Calories: 280kcal
Carbohydrates: 15g
Protein: 20g
Fat: 18g
Saturated Fat: 8g
Cholesterol: 10mg