Are you ready to indulge in a deliciously sweet and tangy treat that you can whip up in just 10 minutes? Say goodbye to store-bought jams loaded with preservatives and hello to your new favorite spread: Homemade Raspberry Chia Jam! This delightful concoction is not only bursting with fresh raspberry flavor but also packed with the nutritional benefits of chia seeds. With just a handful of ingredients and a simple method, you’ll be amazed at how easy it is to create this vibrant jam that’s perfect for toast, yogurt, or even drizzling over pancakes. Trust us, once you try this recipe, you’ll never look back!
Prep Time: 10 mins
Cook Time: -
Total Time: 10 mins
Cuisine: American
Serves: 1 cup
Ingredients
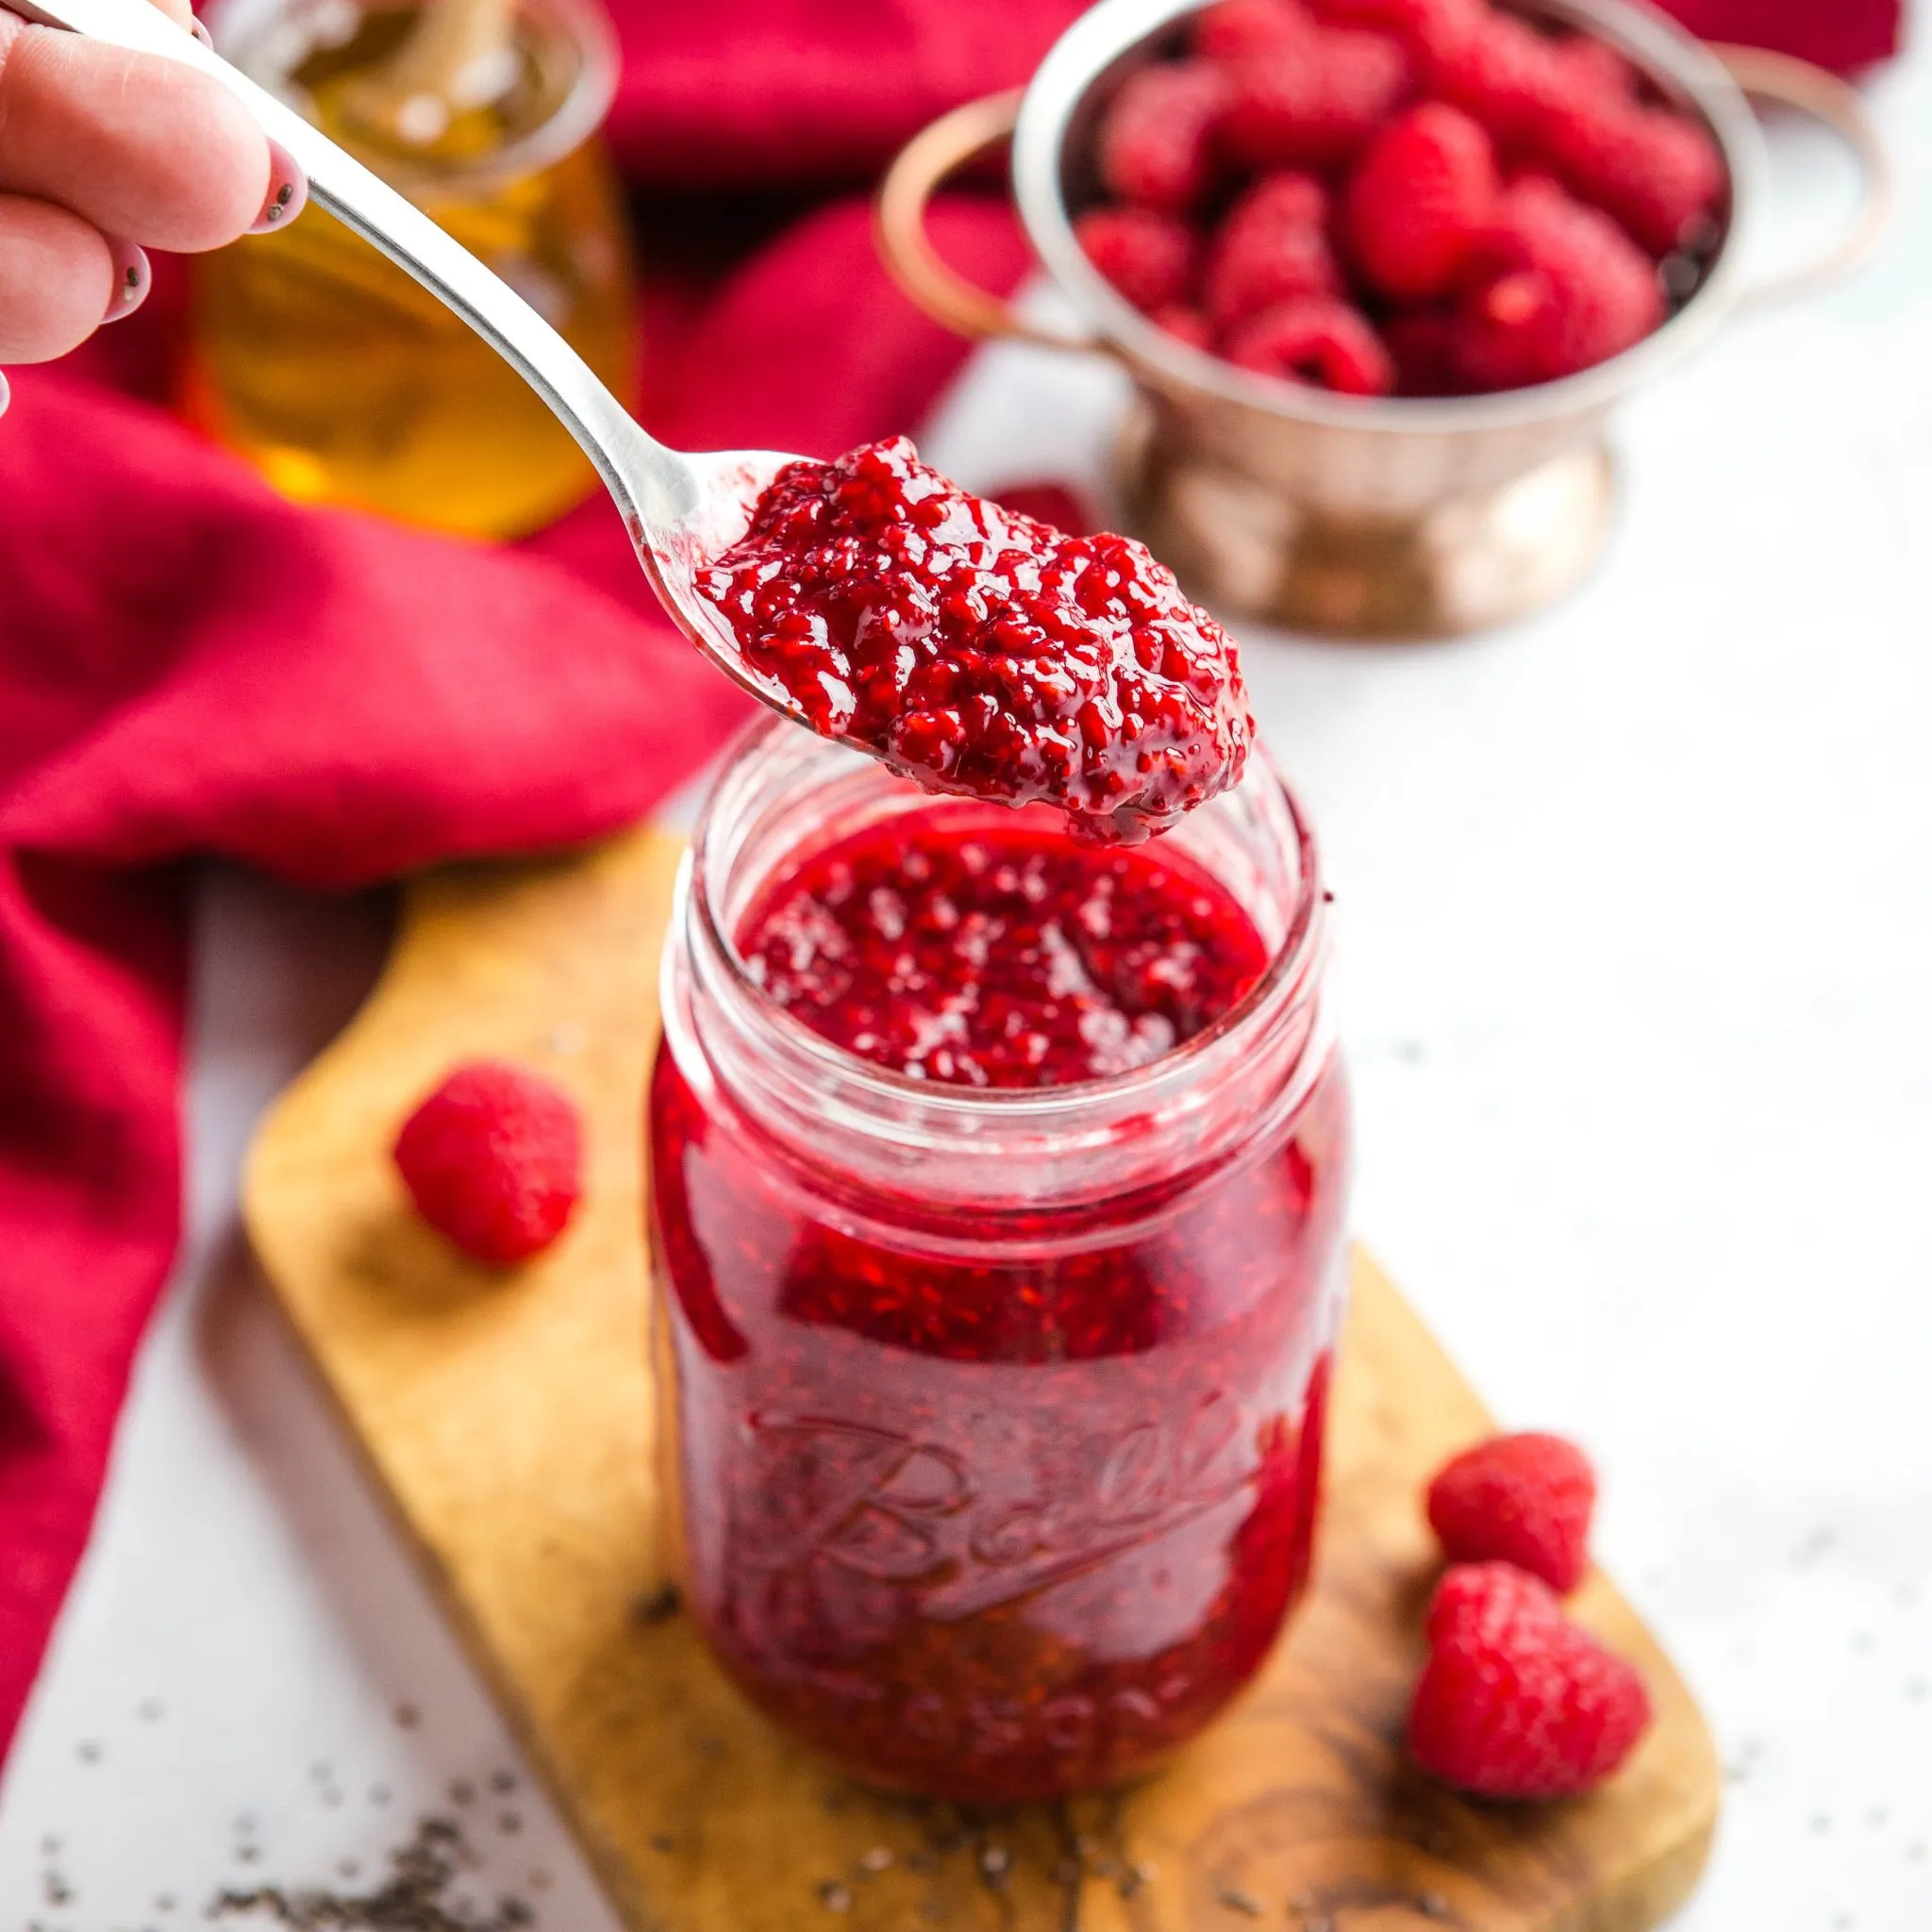
- 2 cups fresh raspberries
- 1/4 cup chia seeds
- 2-4 tbsp maple syrup or honey
- 1 tbsp lemon juice
Instructions
- Begin by gathering all your ingredients: 2 cups of fresh raspberries, 1/4 cup of chia seeds, 2-4 tablespoons of maple syrup or honey, and 1 tablespoon of lemon juice.
- Rinse the fresh raspberries under cool water to remove any dirt or impurities. Gently pat them dry with a clean kitchen towel or paper towel.
- In a medium mixing bowl, add the rinsed raspberries. Using a fork or a potato masher, mash the raspberries to your desired consistency. You can leave some chunks for texture or mash them completely for a smoother jam.
- Once the raspberries are mashed, add the chia seeds to the bowl. Stir well to combine the chia seeds evenly with the raspberry mixture.
- Next, drizzle in the maple syrup or honey. Start with 2 tablespoons and taste the mixture. If you prefer a sweeter jam, you can add up to 2 more tablespoons, adjusting to your taste.
- Then, add the tablespoon of lemon juice to the mixture. The lemon juice not only enhances the flavor but also helps to balance the sweetness.
- Stir all the ingredients together until well combined. The chia seeds will begin to absorb the liquid from the raspberries and thicken the mixture.
- Let the jam sit for about 5-10 minutes at room temperature. During this time, the chia seeds will swell and the mixture will thicken further.
- After the resting period, give the jam a final stir. Taste the jam and adjust sweetness or acidity if desired by adding more maple syrup or lemon juice.
- Transfer the homemade raspberry chia jam into a clean glass jar or airtight container. Seal tightly and store in the refrigerator for up to 2 weeks.
- Enjoy your homemade raspberry chia jam on toast, yogurt, pancakes, or as a topping for desserts!
Tips
- Choose Fresh Raspberries: For the best flavor, opt for ripe, fresh raspberries. If you can’t find fresh ones, frozen raspberries work well too—just thaw them before use.
- Adjust Sweetness to Your Liking: The amount of maple syrup or honey can be adjusted based on your personal preference. Start with 2 tablespoons and add more if you prefer a sweeter jam.
- Experiment with Flavors: Feel free to add a pinch of cinnamon or a splash of vanilla extract for an extra layer of flavor. You can also mix in other berries for a mixed berry jam!
- Let It Sit: Allowing the jam to sit for 5-10 minutes after mixing is crucial. This gives the chia seeds time to absorb the liquid and thicken the mixture properly.
- Storage Tips: Store your jam in a clean, airtight container in the refrigerator. It should last up to two weeks, but we doubt it will last that long—it's just too delicious!
Nutrition Facts
Calories: 120kcal
Carbohydrates: 22g
Protein: 3g
Fat: 4g
Saturated Fat: g
Cholesterol: 0mg