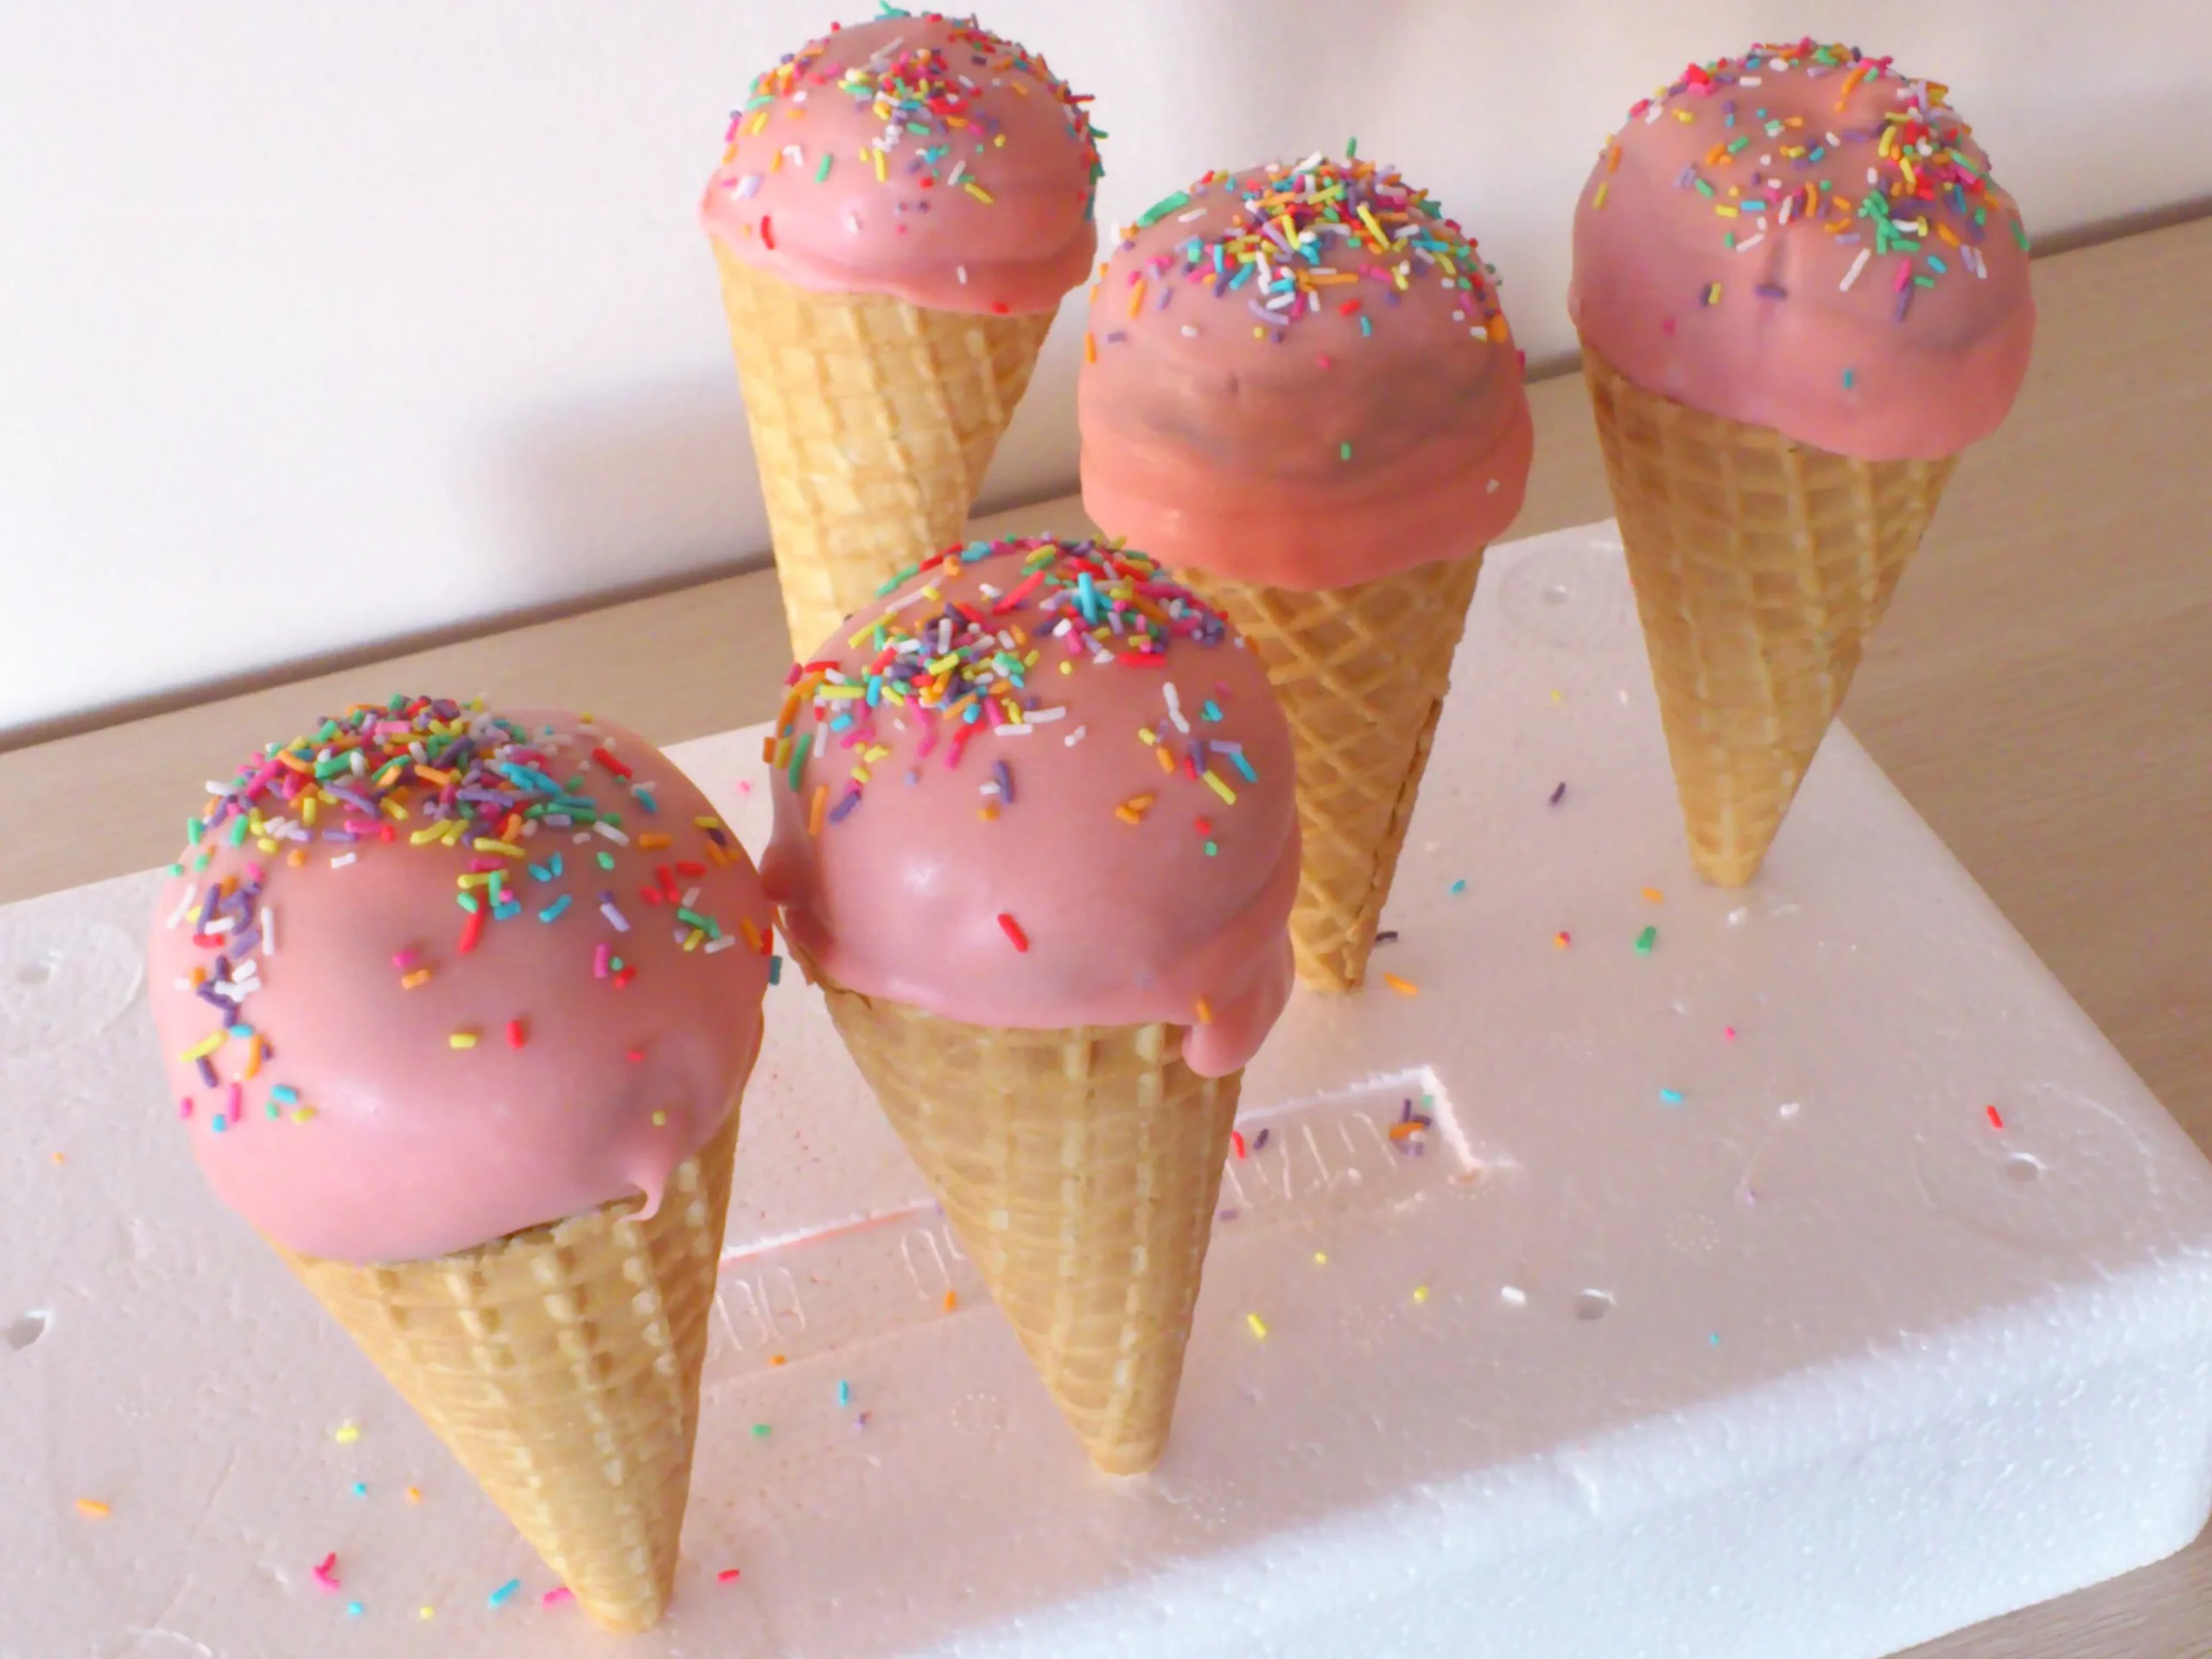
Get ready to blow your taste buds away with the most Instagram-worthy dessert that combines two childhood favorites into one irresistible treat! These Ice Cream Cone Cake Pops are not just a dessert – they're a magical experience that transforms ordinary cake and cones into a spectacular sweet sensation that will have both kids and adults begging for more. Imagine biting into a perfectly chocolatey, sprinkle-covered cake pop nestled in a crispy ice cream cone – it's like a party in your mouth that you won't want to miss!
Prep Time: 30 mins
Cook Time: 15 mins
Total Time: 45 mins
Cuisine: American
Serves: 12 servings
Ingredients
- 1 box cake mix
- 1/2 cup frosting
- 12 ice cream cones
- 1 cup chocolate melting wafers
- Sprinkles for decoration
Instructions
- Prepare the cake mix according to package directions in a 9x13 inch baking pan. Allow the cake to cool completely at room temperature for approximately 1 hour.
- Crumble the cooled cake into fine, even crumbs in a large mixing bowl, ensuring no large chunks remain.
- Add 1/2 cup of frosting to the cake crumbs and mix thoroughly using a spatula or clean hands until the mixture becomes a moldable, cohesive dough.
- Scoop approximately 2-3 tablespoons of the cake mixture and roll into uniform balls, pressing firmly to compact the mixture.
- Gently insert a cake ball into the top of each ice cream cone, ensuring it sits securely and maintains a rounded shape.
- Place the prepared cake cone pops on a baking sheet lined with parchment paper and refrigerate for 15-20 minutes to firm up.
- Melt chocolate wafers in a microwave-safe bowl, stirring every 30 seconds until smooth and completely liquid.
- Carefully dip each chilled cake cone pop into the melted chocolate, ensuring full coverage and gently tapping to remove excess.
- Immediately decorate with sprinkles before the chocolate sets, rotating to cover evenly.
- Place decorated cake pops back on the parchment paper and refrigerate for 10 minutes to allow chocolate to completely harden.
- Serve chilled and enjoy within 2-3 days when stored in an airtight container in the refrigerator.
Tips
- Make sure your cake is completely cooled before crumbling to prevent a mushy texture.
- Use disposable gloves when mixing cake crumbs and frosting for a cleaner, more consistent mixture.
- Refrigerate the cake balls before dipping to help them maintain their shape during chocolate coating.
- Use high-quality melting chocolate for a smoother, more professional finish.
- Work quickly when adding sprinkles to ensure they stick before the chocolate sets.
- If the chocolate starts to harden while dipping, gently reheat in the microwave.
- For a more stable base, you can lightly toast the ice cream cones before adding cake balls.
- Experiment with different cake flavors and chocolate coatings to create your unique variation.
- Store in an airtight container in the refrigerator to maintain freshness and texture.
- For best results, consume within 2-3 days of preparation.
Nutrition Facts
Calories: kcal
Carbohydrates: g
Protein: g
Fat: g
Saturated Fat: g
Cholesterol: mg