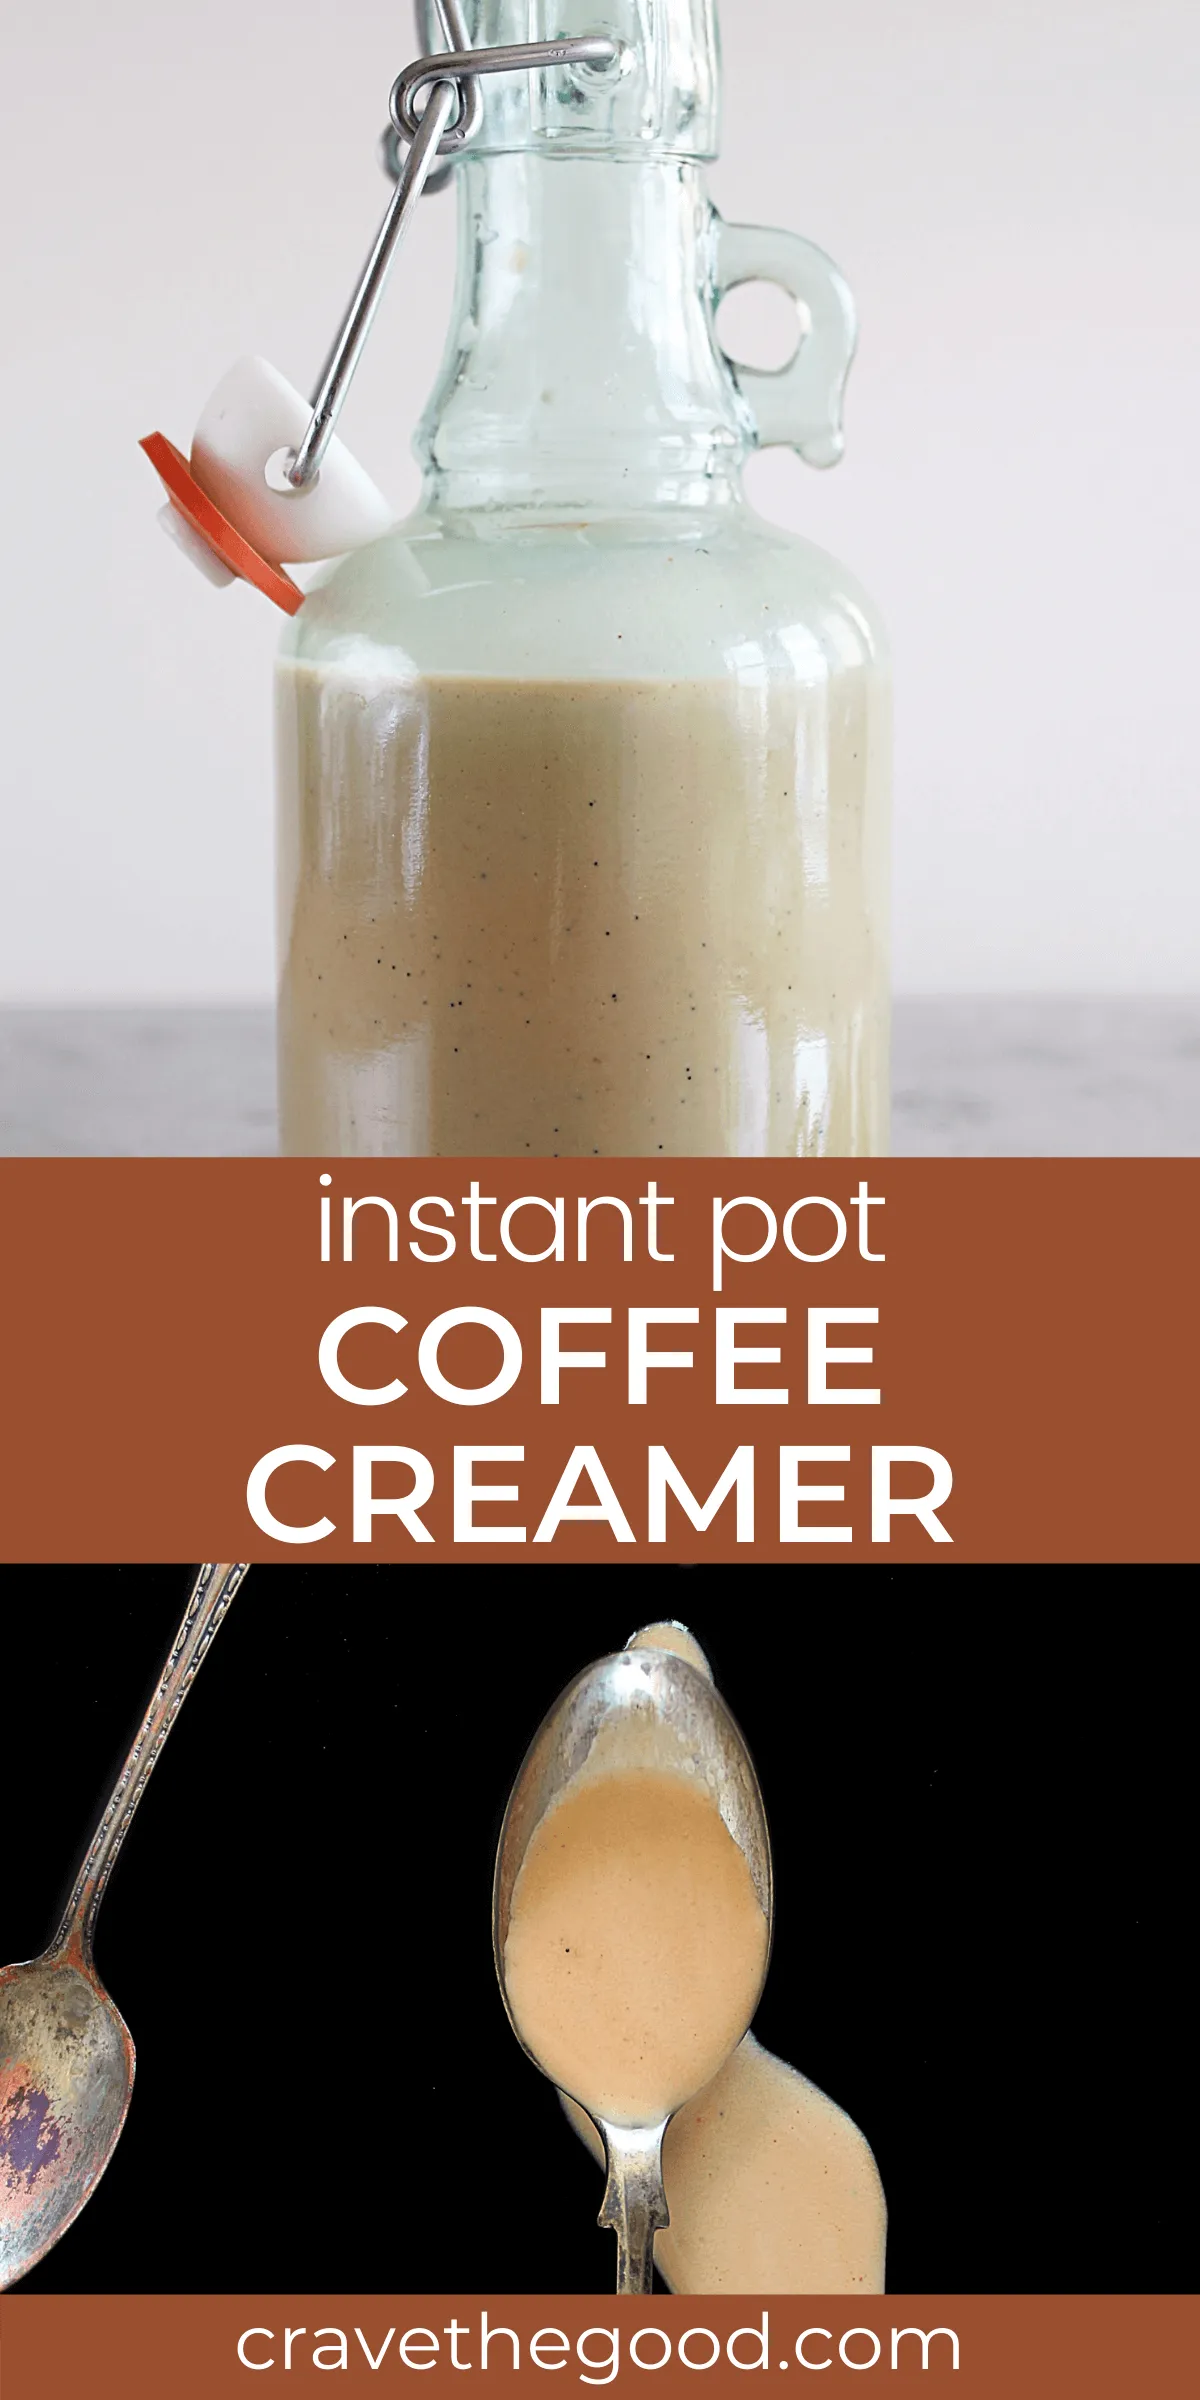
Are you tired of store-bought coffee creamers packed with artificial ingredients? Imagine creating a luxuriously smooth, homemade coffee creamer right in your Instant Pot that will transform your morning coffee into a gourmet experience! This incredibly simple recipe takes just 15 minutes and will have you saying goodbye to bland, store-bought options forever. Get ready to elevate your coffee game with a creamer so delicious, you'll never want to go back to the pre-packaged stuff again!
Prep Time: 5 mins
Cook Time: 10 mins
Total Time: 15 mins
Cuisine: American
Serves: 12 servings
Ingredients
- 1 can sweetened condensed milk
- 1 cup milk
- 1 teaspoon vanilla extract
Instructions
- Begin by gathering all your ingredients: 1 can of sweetened condensed milk, 1 cup of milk (you can use whole, skim, or any plant-based milk of your choice), and 1 teaspoon of vanilla extract.
- Open the can of sweetened condensed milk and pour it into the Instant Pot. Make sure to scrape out all of the contents for maximum flavor.
- Add 1 cup of milk to the pot, ensuring that it mixes well with the sweetened condensed milk.
- Measure and add 1 teaspoon of vanilla extract to the mixture in the Instant Pot. This will add a lovely aroma and flavor to your coffee creamer.
- Stir the mixture gently with a whisk or a spoon to combine all the ingredients thoroughly. Make sure there are no lumps from the condensed milk.
- Secure the lid on the Instant Pot and ensure the steam release valve is set to the sealing position.
- Set the Instant Pot to cook on high pressure for 10 minutes. This will allow the flavors to meld together perfectly.
- Once the cooking time is complete, carefully perform a quick release by turning the steam release valve to the venting position. Be cautious of the hot steam.
- After all the steam has released and the pin drops, carefully open the lid of the Instant Pot. Stir the mixture again to ensure everything is well combined.
- Let the coffee creamer cool for a few minutes before transferring it to a clean jar or container for storage.
- Once cooled, seal the container and store your homemade coffee creamer in the refrigerator. It should last for about 1-2 weeks.
- To use, simply add a desired amount of creamer to your coffee and enjoy the rich, creamy flavor!
Tips
- Choose Your Milk Wisely: While the recipe works with any type of milk, whole milk will give you the richest and creamiest result.
- Flavor Variations: Don't stop at vanilla! Experiment with different extracts like almond, hazelnut, or even add a dash of cinnamon for unique flavor profiles.
- Storage Matters: Always use a clean, airtight container and store your creamer in the refrigerator. Consume within 1-2 weeks for the best taste and quality.
- Shake Before Use: The ingredients might separate slightly when stored, so give your creamer a good shake before adding to your coffee.
- Temperature Control: Let the creamer cool completely before refrigerating to prevent bacterial growth and ensure food safety.
- Customization is Key: Adjust the sweetness by using more or less sweetened condensed milk to suit your taste preferences.
Nutrition Facts
Calories: 120kcal
Carbohydrates: 28g
Protein: 2g
Fat: 4g
Saturated Fat: 2g
Cholesterol: 12mg