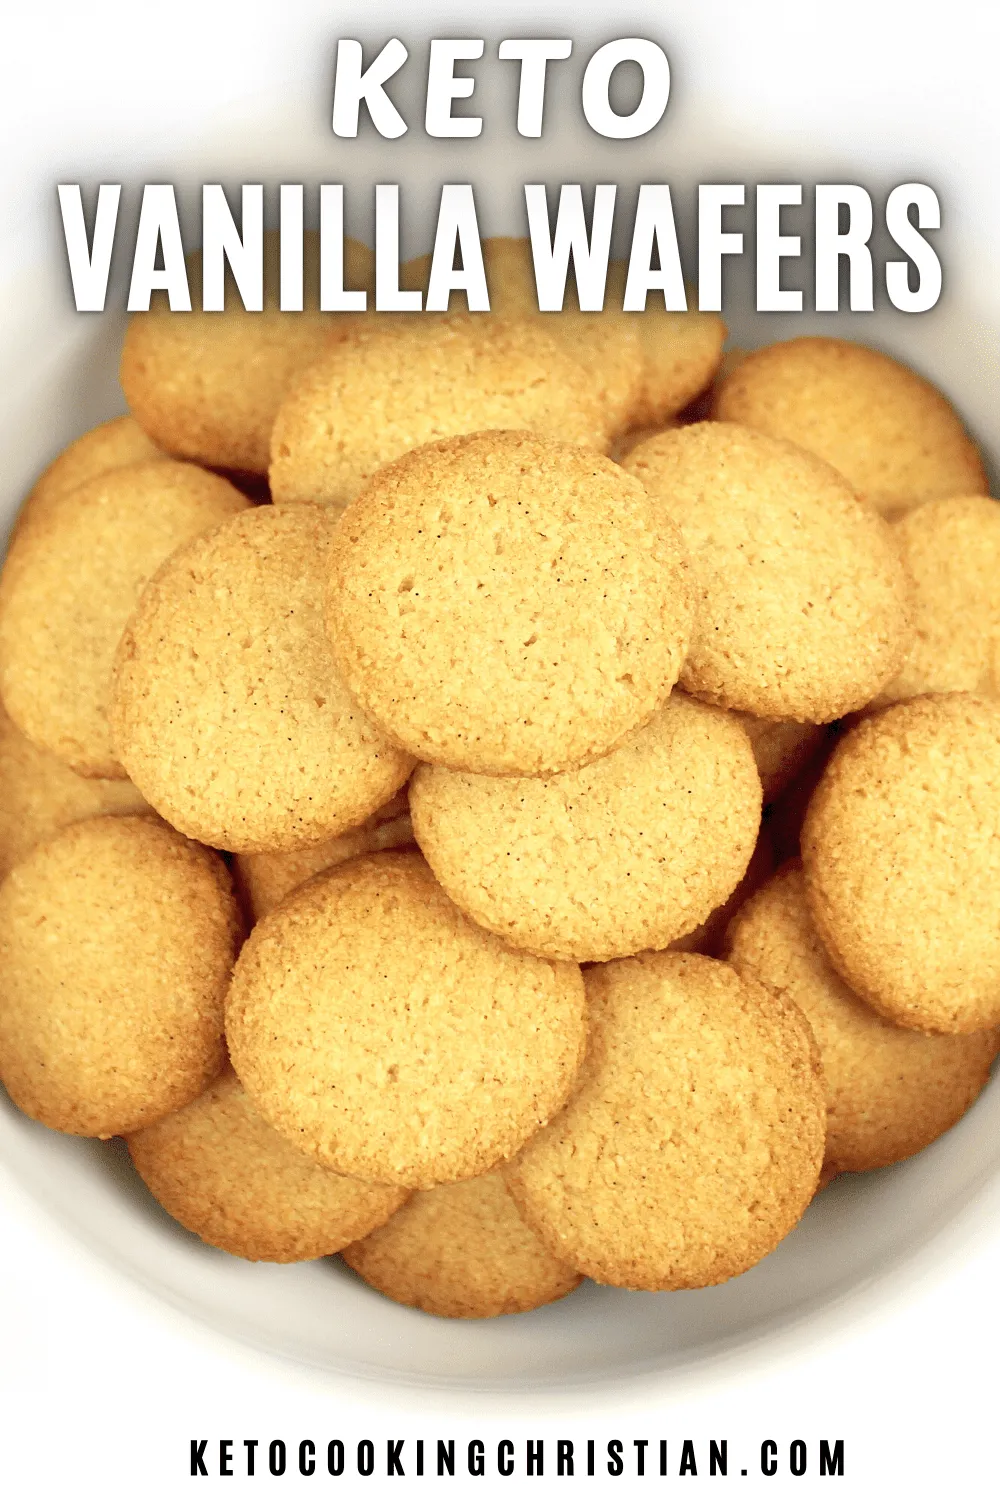
Imagine biting into a crispy, delicate vanilla wafer that's not only incredibly delicious but also completely guilt-free. These revolutionary Keto Vanilla Wafers are about to change your low-carb snacking game forever! Perfect for those following a ketogenic, vegan, or paleo lifestyle, these wafers prove that healthy eating doesn't mean sacrificing flavor or texture. Whether you're a diet-conscious foodie or simply looking for a nutritious treat, these magical morsels will satisfy your sweet tooth without derailing your health goals.
Prep Time: 10 mins
Cook Time: 15 mins
Total Time: 25 mins
Cuisine: Keto
Serves: 24 wafers
Ingredients
- 1 cup almond flour
- 1/4 cup coconut flour
- 1/4 cup erythritol
- 1/4 cup coconut oil, melted
- 1 teaspoon vanilla extract
- 1/2 teaspoon baking powder
- 1/4 teaspoon salt
Instructions
- Preheat the oven to 350°F (175°C) and line a baking sheet with parchment paper or a silicone baking mat.
- In a medium mixing bowl, combine almond flour, coconut flour, erythritol, baking powder, and salt. Whisk the dry ingredients thoroughly to eliminate any lumps and ensure even distribution.
- Add melted coconut oil and vanilla extract to the dry ingredient mixture. Stir with a spatula or wooden spoon until a cohesive dough forms. The consistency should be smooth and slightly crumbly.
- If the dough seems too dry, add 1-2 tablespoons of water or unsweetened almond milk to help bind the ingredients.
- Roll the dough into small, uniform balls approximately 1 inch in diameter. Place them on the prepared baking sheet, leaving about 2 inches of space between each wafer.
- Gently press down on each ball with a fork or the bottom of a flat glass to create a classic wafer shape, about 1/4 inch thick.
- Bake in the preheated oven for 12-15 minutes, or until the edges are lightly golden brown and the centers appear set.
- Remove from the oven and let the wafers cool on the baking sheet for 5 minutes, then transfer to a wire rack to cool completely.
- Store in an airtight container at room temperature for up to 5 days, or refrigerate for extended freshness.
Tips
- Ingredient Temperature Matters: Ensure your coconut oil is properly melted but not hot when mixing to achieve the perfect dough consistency.
- Uniform Size is Key: Use a small cookie scoop or tablespoon to create evenly sized wafers for consistent baking.
- Don't Overmix: Stir the dough just until it comes together to prevent tough, dense wafers.
- Moisture Check: If the dough seems too dry, add liquid sparingly - just 1-2 teaspoons at a time.
- Cooling is Crucial: Allow wafers to cool completely on the wire rack to develop their signature crisp texture.
- Storage Hack: For maximum freshness, store in an airtight container with a small piece of parchment between layers to prevent sticking.
- Customization Option: For extra flavor, try adding a pinch of cinnamon or a few drops of almond extract to the mix.
Nutrition Facts
Calories: 45kcal
Carbohydrates: 2g
Protein: 1g
Fat: 4g
Saturated Fat: g
Cholesterol: 0mg