Craving the classic comfort of pumpkin pie without the sugar overload? Get ready to revolutionize your dessert game with this mouthwatering Low Sugar Pumpkin Pie that proves healthy eating doesn't mean sacrificing flavor! Whether you're watching your sugar intake, managing diabetes, or simply looking for a smarter dessert option, this recipe is about to become your new fall favorite. Imagine diving into a creamy, spice-filled slice of pie that's both delicious and diet-friendly – yes, it's totally possible!
Prep Time: 15 mins
Cook Time: 60 mins
Total Time: 1 hrs 15 mins
Cuisine: American
Serves: 8 servings
Ingredients
- 1 pie crust
- 2 cups pumpkin puree
- 1/2 cup granulated sugar substitute
- 1 teaspoon ground cinnamon
- 1/2 teaspoon ground ginger
- 1/4 teaspoon ground nutmeg
- 1/4 teaspoon salt
- 3 large eggs
- 1 cup evaporated milk
Instructions
- Preheat the oven to 425°F (218°C). Position the oven rack in the center of the oven to ensure even baking.
- Remove the pie crust from refrigeration and allow it to sit at room temperature for 10 minutes to prevent cracking when unrolling.
- Gently press the pie crust into a 9-inch pie dish, crimping the edges decoratively. Use a fork to create small punctures across the bottom of the crust to prevent bubbling.
- In a large mixing bowl, combine pumpkin puree, sugar substitute, ground cinnamon, ground ginger, ground nutmeg, and salt. Whisk these ingredients until well incorporated and smooth.
- In a separate bowl, beat the eggs until they are light and uniform in color. Gradually add the evaporated milk to the eggs, continuing to whisk until the mixture is completely blended.
- Pour the egg and milk mixture into the pumpkin spice mixture, stirring continuously until all ingredients are thoroughly combined and create a consistent, smooth filling.
- Carefully pour the pie filling into the prepared pie crust, ensuring an even distribution and avoiding overflow.
- Place the pie in the preheated oven and bake at 425°F for 15 minutes, then reduce the oven temperature to 350°F (177°C) and continue baking for an additional 40-45 minutes.
- To check doneness, insert a knife or toothpick near the center of the pie. If it comes out clean with minimal moisture, the pie is fully baked.
- Remove the pie from the oven and place on a wire cooling rack. Allow the pie to cool completely at room temperature for approximately 2-3 hours before serving.
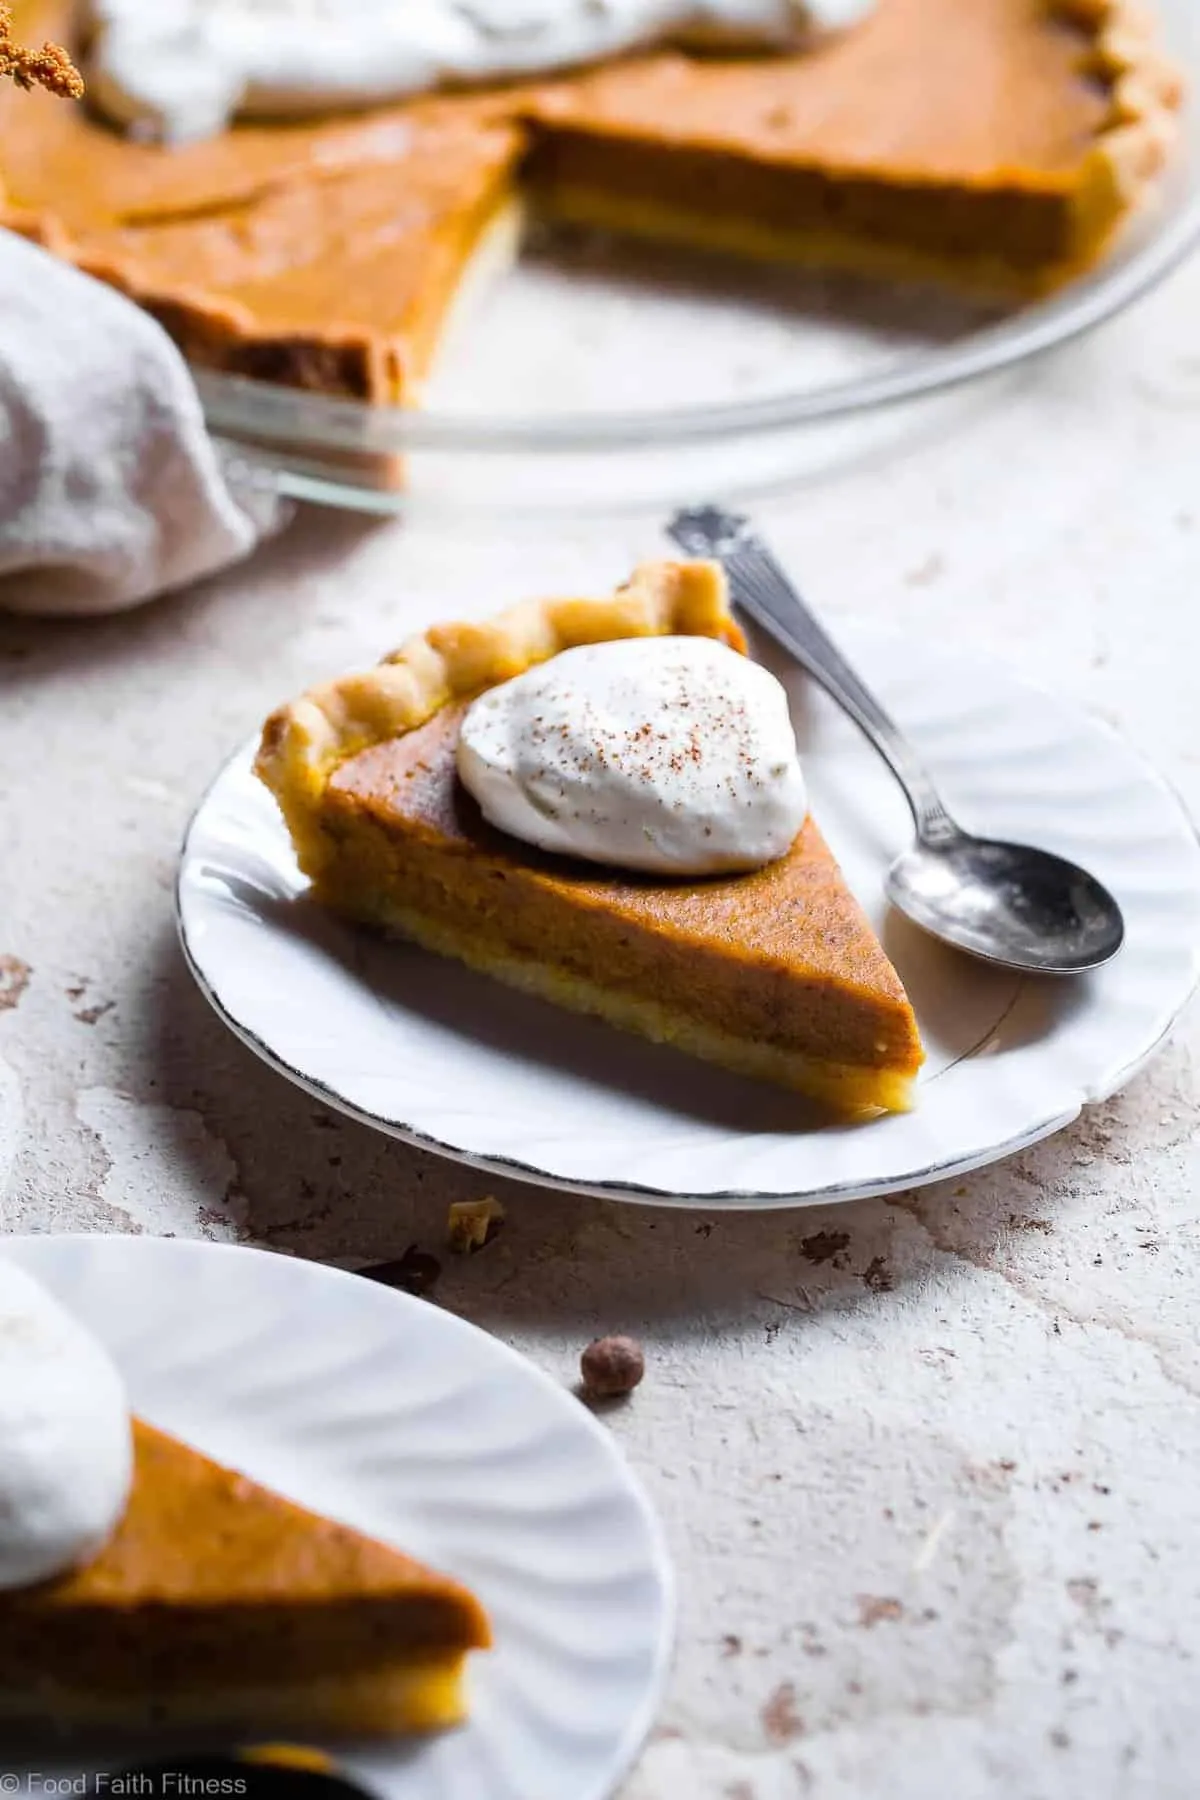
- Optional: Garnish with a light dusting of cinnamon or serve with a small dollop of sugar-free whipped cream.
- Refrigerate any leftover pie, covering it loosely with plastic wrap, and consume within 3-4 days for optimal freshness.
Tips
- Sugar Substitute Selection: Choose a high-quality granulated sugar substitute like erythritol or stevia blend for the best taste and texture.
- Crust Perfection: Let your pie crust sit at room temperature for 10 minutes before rolling to prevent cracking and ensure a beautiful presentation.
- Prevent Soggy Bottom: Those fork punctures in the crust aren't just for show – they help prevent moisture buildup and keep your crust crisp.
- Baking Precision: The two-temperature baking method (starting at 425°F, then reducing to 350°F) helps create a perfectly cooked, smooth filling.
- Doneness Test: The knife/toothpick test is crucial. A clean insert means your pie is perfectly baked – no soggy center!
- Cooling is Key: Patient bakers win! Allow the pie to cool completely for 2-3 hours to let the filling set properly.
- Storage Tip: Keep your pie fresh by refrigerating and consuming within 3-4 days, covering loosely with plastic wrap.
- Serving Suggestion: A light dusting of cinnamon or a dollop of sugar-free whipped cream can elevate your pie from good to absolutely amazing!
Nutrition Facts
Calories: 180kcal
Carbohydrates: 15g
Protein: 7g
Fat: 12g
Saturated Fat: 5g
Cholesterol: 95mg