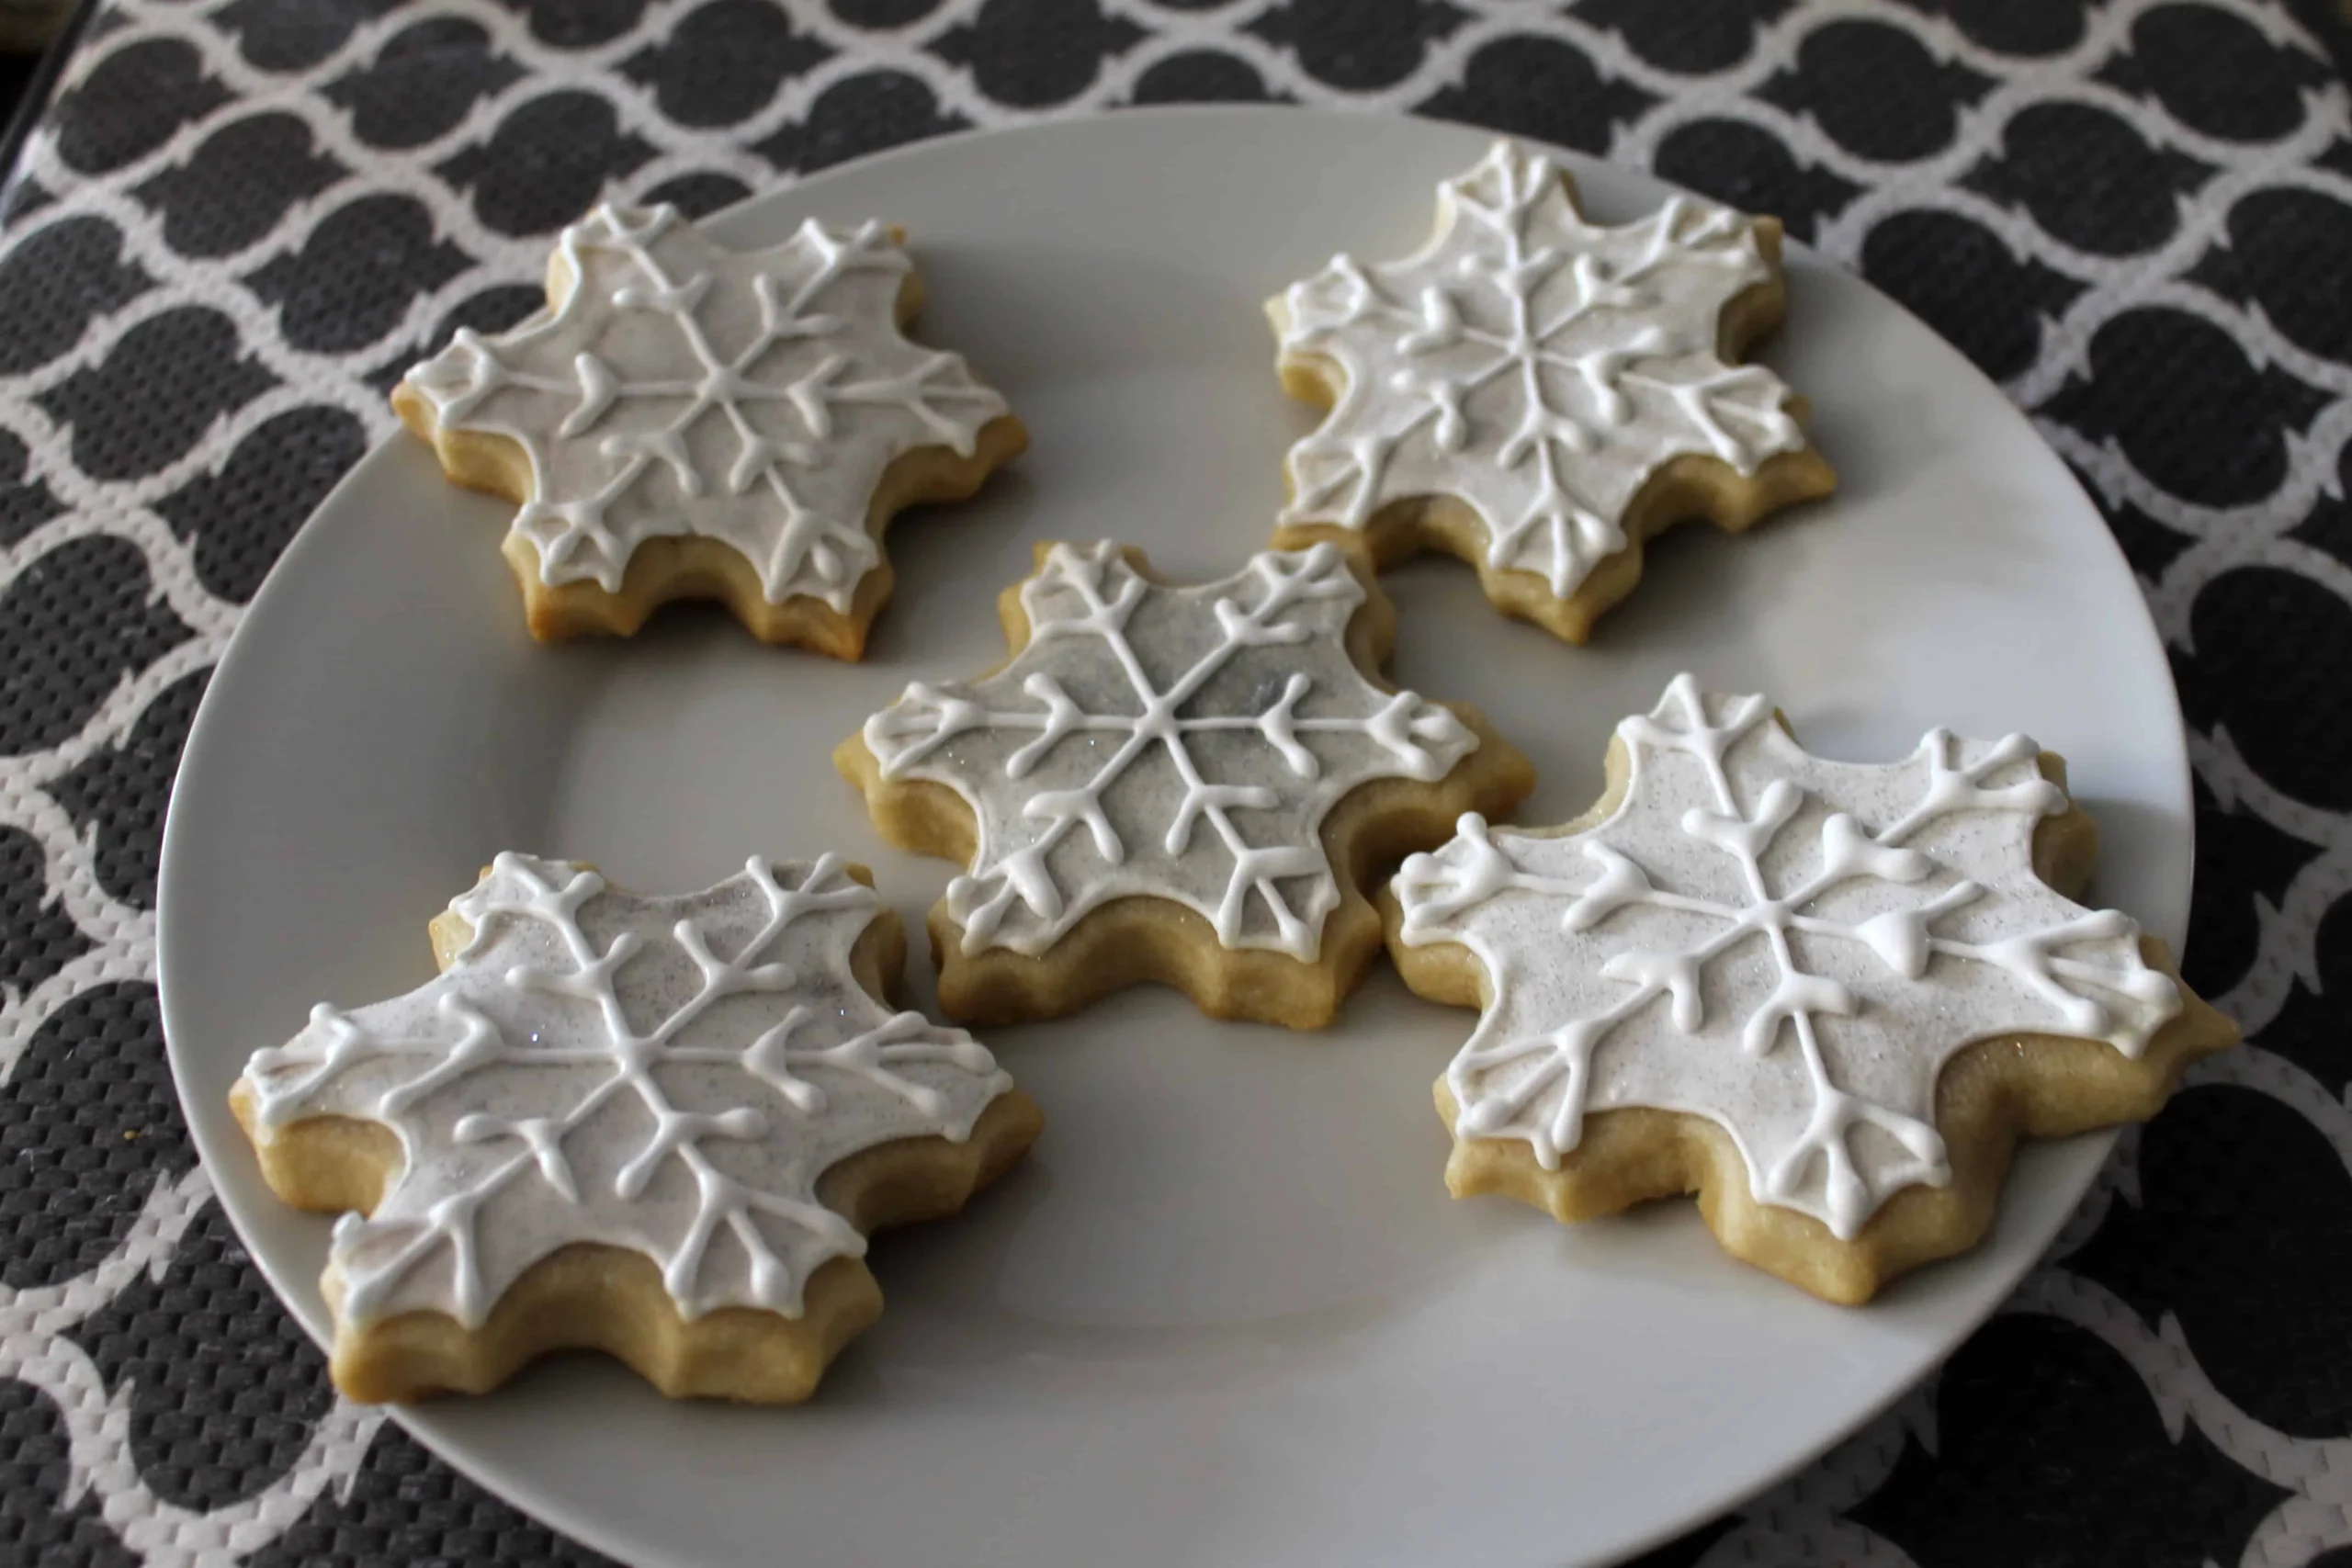
Imagine a cookie so delicate and enchanting that it transports you to a serene winter landscape with just one taste! Mrs. Rubenstein's Snowflake Cookies are not just a treat; they're an experience that captures the delicate beauty of freshly fallen snow. These melt-in-your-mouth cookies blend the warmth of vanilla and almond with a powdery sugar coating that will make your holiday baking truly unforgettable. Whether you're a seasoned baker or a curious novice, these magical cookies are about to become your new winter obsession!
Prep Time: 30 mins
Cook Time: 10 mins
Total Time: 40 mins
Cuisine: American
Serves: 24 cookies
Ingredients
- 2 cups all-purpose flour
- 1/2 teaspoon baking powder
- 1/4 teaspoon salt
- 1 cup unsalted butter, softened
- 1 cup granulated sugar
- 1 egg
- 1 teaspoon vanilla extract
- 1/2 teaspoon almond extract
- Powdered sugar for dusting
Instructions
- Prepare your workspace by preheating the oven to 350°F (175°C) and lining two baking sheets with parchment paper.
- In a medium bowl, whisk together the all-purpose flour, baking powder, and salt until well combined and set aside.
- In a large mixing bowl, cream the softened unsalted butter and granulated sugar together using an electric mixer until light and fluffy, approximately 3-4 minutes.
- Add the egg to the butter mixture, beating until fully incorporated. Then mix in the vanilla extract and almond extract, ensuring all ingredients are smoothly blended.
- Gradually add the dry flour mixture to the wet ingredients, mixing on low speed until just combined. Be careful not to overmix the dough.
- Cover the dough with plastic wrap and refrigerate for 15-20 minutes to make it easier to handle and prevent spreading during baking.
- Remove the dough from the refrigerator and roll it out on a lightly floured surface to approximately 1/4 inch thickness.
- Use snowflake-shaped cookie cutters to cut out the cookies, placing them carefully on the prepared baking sheets about 1 inch apart.
- Bake in the preheated oven for 8-10 minutes, or until the edges are just barely golden.
- Remove from the oven and let the cookies cool on the baking sheet for 5 minutes, then transfer to a wire rack to cool completely.
- Once fully cooled, dust the cookies generously with powdered sugar using a fine-mesh sieve to create a soft, snow-like appearance.
- Store the cookies in an airtight container at room temperature for up to 5 days, with parchment paper between layers to prevent sticking.
Tips
- Keep your butter at the perfect softness - it should be pliable but not melted. Let it sit at room temperature for about 30 minutes before starting.
- Chill the dough! This is crucial for preventing spread and maintaining the intricate snowflake shapes. Don't skip the refrigeration step.
- Use a light touch when dusting with powdered sugar. A fine-mesh sieve will help you achieve that soft, even "snow" effect.
- For crisp, clean cookie edges, dip your cookie cutters in flour between each cut to prevent sticking.
- Watch your baking time carefully - these cookies go from perfectly golden to overdone quickly. Start checking at 8 minutes.
- Allow cookies to cool completely before storing to prevent moisture buildup and maintain their delicate texture.
Nutrition Facts
Calories: 160kcal
Carbohydrates: 18g
Protein: 2g
Fat: 9g
Saturated Fat: 5g
Cholesterol: 25mg