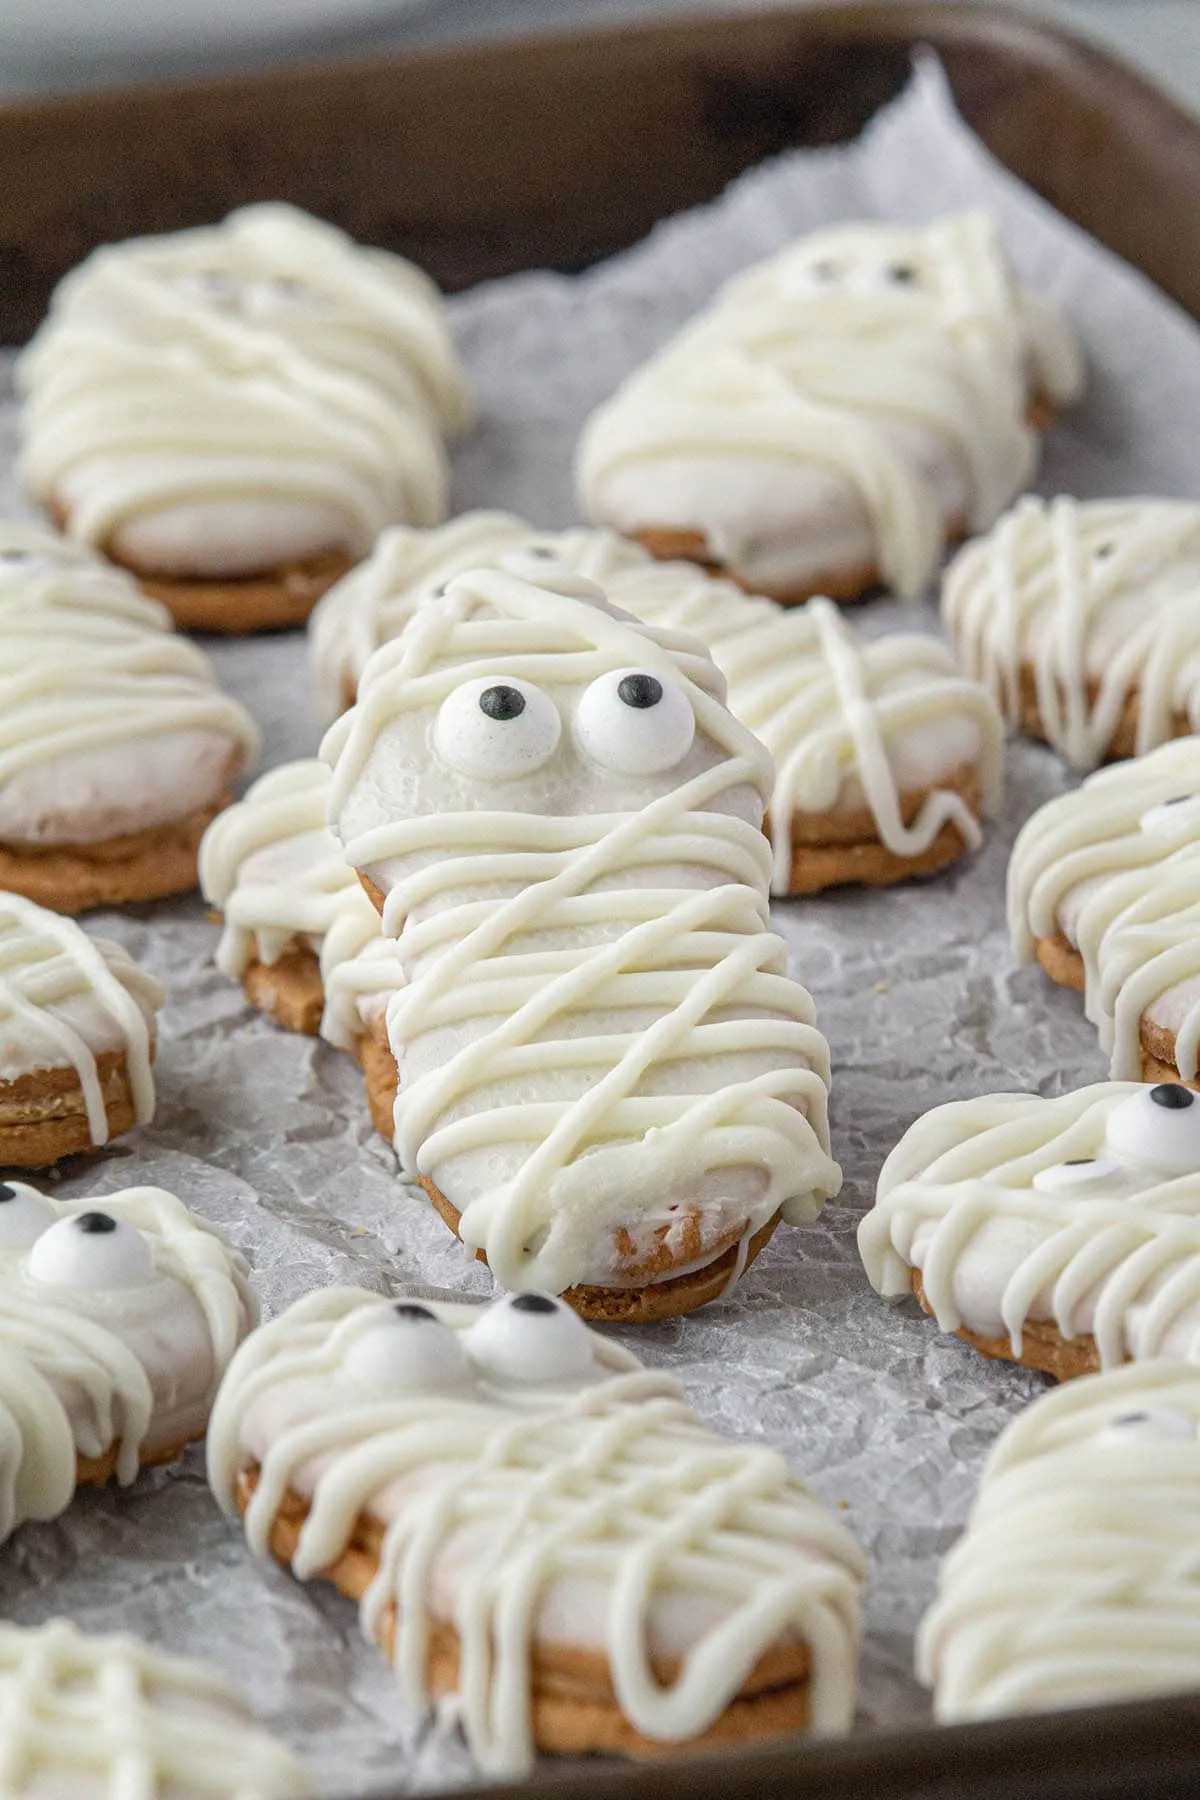
Get ready to impress your friends and family with a spook-tacular treat this Halloween! These Nutter Butter Mummy Cookies are not only adorable but also incredibly easy to make, requiring just 10 minutes of your time. Imagine biting into a creamy, chocolate-covered cookie that looks like it just crawled out of a haunted house! Perfect for parties, school events, or just a fun afternoon activity, these cookies are sure to be a hit. So, roll up your sleeves and prepare for a delightful cookie-making adventure that will leave everyone asking for seconds!
Prep Time: 10 mins
Cook Time: -
Total Time: 10 mins
Cuisine: American
Serves: 12 cookies
Ingredients
- 1 package Nutter Butter cookies
- 1 cup white chocolate chips
- 1/4 cup black icing
- 1 tablespoon vegetable oil
Instructions
- Line a baking sheet with parchment paper or a silicone baking mat to prepare your work surface.
- In a microwave-safe bowl, combine white chocolate chips and vegetable oil. Microwave in 30-second intervals, stirring between each interval, until the chocolate is completely melted and smooth.
- Using a fork or dipping tool, carefully submerge each Nutter Butter cookie into the melted white chocolate, ensuring complete and even coverage.
- Gently tap the fork on the bowl's edge to remove excess chocolate, then place the coated cookie onto the prepared baking sheet.
- Allow the white chocolate-covered cookies to set at room temperature for about 5-7 minutes, or place in the refrigerator for faster setting.
- Once the white chocolate has slightly hardened but is still slightly soft, use a piping bag or squeeze bottle with black icing to create zigzag lines across the cookie, mimicking mummy bandages.
- Leave small gaps between the icing lines to create a wrapped mummy effect.
- For the mummy's eyes, use two small dots of black icing to create peeping eyes between the bandage lines.
- Refrigerate the cookies for 10-15 minutes to fully set the chocolate and icing.
- Store in an airtight container at room temperature for up to 3 days, or refrigerate for longer preservation.
Tips
- Melt the chocolate carefully: Be sure to melt the white chocolate chips in short intervals to prevent burning. Stirring between intervals helps achieve a smooth consistency.
- Use quality ingredients: Opt for high-quality white chocolate for a richer taste and better melting properties.
- Customize your mummies: Feel free to get creative with the icing! Use colored icing for festive variations or add candy eyes for an extra spooky touch.
- Keep it cool: If you’re in a warm environment, refrigerate the cookies after coating them to help the chocolate set faster.
- Presentation matters: For a fun display, place your mummy cookies on a decorative platter with some faux spider webs or Halloween-themed decorations.
- Storage tips: To keep your cookies fresh, store them in an airtight container. If you want to preserve them longer, refrigerate them to maintain their deliciousness.
Nutrition Facts
Calories: 177kcal
Carbohydrates: g
Protein: g
Fat: g
Saturated Fat: g
Cholesterol: mg