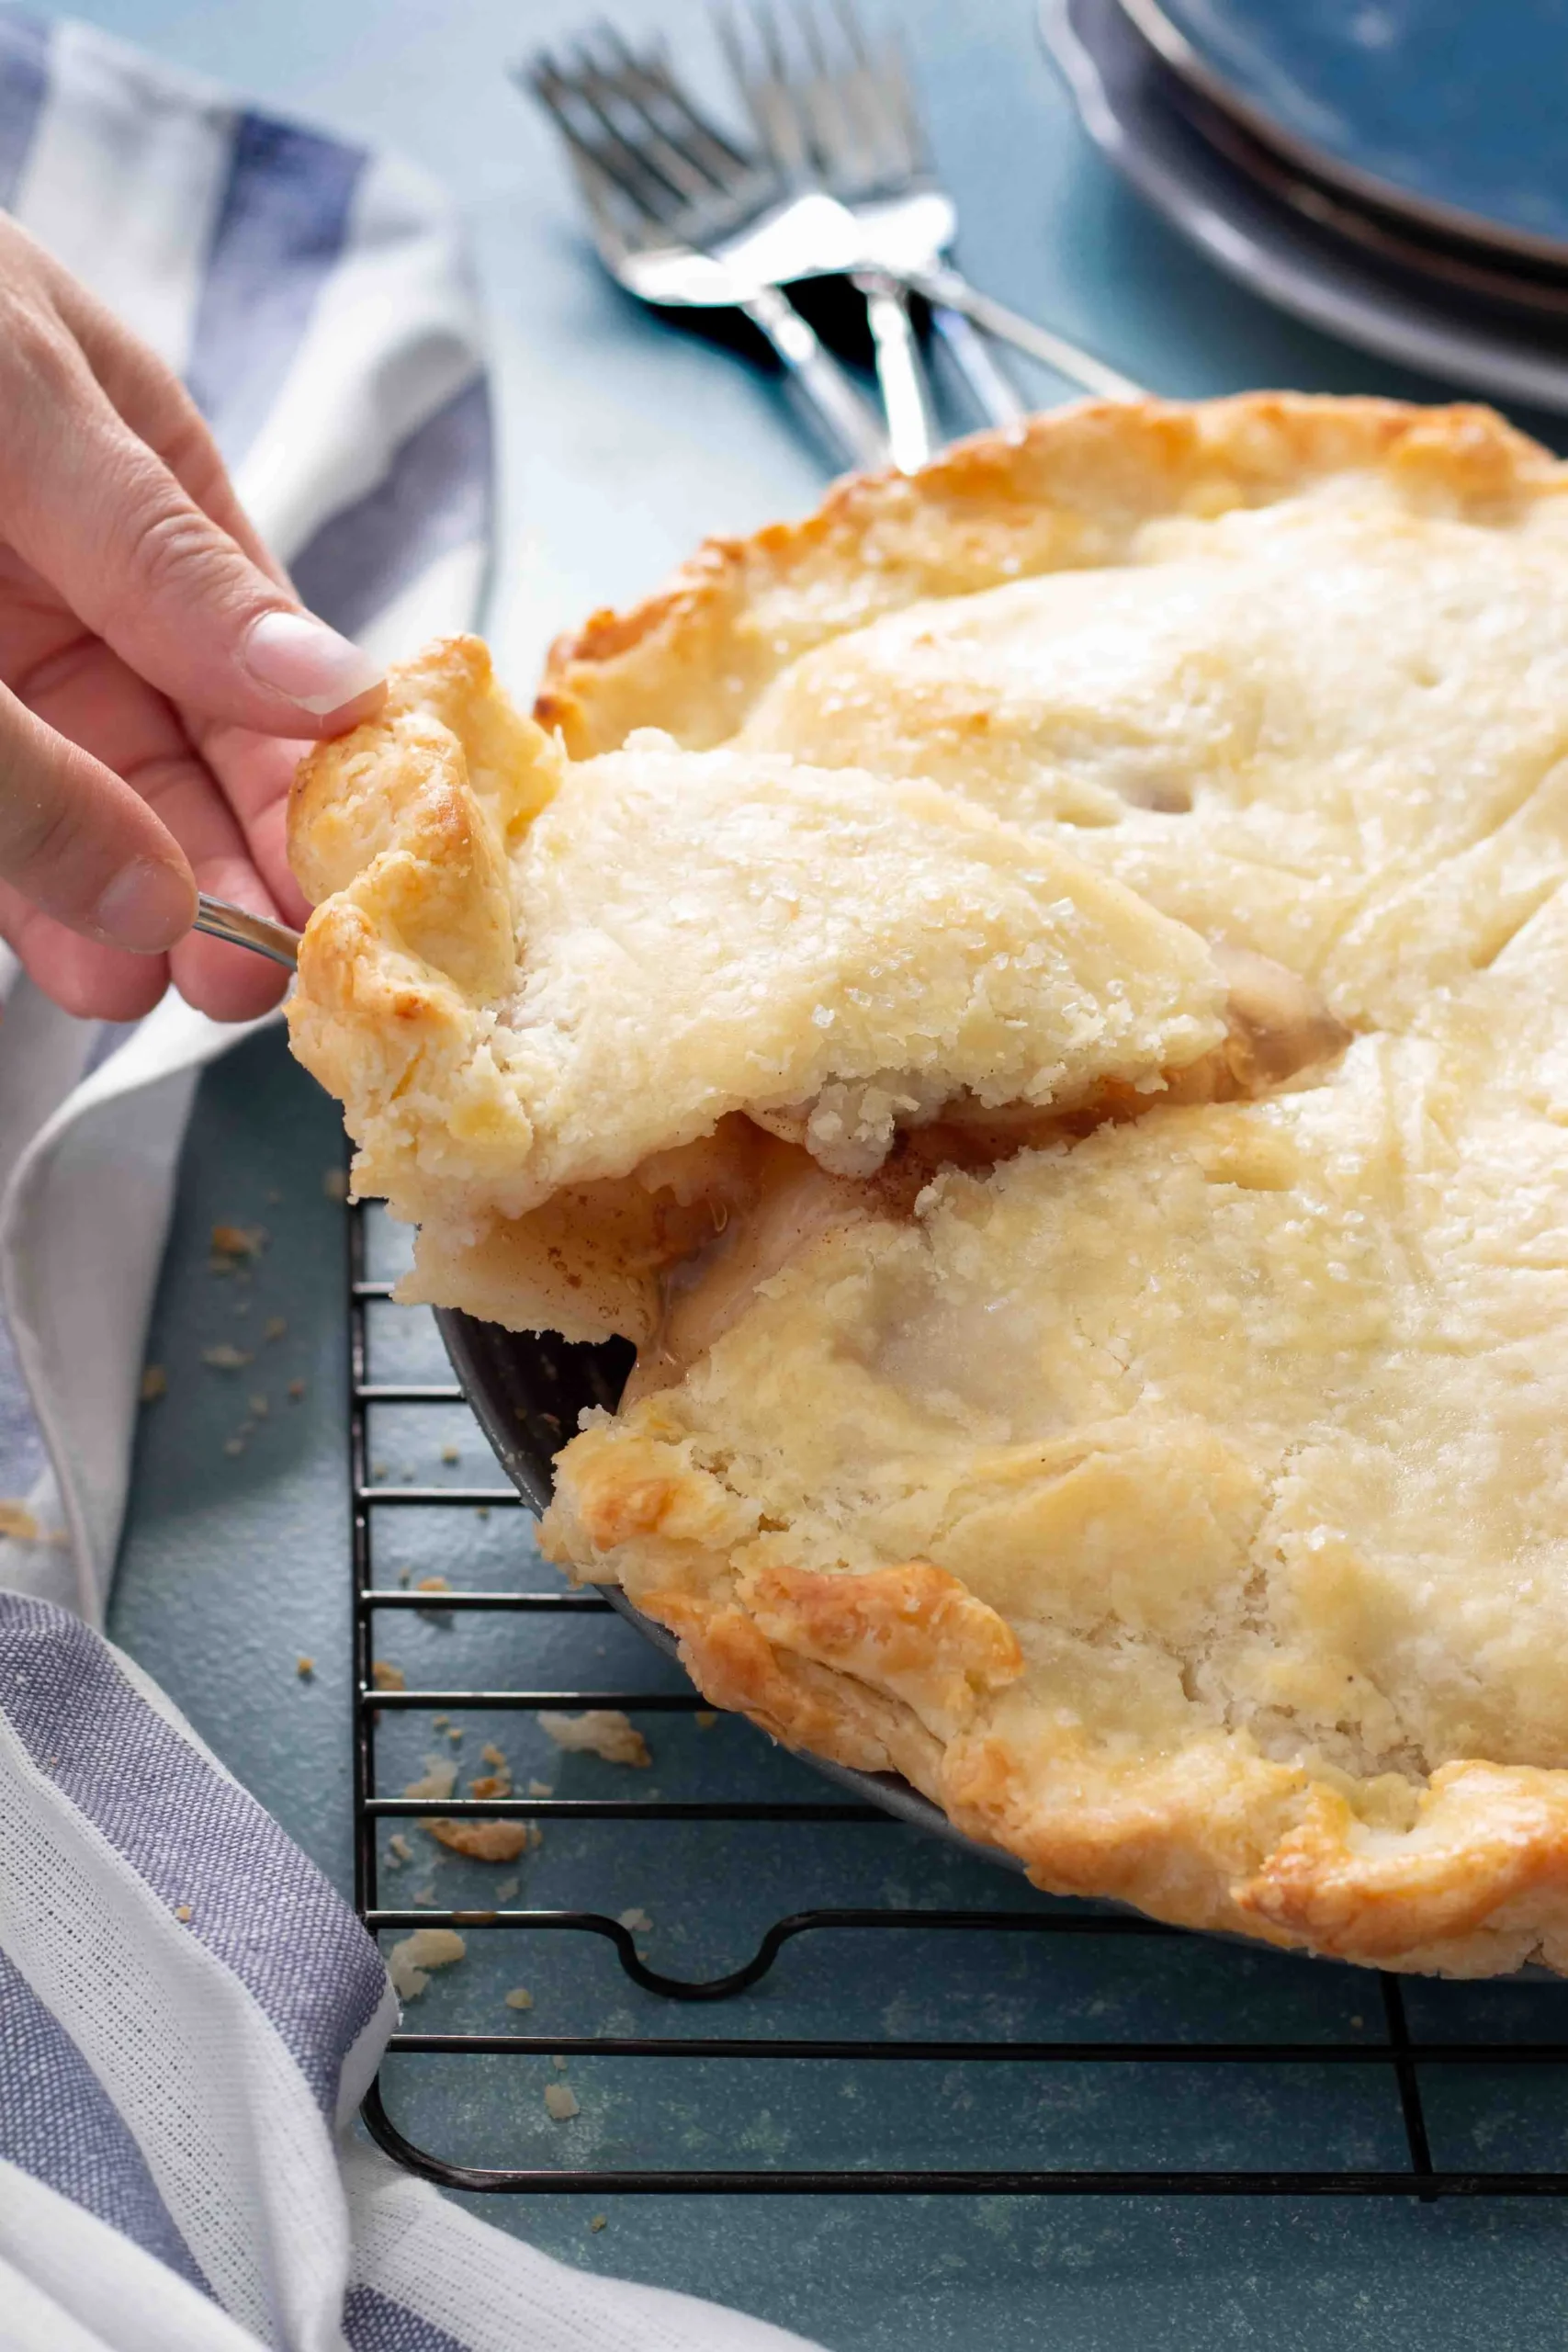
Are you tired of gluten-free pie crusts that crumble, taste like cardboard, or fall apart the moment you slice into them? Get ready to revolutionize your baking game with the most incredible gluten-free pie crust recipe that will have your friends and family begging for seconds! This foolproof method creates a perfectly flaky, tender crust that's so delicious, nobody will ever guess it's gluten-free. Whether you're a seasoned baker or a kitchen novice, this recipe will transform your pie-making experience and prove that gluten-free can be absolutely amazing.
Prep Time: 15 mins
Cook Time: 30 mins
Total Time: 45 mins
Cuisine: Gluten Free
Serves: 1 pie crust
Ingredients
- 1 1/2 cups gluten free all-purpose flour
- 1/2 cup butter, chilled
- 1/4 tsp salt
- 1/4 cup cold water
Instructions
- Begin by gathering all your ingredients: 1 1/2 cups of gluten-free all-purpose flour, 1/2 cup of chilled butter, 1/4 teaspoon of salt, and 1/4 cup of cold water. Ensure your butter is properly chilled for the best texture.
- In a large mixing bowl, combine the gluten-free all-purpose flour and salt. Use a whisk to blend them together evenly, ensuring there are no lumps.
- Cut the chilled butter into small cubes and add it to the flour mixture. Using a pastry cutter or your fingertips, work the butter into the flour until the mixture resembles coarse crumbs. The pieces of butter should be about the size of peas.
- Once the butter is incorporated, gradually add the cold water, one tablespoon at a time, mixing gently with a fork. Continue adding water until the dough starts to come together but is not sticky. You may not need the full 1/4 cup of water.
- Gather the dough into a ball and wrap it in plastic wrap. Flatten it into a disk shape and refrigerate for at least 15 minutes. This chilling step helps the butter firm up and makes the dough easier to roll out.
- After chilling, remove the dough from the refrigerator. On a lightly floured surface (using gluten-free flour), roll out the dough into a circle about 1/8 inch thick, ensuring it’s large enough to fit your pie pan.
- Carefully transfer the rolled-out dough to a 9-inch pie pan. Gently press the dough into the pan, making sure to cover the bottom and sides evenly. Trim any excess dough hanging over the edges.
- For a flaky crust, use a fork to poke holes in the bottom of the crust to prevent it from puffing up during baking. This is known as docking the crust.
- If your pie recipe requires a pre-baked crust, preheat your oven to 375°F (190°C). Place the crust in the preheated oven and bake for about 15-20 minutes, or until the edges are lightly golden. Keep an eye on it to avoid over-browning.
- Once baked, remove the crust from the oven and allow it to cool before filling it with your desired pie filling. If you're using the crust for a no-bake pie, let it cool completely before adding the filling.
- Your perfect gluten-free pie crust is now ready to be filled and enjoyed!
Tips
- Temperature is Key: Always use COLD butter and cold water. This is the secret to achieving that coveted flaky texture.
- Don't Overwork the Dough: Mix just until the ingredients come together. Overworking can lead to a tough crust.
- Chill, Chill, Chill: Refrigerating the dough allows the butter to firm up and prevents shrinking during baking.
- Flour Matters: Use a high-quality gluten-free all-purpose flour blend for the best results.
- Dock Your Crust: Those little fork holes prevent the crust from bubbling up during baking.
- Use Parchment Paper: When rolling out the dough, use parchment paper to prevent sticking and make transfer easier.
- Blind Baking Tip: If pre-baking, use pie weights or dried beans to keep the crust from puffing up. Pro Hack: If the edges start to brown too quickly, cover them with aluminum foil to prevent burning while the rest of the crust bakes perfectly.
Nutrition Facts
Calories: 177kcal
Carbohydrates: 15g
Protein: g
Fat: g
Saturated Fat: g
Cholesterol: mg

