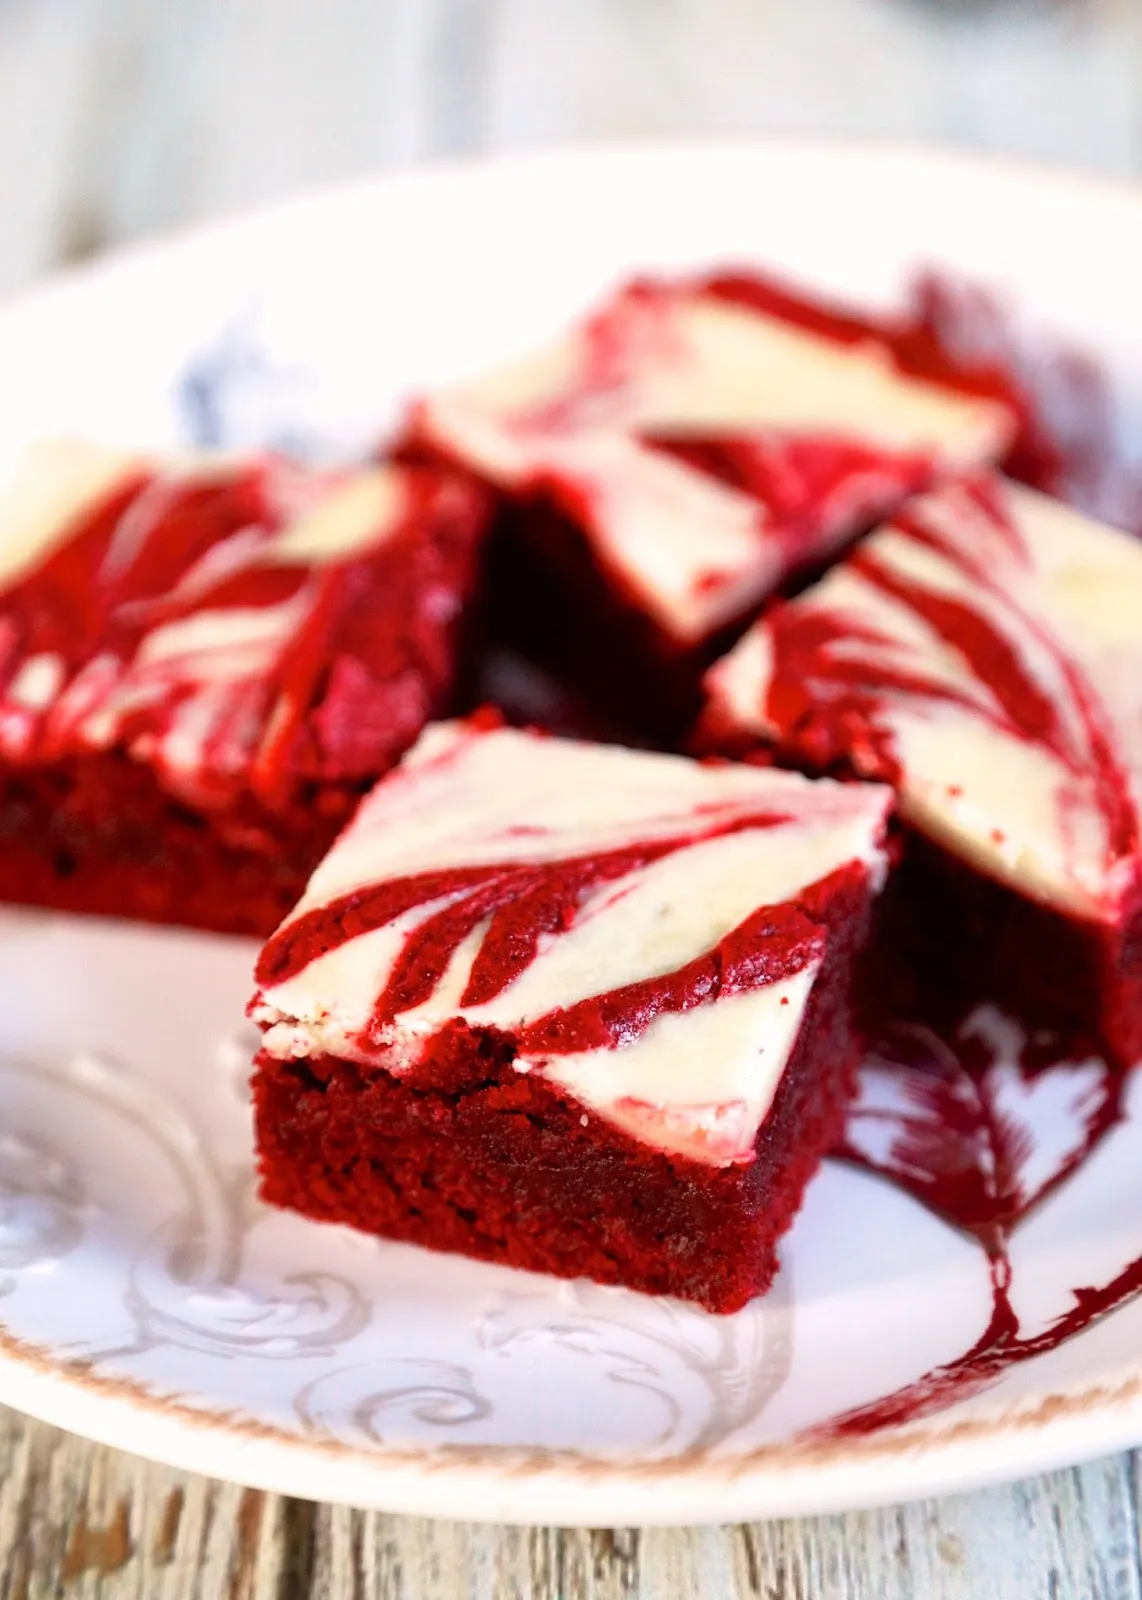
Indulge your sweet tooth with a decadent twist on a classic favorite! Our Red Velvet Cheesecake Swirled Brownies are not just any dessert; they are a show-stopping treat that combines the rich, velvety flavor of red velvet with the creamy goodness of cheesecake. Perfect for parties, special occasions, or a delightful night in, these brownies are sure to impress your guests and leave them craving more. With just a handful of ingredients and a simple preparation process, you’ll be on your way to creating a stunning dessert that’s as beautiful as it is delicious. Get ready to elevate your baking game—let’s dive into this irresistible recipe!
Prep Time: 20 mins
Cook Time: 30 mins
Total Time: 50 mins
Cuisine: Dessert
Serves: 12 servings
Ingredients
- 1 cup all-purpose flour
- 1/2 cup cocoa powder
- 1 cup sugar
- 1/2 cup vegan butter, melted
- 1/2 cup almond milk
- 1 tablespoon red food coloring
- 1 package vegan cream cheese
- 1/4 cup powdered sugar
Instructions
- Preheat your oven to 350°F (175°C). Grease a 9x9-inch baking pan or line it with parchment paper for easy removal.
- In a large mixing bowl, combine 1 cup of all-purpose flour, 1/2 cup of cocoa powder, and 1 cup of sugar. Whisk the dry ingredients together until they are well combined and there are no lumps.
- In a separate bowl, mix together 1/2 cup of melted vegan butter, 1/2 cup of almond milk, and 1 tablespoon of red food coloring. Stir until the mixture is smooth and evenly colored.
- Pour the wet ingredients into the bowl with the dry ingredients. Stir until just combined, being careful not to overmix. The batter should be thick and slightly glossy.
- In another bowl, beat together 1 package of vegan cream cheese and 1/4 cup of powdered sugar until smooth and creamy. This will be your cheesecake swirl.
- Pour about two-thirds of the brownie batter into the prepared baking pan, spreading it evenly across the bottom.
- Drop spoonfuls of the cream cheese mixture over the brownie batter. Then, add the remaining brownie batter on top, spreading it gently to cover the cream cheese mixture.
- Using a knife or a skewer, gently swirl the cream cheese mixture into the brownie batter to create a marbled effect. Be careful not to mix it too much, as you want distinct swirls.
- Bake in the preheated oven for 25-30 minutes or until a toothpick inserted in the center comes out with a few moist crumbs (not wet batter).
- Once baked, remove the brownies from the oven and allow them to cool in the pan for about 10-15 minutes. Then, transfer them to a wire rack to cool completely.
- Once cooled, cut into 12 squares and serve. Enjoy your delicious Red Velvet Cheesecake Swirled Brownies!
Tips
- Use Room Temperature Ingredients: For the best texture, make sure your vegan cream cheese is at room temperature before mixing. This will help create a smooth and creamy cheesecake swirl.
- Don’t Overmix: When combining the wet and dry ingredients for the brownie batter, mix just until combined. Overmixing can lead to dense brownies, so keep it gentle!
- Create Beautiful Swirls: When swirling the cream cheese mixture into the brownie batter, use a knife or skewer to gently create swirls. Aim for a marbled effect without fully blending the two mixtures for that stunning visual appeal.
- Check for Doneness: Every oven is different, so keep an eye on your brownies as they bake. A toothpick inserted in the center should come out with a few moist crumbs, indicating they’re perfectly baked.
- Cool Completely Before Cutting: Allow your brownies to cool completely on a wire rack before cutting them into squares. This will help them set and make for cleaner cuts.
- Storage Tips: Store any leftovers in an airtight container in the refrigerator. They can last up to a week, but we doubt they’ll last that long!
Nutrition Facts
Calories: 320kcal
Carbohydrates: 45g
Protein: 3g
Fat: 16g
Saturated Fat: 8g
Cholesterol: 0mg

