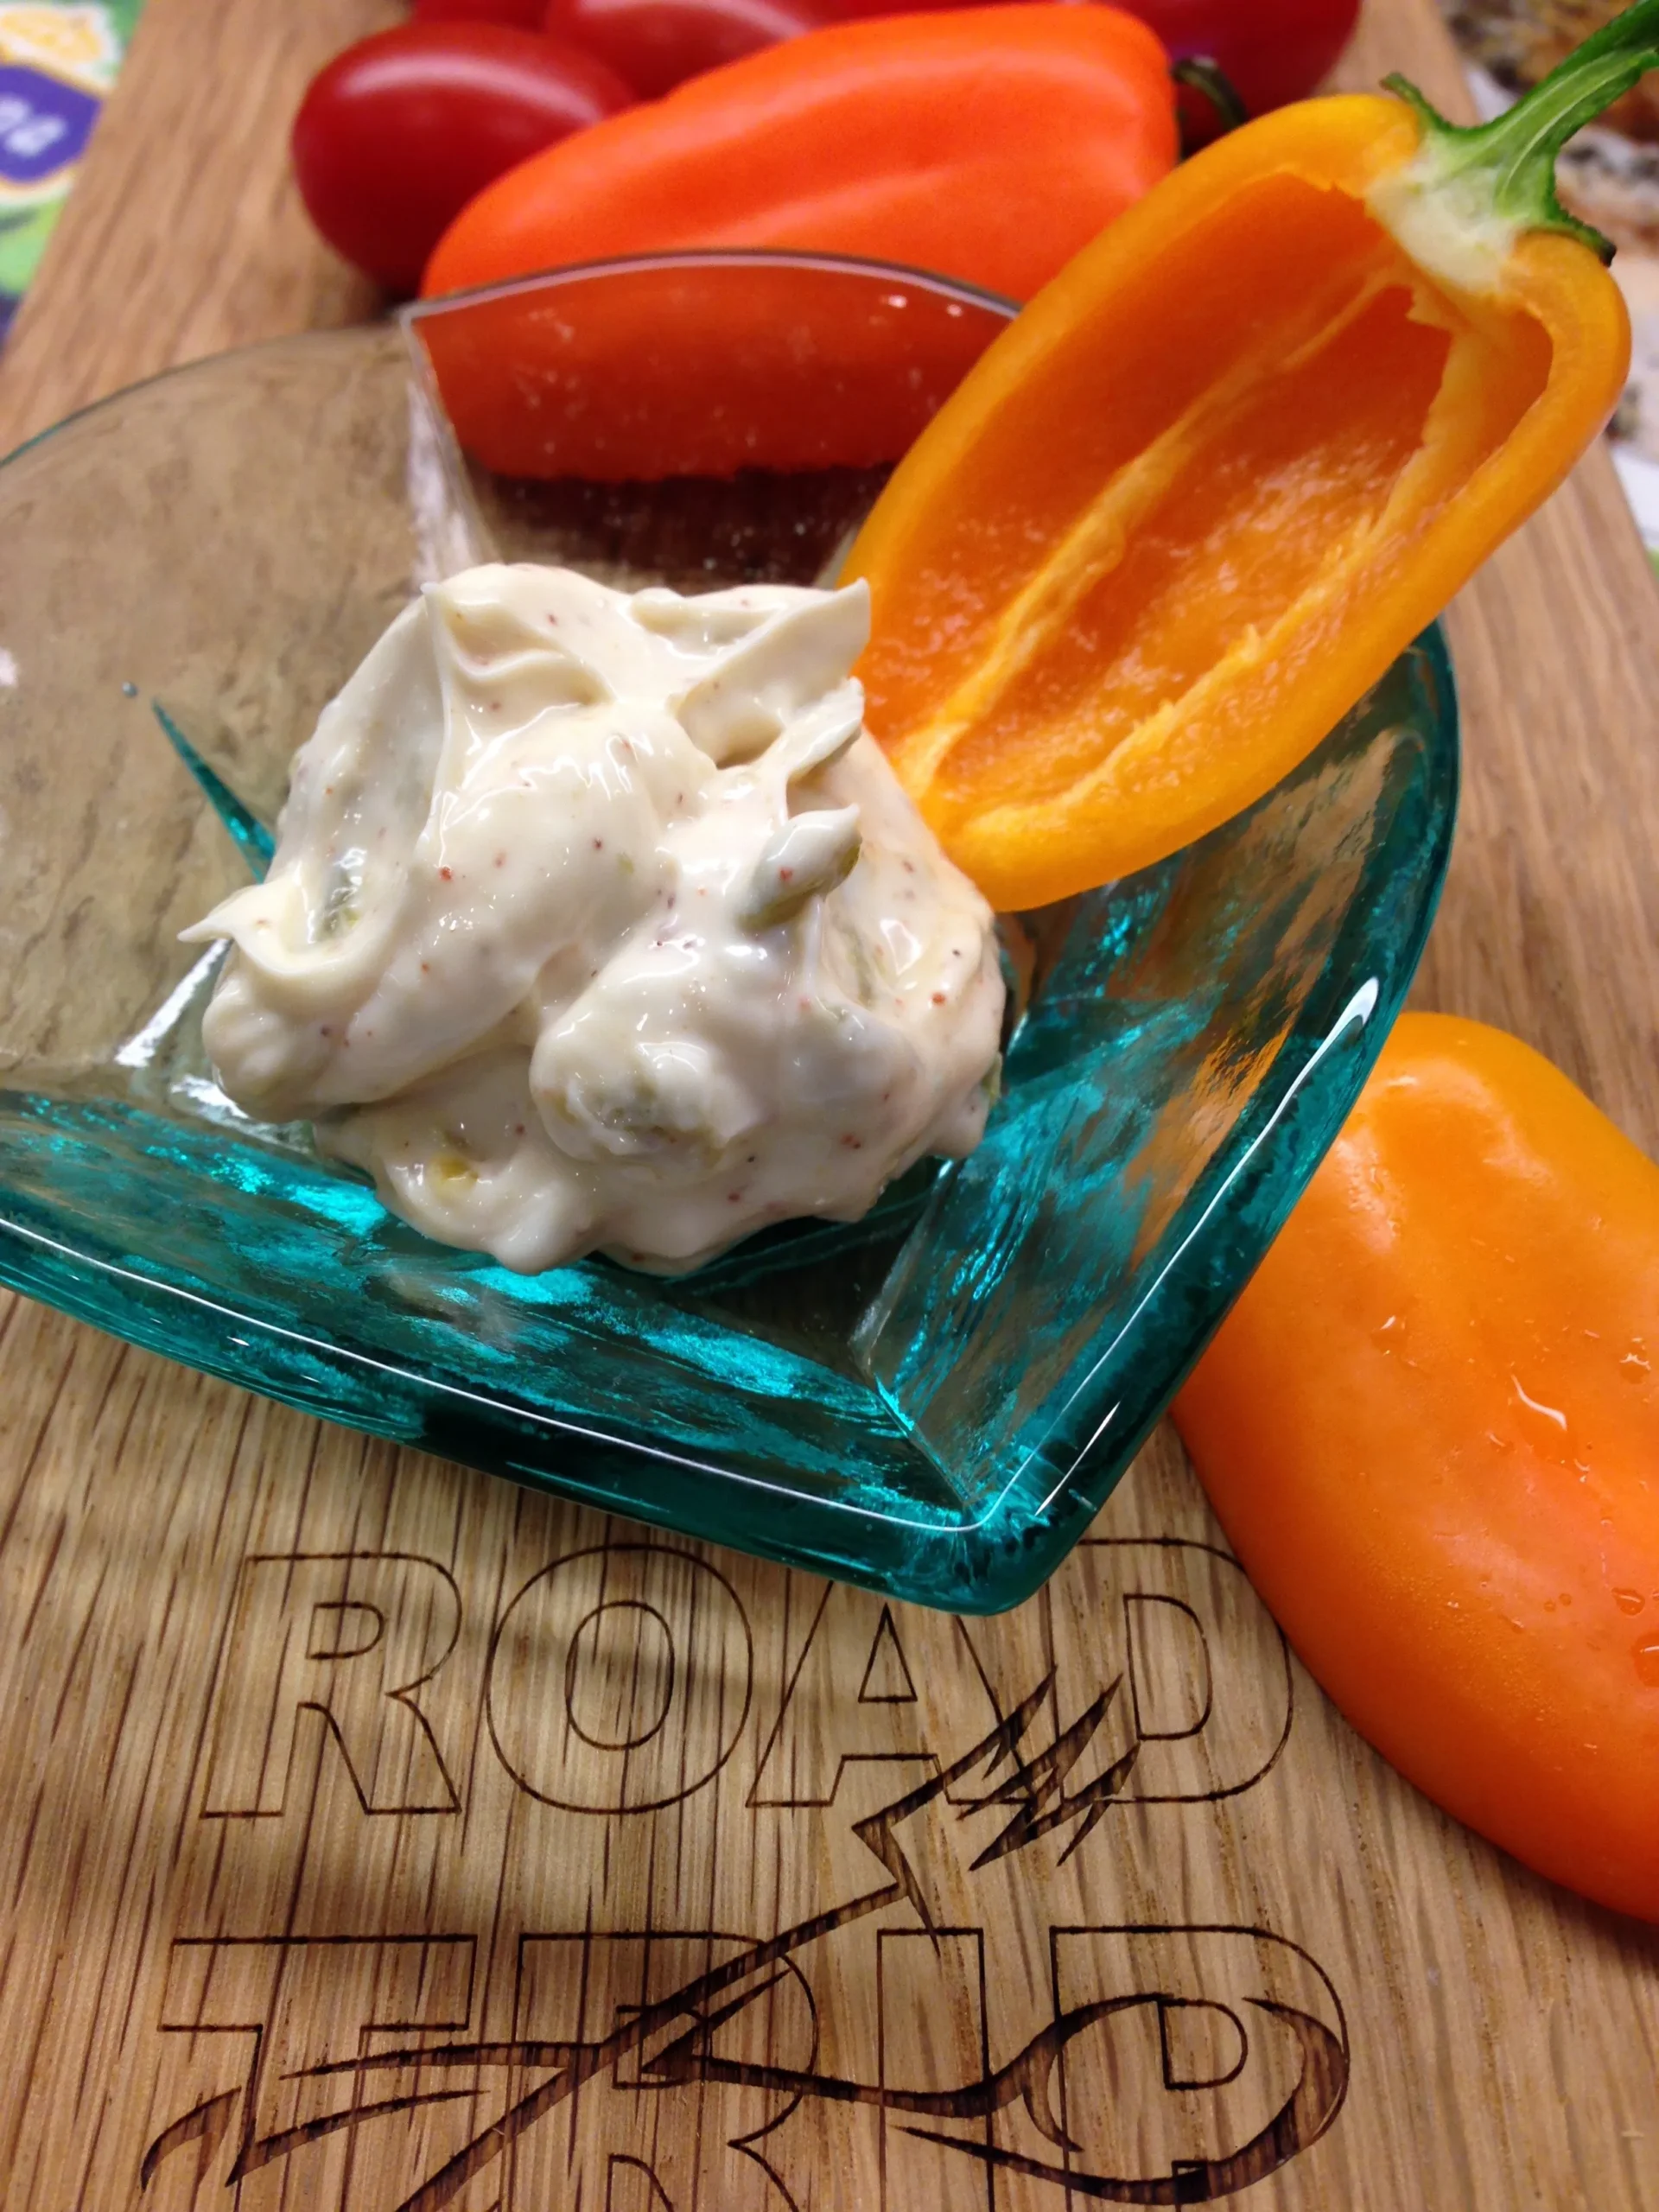
Are you ready to elevate your culinary game with a mouthwatering twist? Meet the Roasted Hatch Chile Aioli, a creamy, zesty delight that will have your taste buds dancing! This easy-to-make sauce combines the smoky flavor of roasted hatch chiles with the richness of mayonnaise and a hint of garlic, creating a perfect companion for grilled meats, crisp vegetables, or even as a standout spread on your favorite sandwiches. In just 10 minutes, you can whip up this irresistible aioli that’s sure to impress your family and friends. Dive into this recipe and discover how to transform simple ingredients into a gourmet experience!
Prep Time: 10 mins
Cook Time: -
Total Time: 10 mins
Cuisine: American
Serves: 1 cup
Ingredients
- 2 roasted hatch chiles
- 1 cup mayonnaise
- 2 cloves garlic
- 1 tablespoon lemon juice
- Salt to taste
Instructions
- Begin by preparing the roasted hatch chiles. If you have not yet roasted them, you can do so by placing them under a broiler or on a grill until the skin is charred and blistered. Once roasted, place them in a bowl and cover with plastic wrap for about 10 minutes. This will help steam the chiles and make it easier to peel off the skin.
- After the chiles have cooled, peel off the charred skin. Cut the chiles open and remove the seeds and stems. Chop the roasted hatch chiles into small pieces and set them aside.
- In a mixing bowl, combine 1 cup of mayonnaise with the chopped roasted hatch chiles.
- Peel and finely mince 2 cloves of garlic. Add the minced garlic to the mayonnaise and chile mixture.
- Pour in 1 tablespoon of fresh lemon juice to add brightness and acidity to the aioli.
- Stir the mixture thoroughly until all ingredients are well combined. Make sure the garlic and chiles are evenly distributed throughout the mayonnaise.
- Season the aioli with salt to taste. Start with a small pinch, mix, and adjust according to your preference.
- Once the aioli is well mixed and seasoned, transfer it to a serving bowl or an airtight container. If not serving immediately, refrigerate it for at least 30 minutes to allow the flavors to meld together.
- Serve the roasted hatch chile aioli as a dip, spread, or condiment alongside grilled meats, vegetables, sandwiches, or fries. Enjoy your delicious creation!
Tips
- Roasting the Chiles: For the best flavor, make sure to roast your hatch chiles until the skin is charred and blistered. This process not only enhances their taste but also makes peeling easier. If you can’t find fresh hatch chiles, you can use canned ones, but fresh will give you a superior flavor.
- Steaming for Easy Peeling: After roasting, covering the chiles with plastic wrap helps steam them, loosening the skin for a hassle-free peeling experience. Don’t skip this step!
- Balancing Flavors: Adjust the amount of garlic and lemon juice according to your taste. If you prefer a milder aioli, reduce the garlic or add a bit more mayonnaise to balance the flavors.
- Chill for Best Results: For the most flavorful aioli, let it chill in the refrigerator for at least 30 minutes before serving. This allows the flavors to meld beautifully.
- Versatile Uses: Don’t limit yourself! This roasted hatch chile aioli makes a fantastic dip for fries or veggies, a zesty spread for sandwiches, or a delightful topping for grilled meats. Get creative and enjoy!
Nutrition Facts
Calories: 160kcal
Carbohydrates: 1g
Protein: 0g
Fat: 17g
Saturated Fat: 3g
Cholesterol: 10mg