Imagine pulling a golden, crusty loaf of bread from your oven, its aroma filling your kitchen with warmth and nostalgia. This Rustic Peasant Bread isn't just a recipe—it's a culinary adventure that transforms simple ingredients into a masterpiece that will make your taste buds dance and your family beg for more. Whether you're a novice baker or a seasoned pro, this foolproof recipe will transport you to the rustic countryside with every delectable slice.
Prep Time: 30 mins
Cook Time: 45 mins
Total Time: 1 hrs 15 mins
Cuisine: European
Serves: 1 loaf
Ingredients
- 4 cups all-purpose flour
- 1 1/2 cups warm water
- 2 teaspoons salt
- 1 teaspoon sugar
- 2 teaspoons active dry yeast
Instructions
- In a large mixing bowl, combine warm water (around 110°F), sugar, and active dry yeast. Let the mixture sit for 5-7 minutes until it becomes foamy and activated, indicating the yeast is alive and working.
- Add salt to the flour in a separate large mixing bowl, creating a well in the center. Gradually pour the activated yeast mixture into the flour, using a wooden spoon or your hands to mix until a shaggy, sticky dough forms.
- Knead the dough gently in the bowl for about 1-2 minutes, ensuring all flour is incorporated. The dough should be soft and slightly sticky. Cover the bowl with a clean kitchen towel or plastic wrap.
- Allow the dough to rise in a warm, draft-free area for approximately 1 hour, or until it has doubled in size. The ideal rising temperature is between 75-80°F.
- Preheat the oven to 450°F. Place a large Dutch oven or heavy ceramic baking dish with a lid inside the oven during preheating to create a hot cooking environment.
- Gently punch down the risen dough and shape it into a loose round loaf on a lightly floured surface. Be careful not to overwork the dough, as this can make the bread tough.
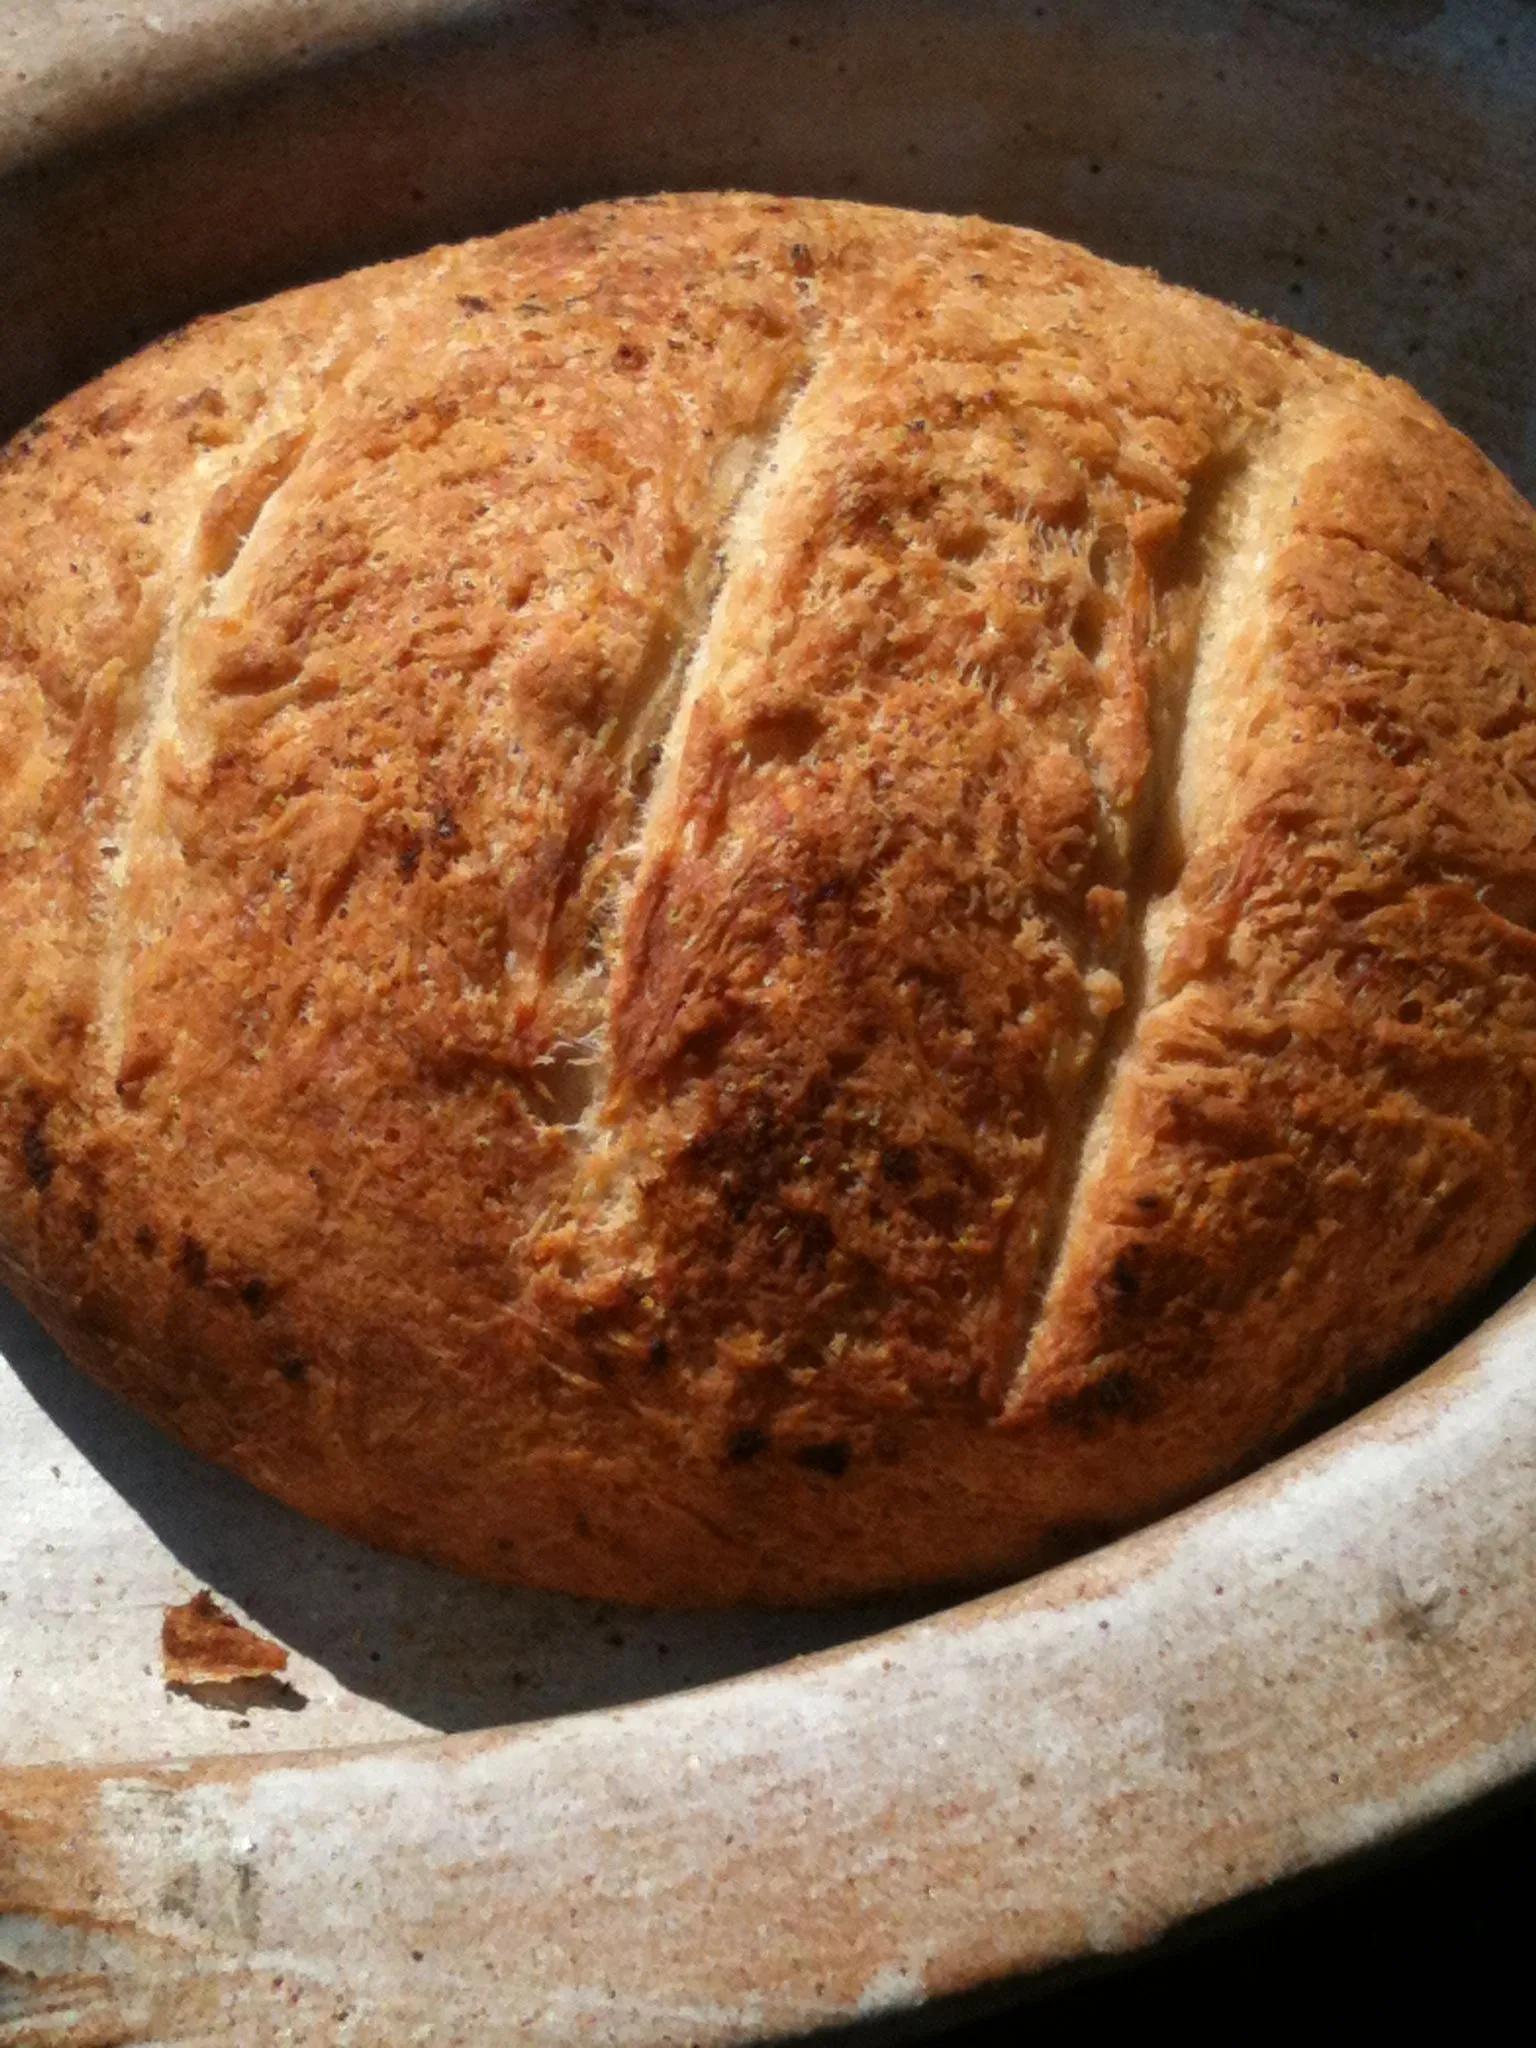
- Carefully remove the hot Dutch oven from the oven and transfer the shaped dough into it. If desired, make a few shallow cuts on the top of the loaf to allow for expansion.
- Cover the Dutch oven with its lid and bake for 30 minutes. Then remove the lid and bake for an additional 10-15 minutes until the bread is golden brown and sounds hollow when tapped on the bottom.
- Remove the bread from the oven and transfer to a wire cooling rack. Allow the bread to cool completely for at least 1 hour before slicing to ensure proper texture and prevent gumminess.
Tips
- Water Temperature is Key: Use a thermometer to ensure your water is precisely 110°F. Too hot, and you'll kill the yeast; too cool, and it won't activate properly.
- Don't Rush the Rise: Find a warm, draft-free spot for your dough. A slightly warm oven (turned off) or near a sunny window works perfectly.
- Hands-Off Kneading: This recipe loves minimal handling. Embrace the shaggy, sticky dough—it's your secret to a tender crumb.
- Preheat Your Baking Vessel: A screaming hot Dutch oven creates that irresistible crispy crust professional bakeries are known for.
- Patience with Cooling: Resist the temptation to slice immediately. Letting the bread cool completely ensures the perfect texture and prevents a gummy interior. Pro Tip: For extra flavor, try adding herbs like rosemary or thyme to the dough, or sprinkle some sea salt on top before baking for a gourmet touch!
Nutrition Facts
Calories: 120kcal
Carbohydrates: 25g
Protein: 3g
Fat: g
Saturated Fat: g
Cholesterol: 0mg