Are you tired of complicated bread recipes that require endless kneading and multiple proofing stages? Get ready to meet your new kitchen superhero: the Single Proofing Sticky Dough Bread! This foolproof recipe will have you creating bakery-quality bread with minimal effort and maximum flavor. Whether you're a novice baker or a seasoned pro looking for a quick and delicious bread solution, this recipe promises to revolutionize your home baking experience and fill your kitchen with the irresistible aroma of freshly baked bread.
Prep Time: 15 mins
Cook Time: 30 mins
Total Time: 45 mins
Cuisine: American
Serves: 1 loaf
Ingredients
- 3 cups all-purpose flour
- 1 1/2 cups warm water
- 2 teaspoons salt
- 1 packet active dry yeast
- 1 tablespoon sugar
Instructions
- Begin by gathering all your ingredients: 3 cups of all-purpose flour, 1 1/2 cups of warm water, 2 teaspoons of salt, 1 packet of active dry yeast, and 1 tablespoon of sugar.
- In a small bowl, combine the warm water and sugar. Stir gently until the sugar dissolves. Sprinkle the active dry yeast over the surface of the water and let it sit for about 5-10 minutes until it becomes frothy. This indicates that the yeast is active.
- In a large mixing bowl, combine the all-purpose flour and salt. Mix them together until they are well incorporated.
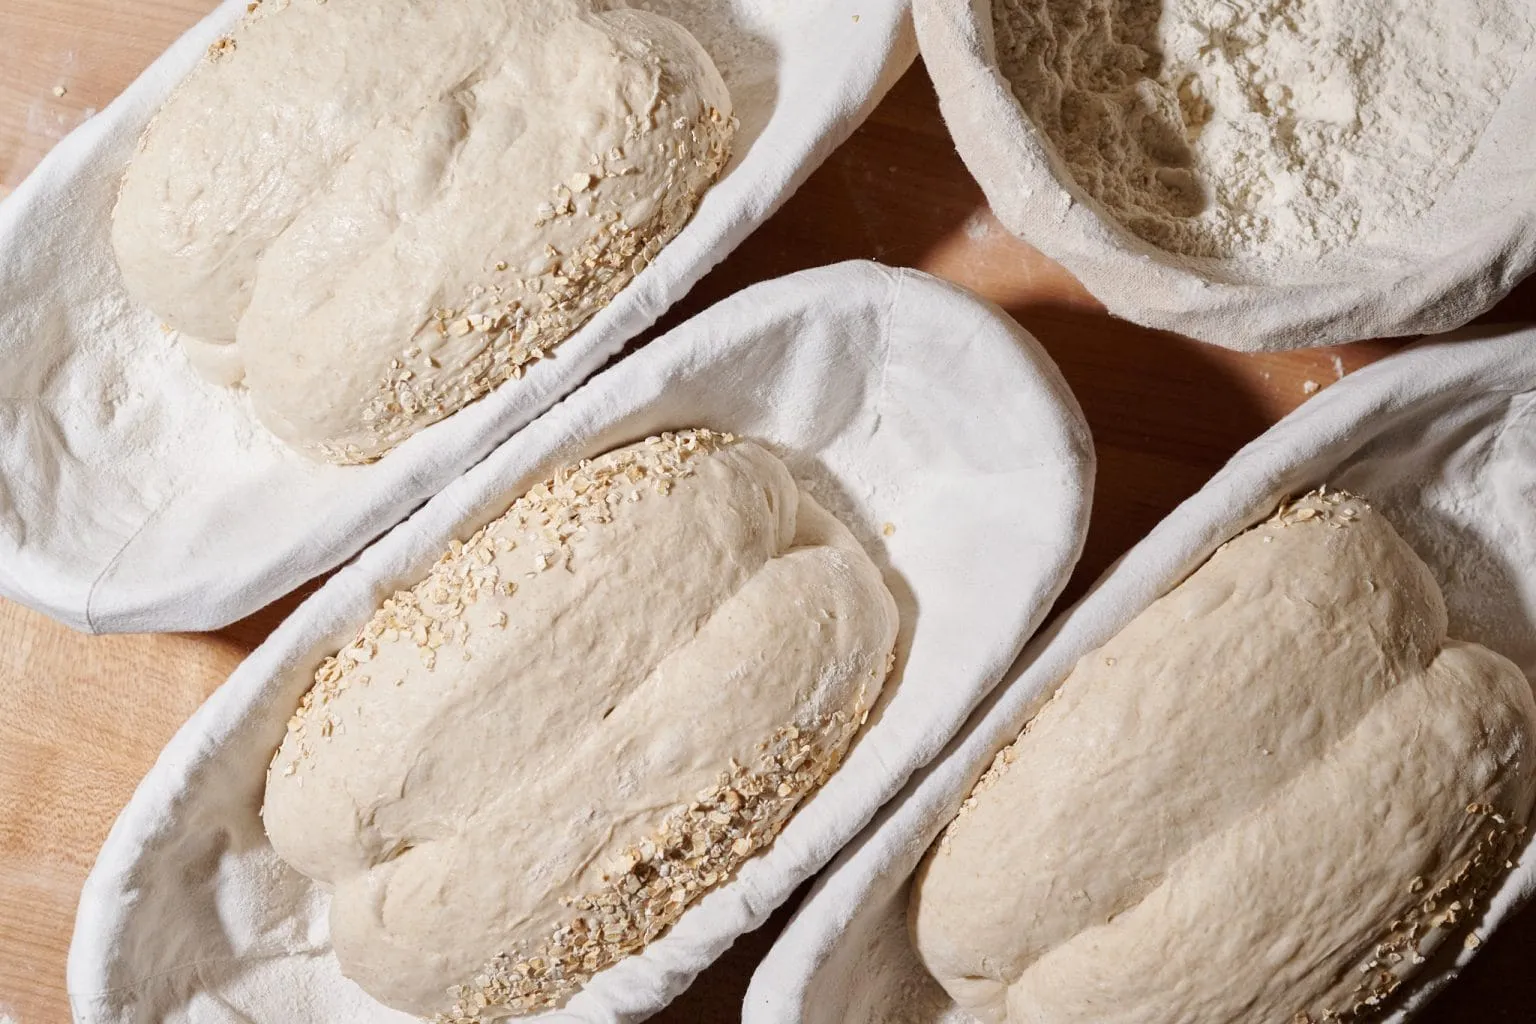
- Once the yeast mixture is frothy, pour it into the bowl with the flour and salt. Stir the mixture with a wooden spoon or spatula until a shaggy dough forms. The dough will be sticky, which is normal for this recipe.
- Transfer the sticky dough onto a floured surface. With floured hands, gently knead the dough for about 5 minutes. The goal is to develop some gluten, but be careful not to over-knead as the dough should remain sticky.
- Shape the kneaded dough into a ball and place it into a lightly greased bowl. Cover the bowl with a clean kitchen towel or plastic wrap to prevent the dough from drying out.
- Let the dough rise in a warm, draft-free place for about 30 minutes. During this time, the dough should puff up slightly, although it may not double in size due to the single proofing method.
- After the dough has risen, gently punch it down to release any air bubbles. Turn it out onto a lightly floured surface and shape it into a loaf by stretching and folding the edges toward the center.
- Place the shaped loaf into a greased 9x5-inch loaf pan. Cover it again with a kitchen towel and let it rest for an additional 10-15 minutes while you preheat your oven to 375°F (190°C).
- Once the oven is preheated, bake the loaf for 25-30 minutes, or until the top is golden brown and the bread sounds hollow when tapped on the bottom.
- Remove the loaf from the oven and let it cool in the pan for about 5 minutes. Then, transfer it to a wire rack to cool completely before slicing.
- Enjoy your freshly baked Single Proofing Sticky Dough Bread warm or toasted, perfect for sandwiches or as a side with your favorite meal!
Tips
- Water Temperature is Key: Ensure your water is warm (around 110°F) but not hot, as extremely hot water can kill the yeast.
- Don't Fear the Stickiness: The sticky texture is normal and contributes to the bread's unique texture, so resist the urge to add too much extra flour.
- Warm Rising Spot: Choose a draft-free, warm location like near a preheating oven or on top of a warm appliance to help the dough rise effectively.
- Flour Your Hands: When handling the sticky dough, keep your hands lightly floured to prevent excessive sticking.
- Check Yeast Freshness: Make sure your yeast is fresh and active by ensuring it becomes frothy within 5-10 minutes.
- Tap Test: To check if the bread is done, tap the bottom of the loaf - it should sound hollow when fully baked.
- Cooling is Crucial: Allow the bread to cool completely before slicing to prevent a gummy texture and help it set properly.
Nutrition Facts
Calories: kcal
Carbohydrates: g
Protein: g
Fat: g
Saturated Fat: g
Cholesterol: 0mg