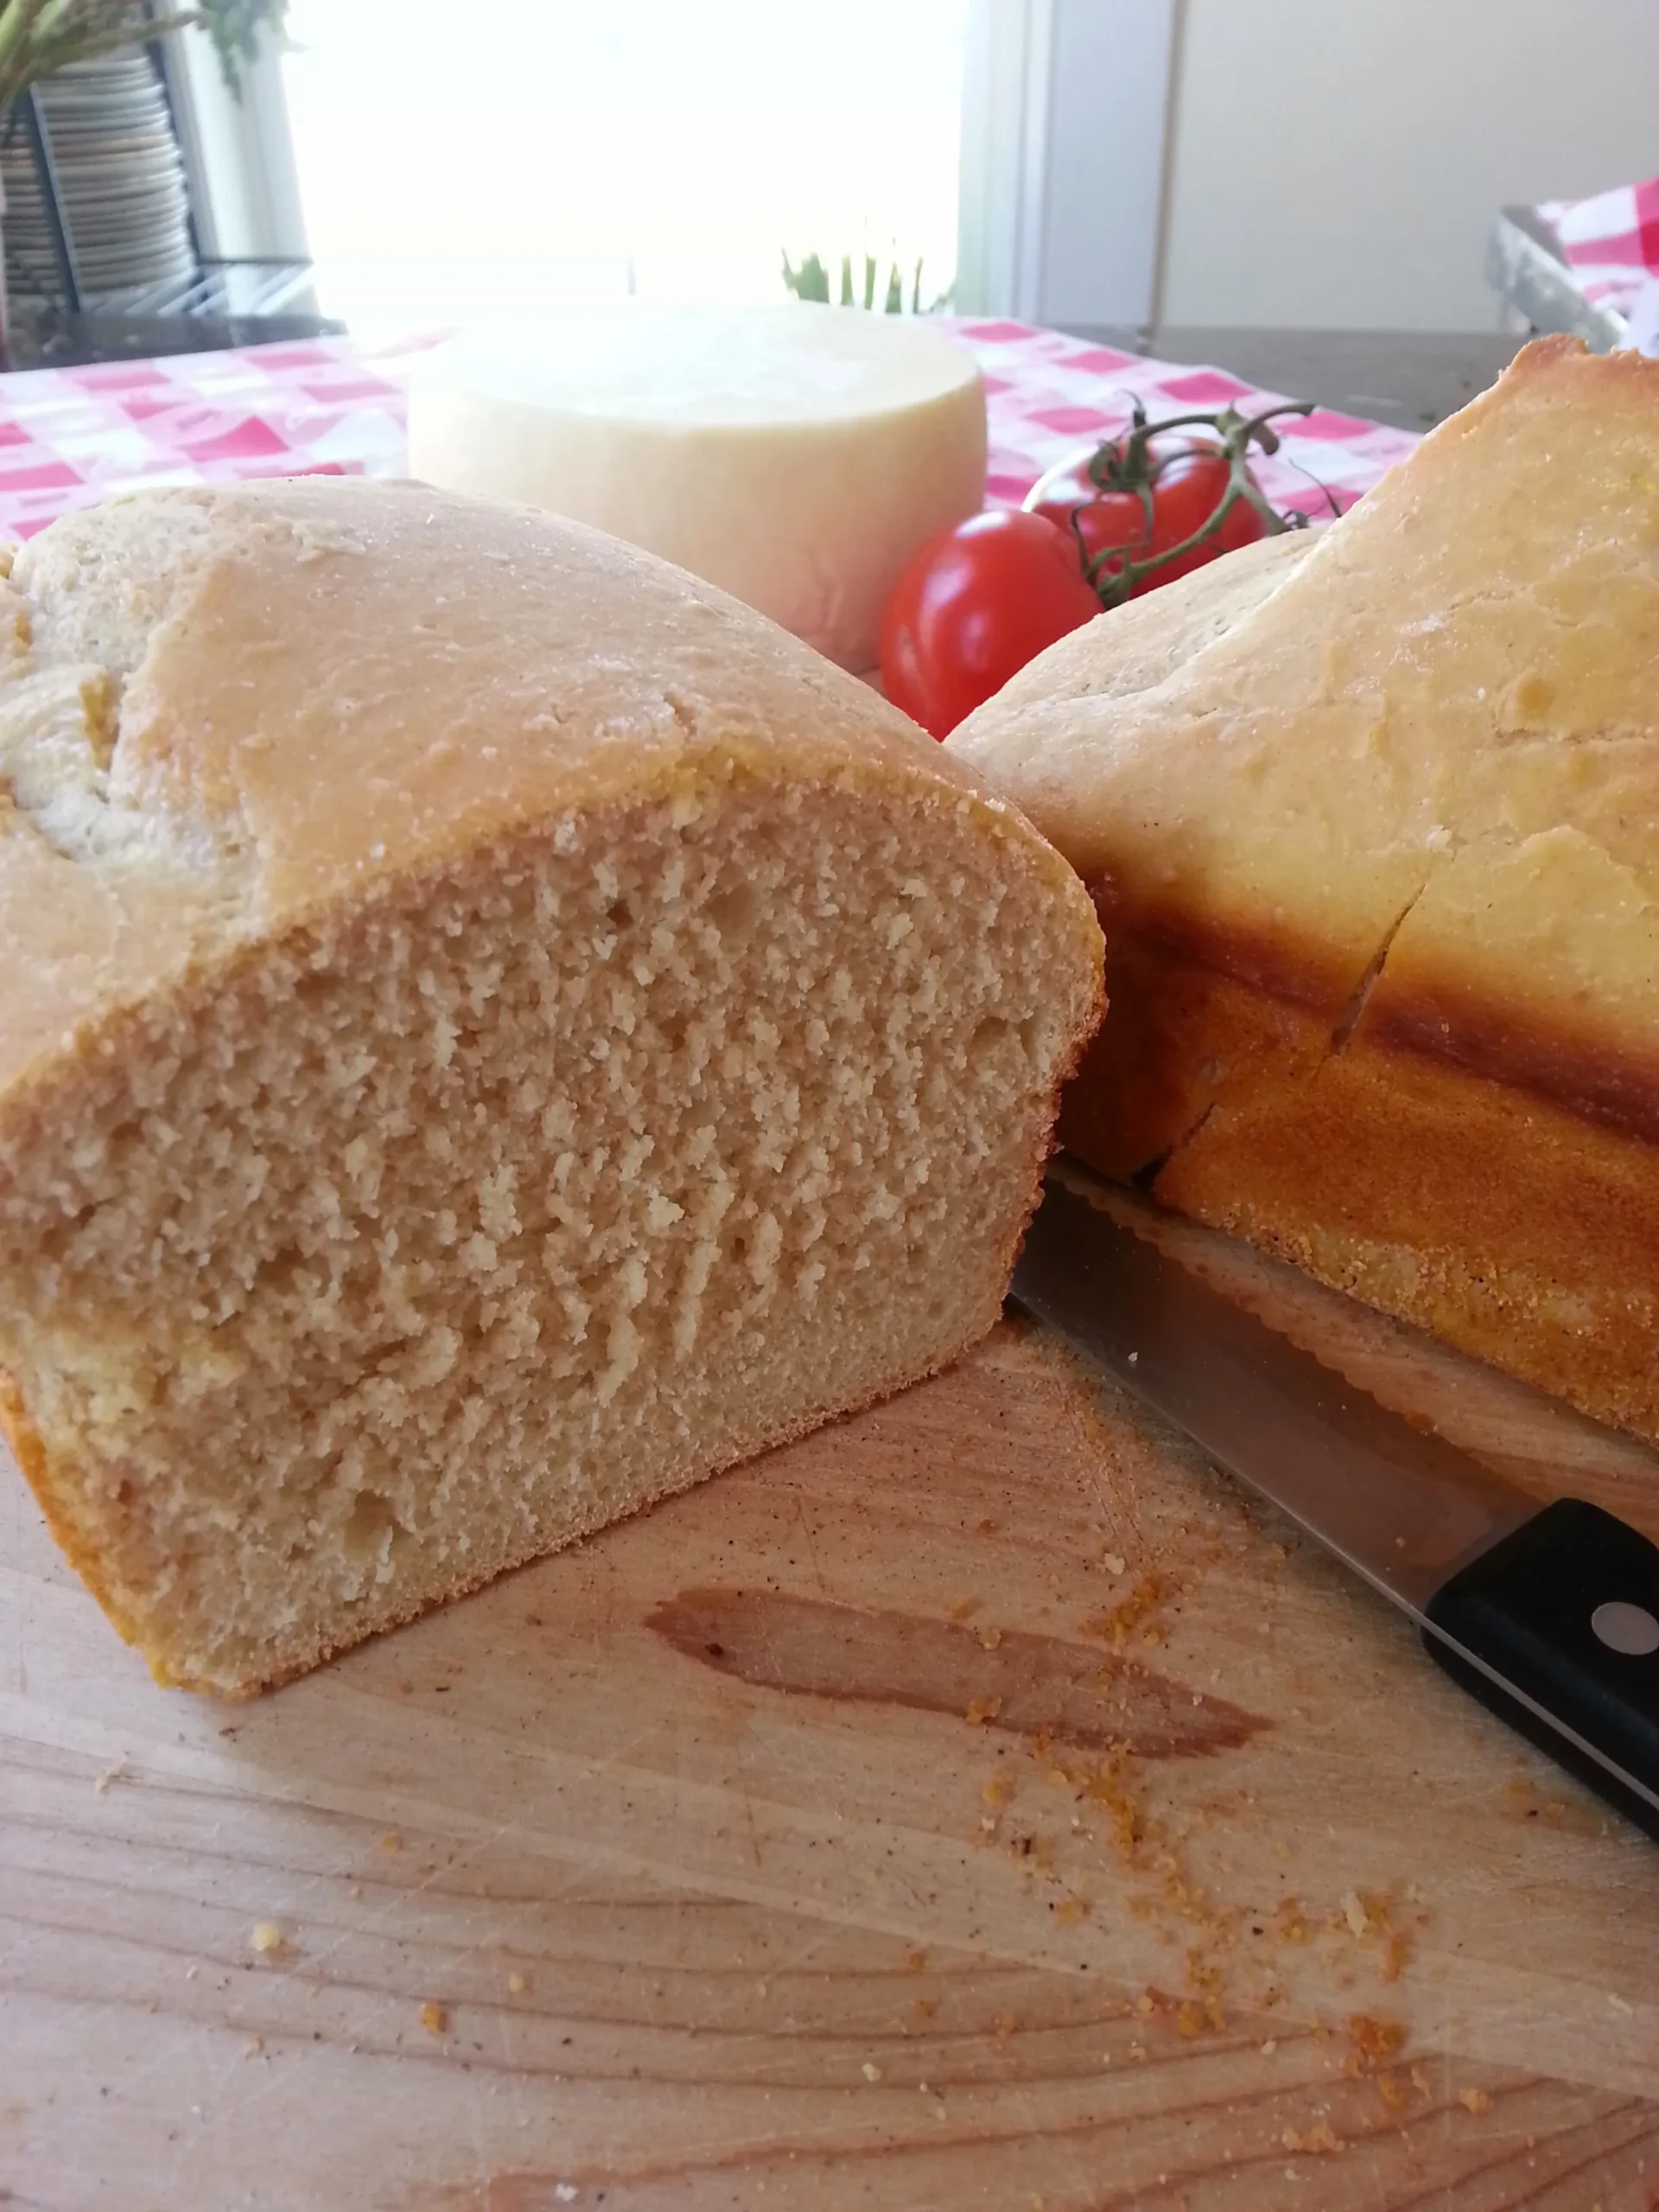
Are you ready to transform your kitchen into a artisan bakery and create a bread so incredible it'll make your taste buds dance? This Sourdough and Whey Bread isn't just another recipe—it's a culinary journey that bridges traditional baking techniques with a tangy, complex flavor profile that will elevate your bread game from ordinary to extraordinary. By harnessing the power of sourdough starter and the protein-rich magic of whey, you'll craft a loaf that's not just bread, but a masterpiece of texture, taste, and pure baking passion.
Prep Time: 20 mins
Cook Time: 30 mins
Total Time: 50 mins
Cuisine: Bread
Serves: 1 loaf
Ingredients
- 3 cups all-purpose flour
- 1 cup sourdough starter
- 1/2 cup whey
- 1 teaspoon salt
Instructions
- In a large mixing bowl, combine the sourdough starter and whey, stirring until well integrated and creating a smooth liquid mixture.
- Gradually add the all-purpose flour to the liquid, mixing with a wooden spoon or your hands until a shaggy dough begins to form.
- Sprinkle the salt over the dough and continue kneading for 8-10 minutes until the dough becomes smooth, elastic, and slightly tacky but not sticky.
- Transfer the dough to a lightly oiled bowl, cover with a clean kitchen towel or plastic wrap, and let it rise in a warm, draft-free area for approximately 2-3 hours or until the dough has doubled in size.
- Once risen, gently punch down the dough to release air bubbles and shape it into a round loaf or desired bread shape.
- Place the shaped dough on a parchment-lined baking sheet or in a proofing basket, cover, and let it rise again for another 1-
- 5 hours.
- Preheat the oven to 450°F (230°C) with a baking stone or heavy baking sheet inside to create a crisp crust.
- Optional: Score the top of the loaf with a sharp knife or razor blade to allow for expansion during baking.
- Carefully transfer the loaf to the preheated baking stone or sheet and bake for 25-30 minutes until the crust is golden brown and the bread sounds hollow when tapped on the bottom.
- Remove from the oven and let the bread cool completely on a wire rack for at least 1 hour before slicing to allow the internal structure to set.
Tips
- Temperature Matters: Ensure your sourdough starter is active and at room temperature before beginning. A vibrant starter is key to great bread.
- Kneading Technique: When kneading, use the heel of your hand to stretch and fold the dough, which helps develop gluten and create a better bread structure.
- Patience is Crucial: Don't rush the rising process. Slow fermentation develops deeper flavors and better texture.
- Steam Creates Crust: For a crispy, professional-looking crust, place a pan of hot water on the bottom rack of your oven during baking to create steam.
- Cool Completely: Resist the temptation to cut into your bread immediately. Letting it cool allows the crumb to set and prevents a gummy texture.
- Storage Tip: Store your bread in a paper bag at room temperature for 2-3 days, or slice and freeze for longer preservation.
Nutrition Facts
Calories: 300kcal
Carbohydrates: 60g
Protein: 9g
Fat: 1g
Saturated Fat: g
Cholesterol: 0mg

