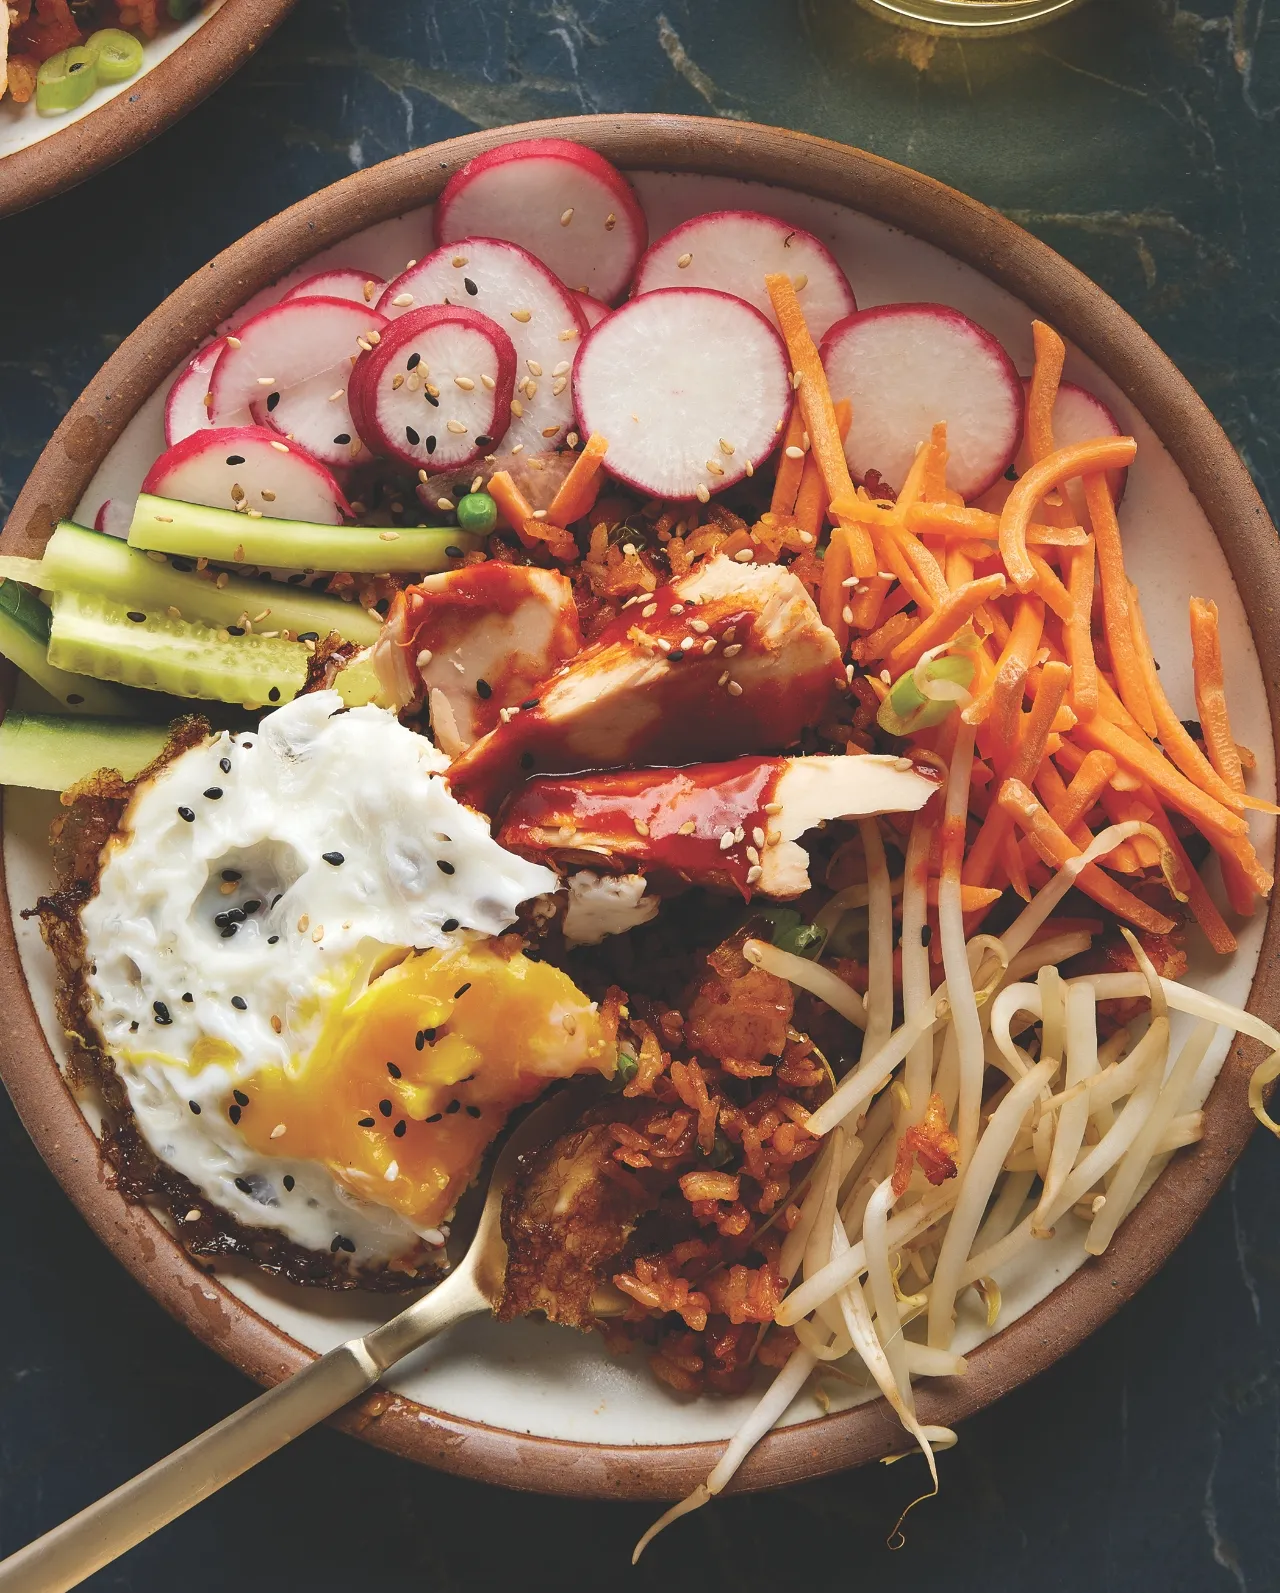
Dive into the vibrant world of Korean cuisine with our irresistible Spring Bibimbap with Tuna! This colorful and nutritious dish is not just a feast for the eyes but also a delightful explosion of flavors that will transport your taste buds straight to the streets of Seoul. With fresh vegetables, tender tuna, and a perfectly runny egg, this bibimbap is the ultimate comfort food that’s quick to prepare, making it perfect for busy weeknights or a special weekend treat. Ready to impress your family and friends? Let’s get cooking!
Prep Time: 15 mins
Cook Time: 10 mins
Total Time: 25 mins
Cuisine: Korean
Serves: 2 servings
Ingredients
- 2 cups cooked rice
- 1 can tuna, drained
- 1 cup spinach, blanched
- 1 carrot, julienned
- 1 cucumber, sliced
- 2 eggs
- 2 tablespoons sesame oil
- 1 tablespoon gochujang (Korean chili paste)
- Sesame seeds for garnish
Instructions
- Prepare all ingredients by washing and cutting vegetables. Julienne the carrots into thin matchsticks, slice cucumber thinly, and blanch spinach in boiling water for 30 seconds, then immediately rinse in cold water and drain.
- Heat a non-stick skillet over medium heat. Add 1 tablespoon sesame oil and quickly sauté the julienned carrots for 2-3 minutes until slightly softened but still crisp. Remove and set aside.
- In the same skillet, drain the canned tuna and lightly sear it for 1-2 minutes to warm through, breaking it into small pieces. Season with a pinch of salt and set aside.
- Prepare two individual serving bowls with hot cooked rice as the base, spreading it evenly across the bottom of each bowl.
- Arrange the prepared vegetables and tuna in separate sections around the rice - spinach in one section, carrots in another, cucumber in another, and tuna in its own section.
- In a clean skillet, fry two eggs sunny-side up, keeping the yolks runny. Place one egg on top of each bibimbap bowl.
- Drizzle the remaining sesame oil over each bowl and add a generous dollop of gochujang in the center.
- Sprinkle sesame seeds over the top for garnish and added texture.
- To serve, mix all ingredients together thoroughly, ensuring the egg yolk and gochujang coat all components, creating a vibrant and flavorful dish.
Tips
- Prep Ahead: To save time, wash and cut all your vegetables in advance. You can even cook the rice a day ahead and store it in the fridge; just reheat it before assembling your bibimbap.
- Customize Your Veggies: Feel free to swap out the vegetables based on your preference or what’s in season. Bell peppers, zucchini, or radishes can add a nice twist to your dish.
- Perfectly Cooked Egg: For the best sunny-side-up eggs, use a non-stick skillet and keep the heat medium-low. This will ensure the whites are fully cooked while keeping the yolks beautifully runny.
- Gochujang Adjustments: If you’re not familiar with gochujang, start with a smaller amount and gradually add more to suit your spice tolerance. It adds a wonderful depth of flavor!
- Mix It Up: When serving, encourage everyone to mix their bibimbap thoroughly. This not only combines all the flavors but also makes each bite a delicious medley of ingredients.
Nutrition Facts
Calories: 450kcal
Carbohydrates: 45g
Protein: 25g
Fat: 20g
Saturated Fat: 4g
Cholesterol: 180mg