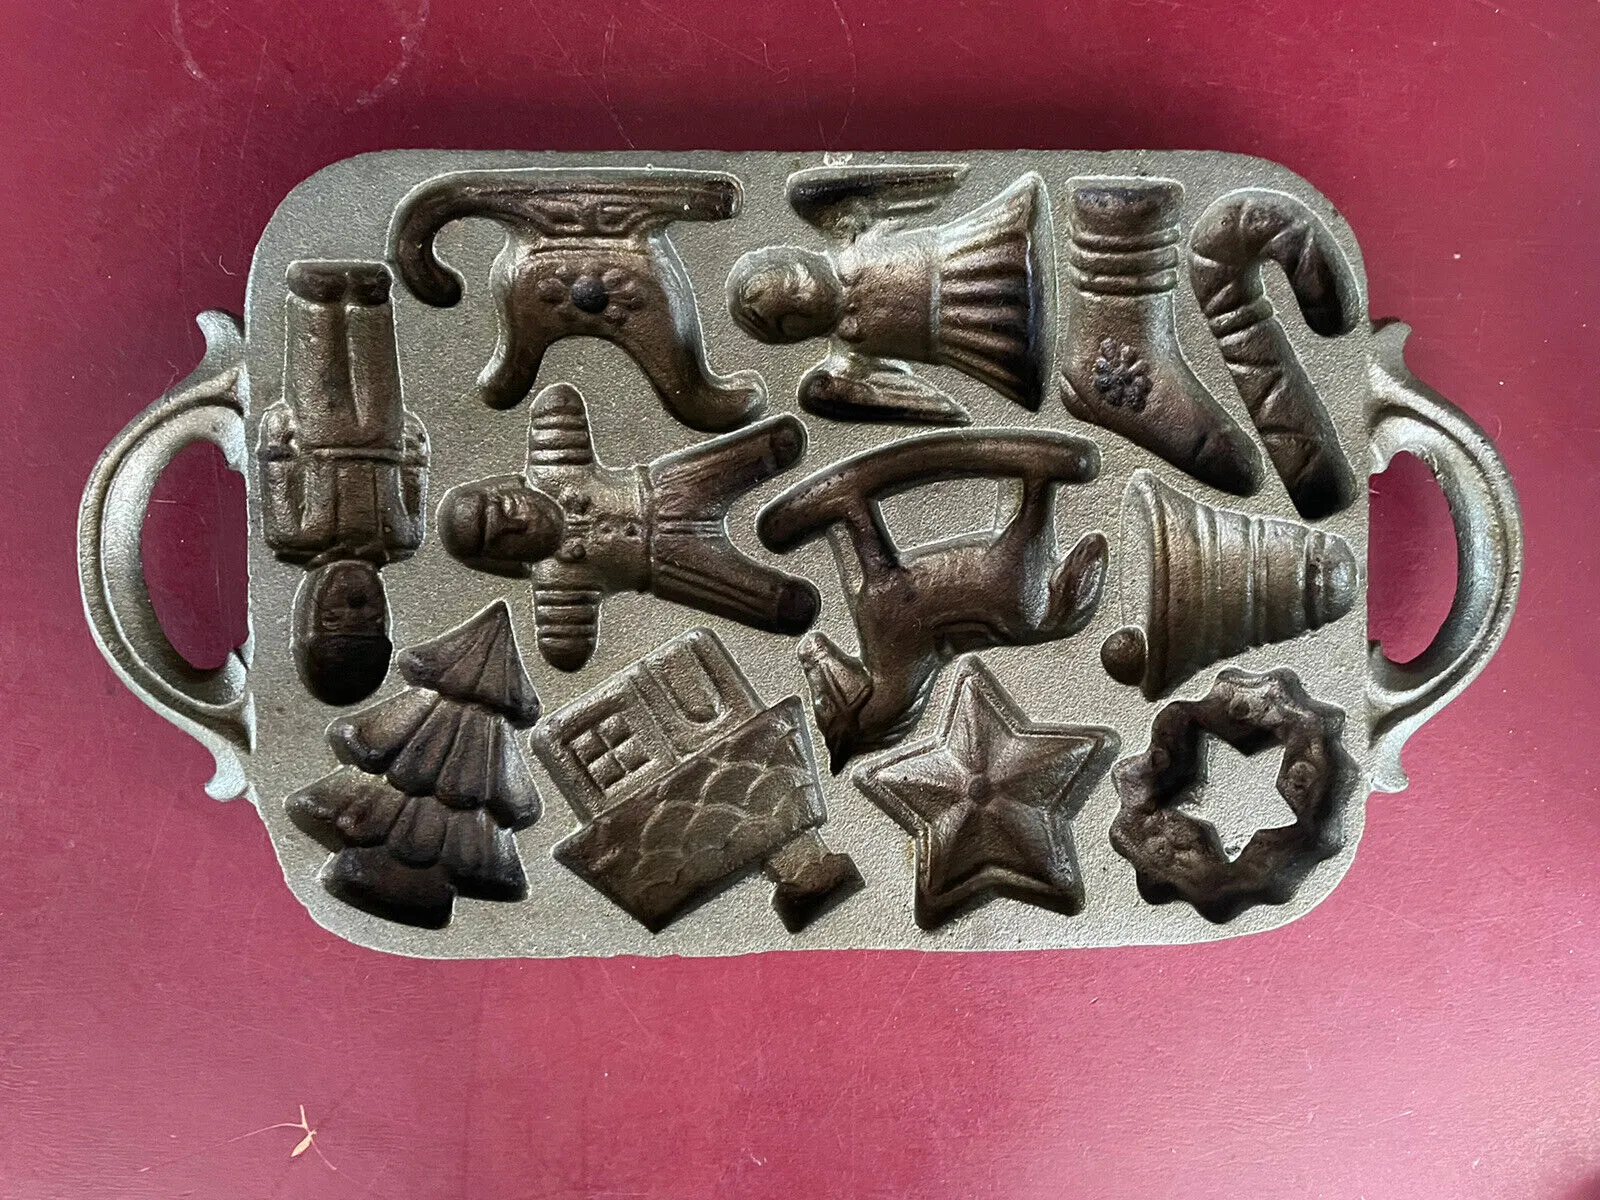
Imagine biting into a sugar cookie so beautifully crafted, it looks like it was sculpted by a pastry artist. These cast iron cookie mold sugar cookies aren't just a treat; they're an experience that transforms ordinary baking into an edible work of art. With a delicate blend of vanilla and almond extracts, these cookies promise to elevate your dessert game and create Instagram-worthy moments that will have everyone asking, "How did you do that?"
Prep Time: 15 mins
Cook Time: 10 mins
Total Time: 25 mins
Cuisine: American
Serves: 24 cookies
Ingredients
- 2 ¾ cups all-purpose flour
- 1 teaspoon baking soda
- ½ teaspoon baking powder
- 1 cup unsalted butter, softened
- 1 ½ cups white sugar
- 1 egg
- 1 teaspoon vanilla extract
- ½ teaspoon almond extract
- 3 tablespoons colored sugar for decoration
Instructions
- Prepare your workspace by preheating the oven to 375°F (190°C). Position the oven rack in the center position for even baking.
- In a medium mixing bowl, whisk together the all-purpose flour, baking soda, and baking powder until well combined and free of lumps. Set aside.
- In a large stand mixer or using a hand mixer, cream the softened unsalted butter and white sugar together until light and fluffy, approximately 3-4 minutes. The mixture should be pale and smooth.
- Add the egg to the butter-sugar mixture, beating until fully incorporated. Then mix in the vanilla extract and almond extract, ensuring even distribution.
- Gradually add the dry flour mixture to the wet ingredients, mixing on low speed until just combined. Avoid overmixing to keep the cookies tender.
- Lightly grease your cast iron cookie mold with butter or non-stick cooking spray. Ensure all detailed areas of the mold are well-coated.
- Scoop approximately 2 tablespoons of dough into each mold cavity, pressing gently to fill the design evenly. Use your fingers or the back of a spoon to smooth the surface.
- Sprinkle colored sugar over the top of each cookie dough, gently pressing to help the sugar adhere to the surface.
- Place the cast iron mold in the preheated oven and bake for 9-11 minutes, or until the edges are lightly golden brown. Avoid overbaking to maintain a soft texture.
- Remove the mold from the oven and let the cookies cool in the mold for 5 minutes to help them set and maintain their shape.
- Carefully turn out the cookies onto a wire cooling rack. If any cookies stick, use a thin spatula to gently release them.
- Allow cookies to cool completely for about 15-20 minutes before serving or storing in an airtight container.
Tips
- • Always ensure your butter is softened but not melted for the perfect cookie texture • Grease your cast iron mold thoroughly to prevent sticking and preserve intricate designs • Use a light touch when pressing dough into mold cavities to maintain detailed patterns • Colored sugar adds both visual appeal and a delightful crunch • Let cookies cool in the mold for 5 minutes to help them retain their beautiful shape • For consistent results, use a cookie scoop to measure dough evenly • Store cooled cookies in an airtight container to maintain their softness and flavor • Experiment with different extract combinations for unique flavor profiles • Clean and season your cast iron mold after each use to maintain its non-stick properties
Nutrition Facts
Calories: 180kcal
Carbohydrates: 24g
Protein: g
Fat: 8g
Saturated Fat: g
Cholesterol: 33mg

