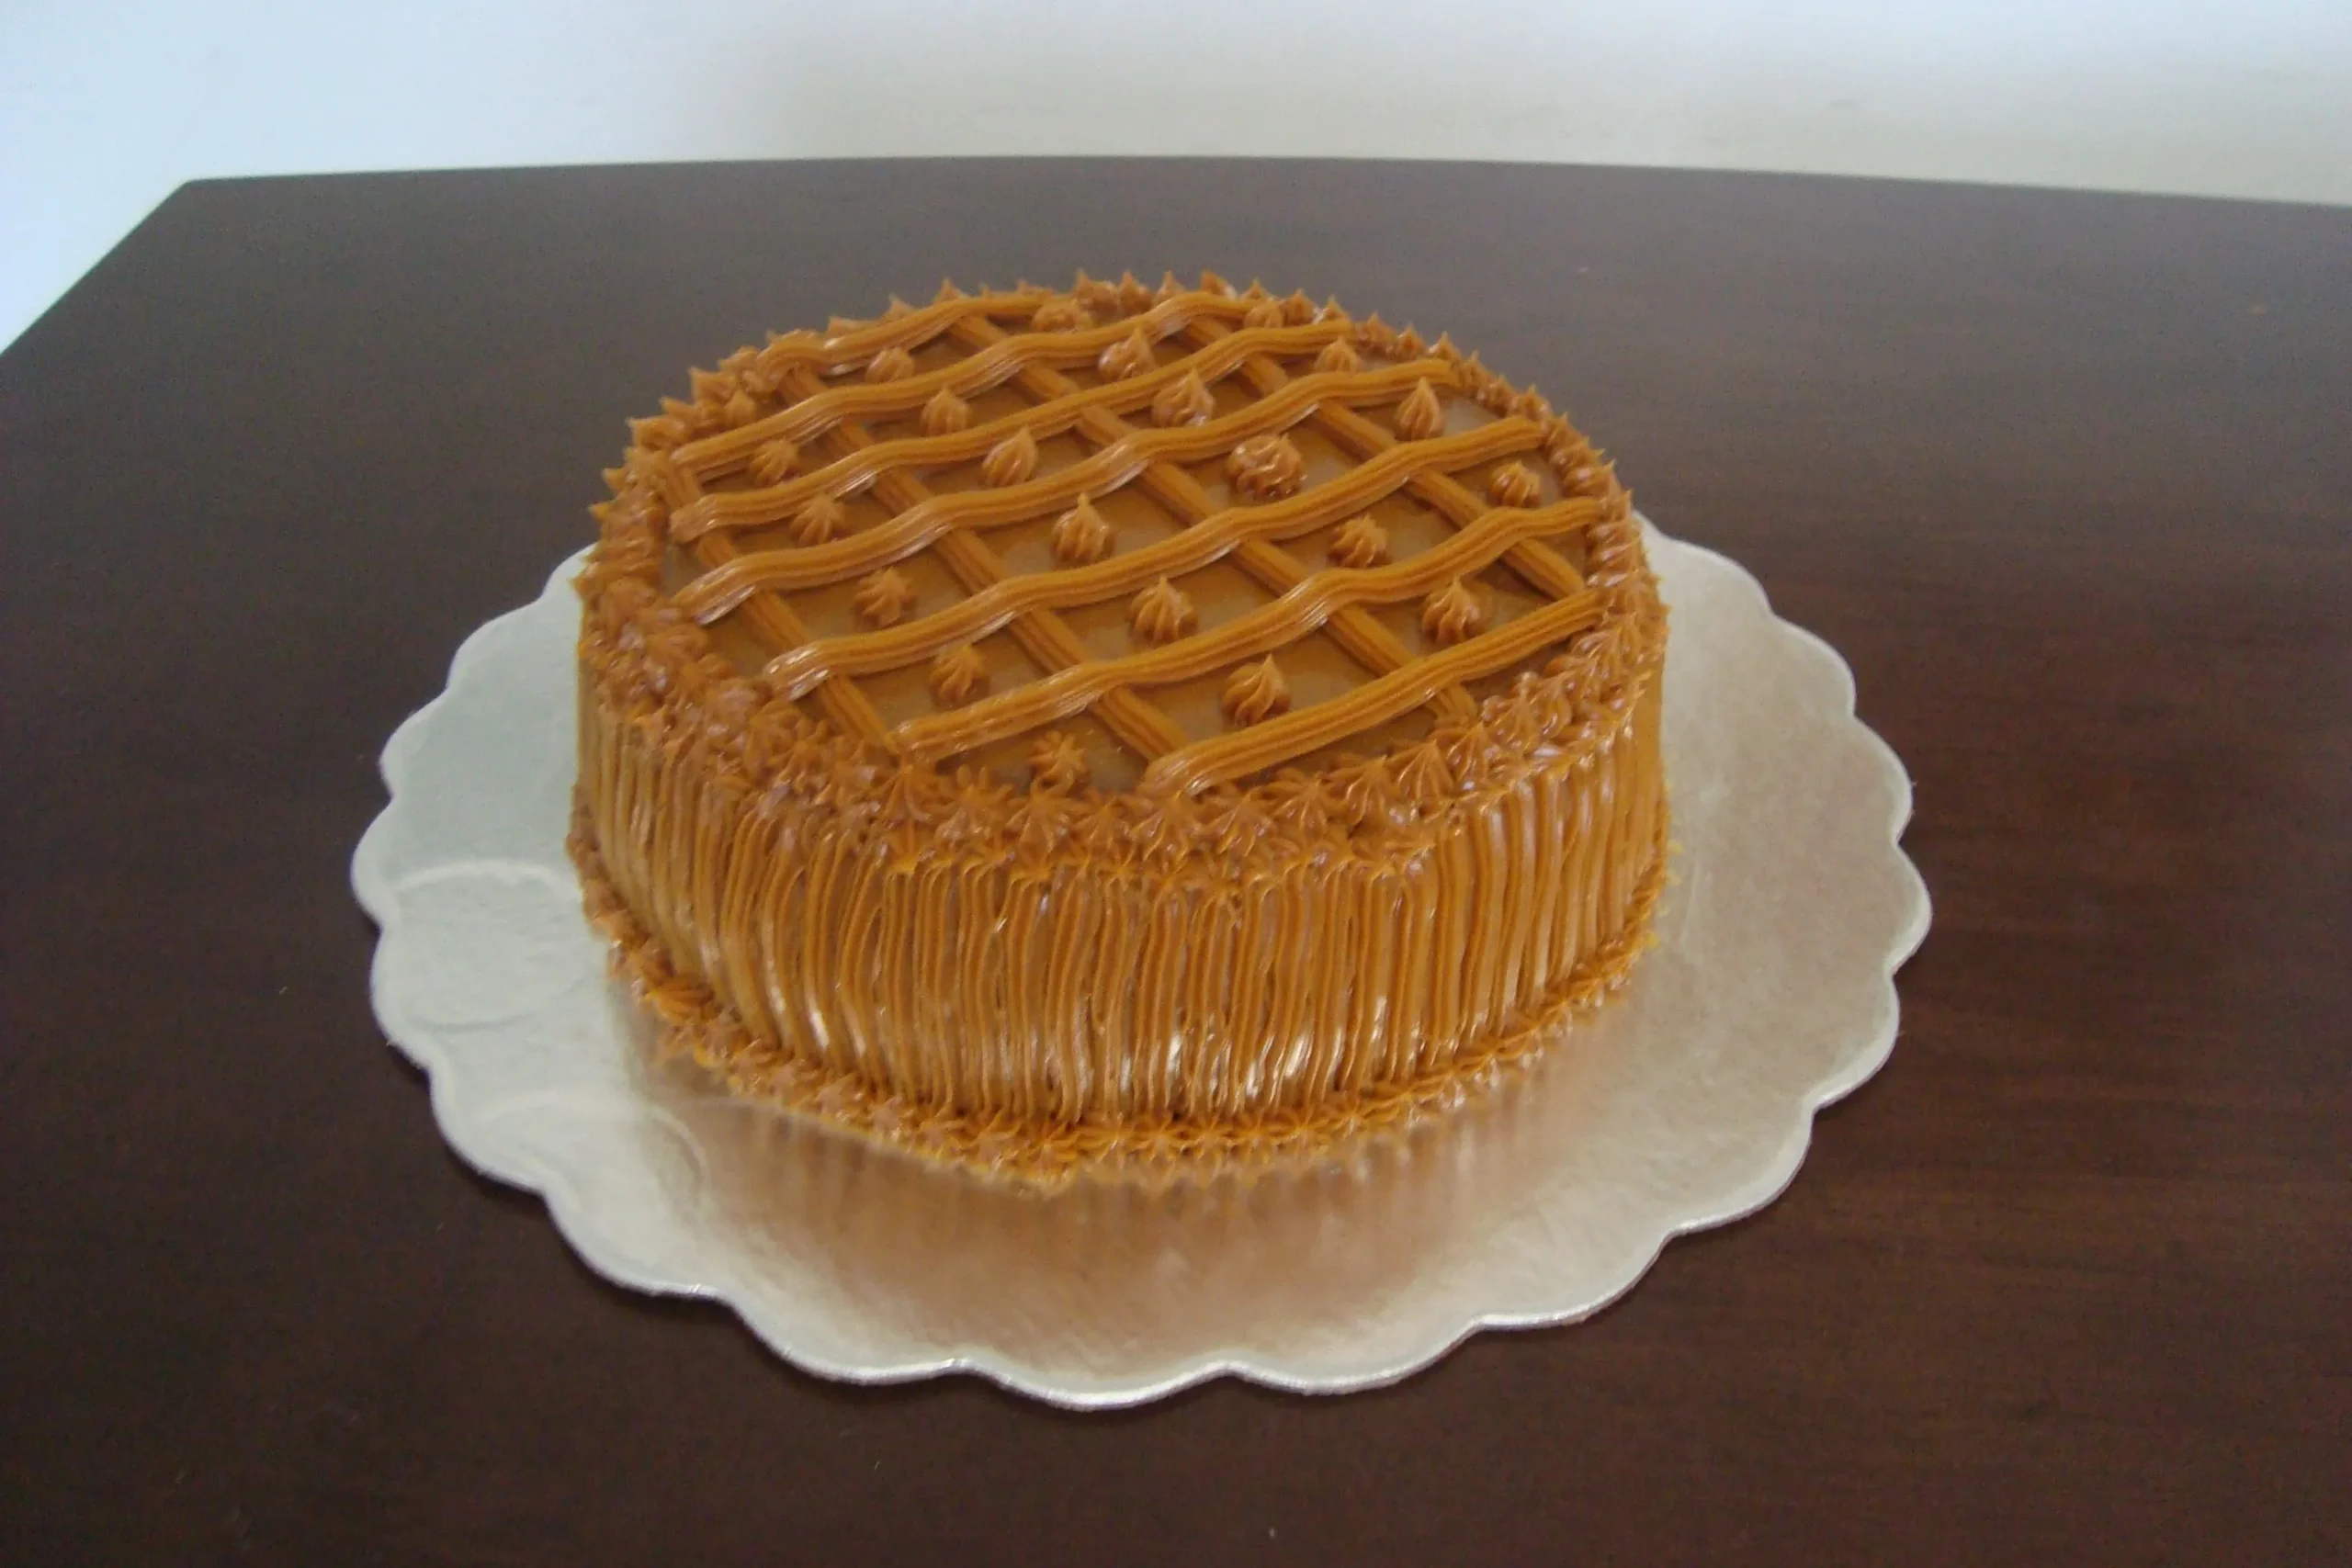
Prepare to embark on a mouthwatering journey that will transport your taste buds straight to the heart of Colombia! This decadent Torta de Arequipe is not just a cake – it's a creamy, caramel-laden masterpiece that promises to make your dessert dreams come true. With its rich, velvety dulce de leche layers and perfectly tender crumb, this cake is about to become your new obsession. Whether you're looking to impress guests or treat yourself to a slice of pure bliss, this recipe is your golden ticket to dessert heaven!
Prep Time: 20 mins
Cook Time: 35 mins
Total Time: 55 mins
Cuisine: Colombian
Serves: 10 servings
Ingredients
- 1 cup all-purpose flour
- 1 cup dulce de leche
- 1/2 cup butter
- 1 cup sugar
- 4 eggs
- 1 tsp baking powder
- 1/4 tsp salt
Instructions
- Preheat the oven to 350°F (175°C). Grease and flour a 9-inch round cake pan, ensuring complete coverage to prevent sticking.
- In a large mixing bowl, cream together softened butter and sugar until light and fluffy, using an electric mixer on medium speed. This should take approximately 3-4 minutes.
- Add eggs one at a time to the butter-sugar mixture, beating well after each addition to ensure proper incorporation and a smooth batter.
- In a separate bowl, sift together the all-purpose flour, baking powder, and salt to remove any lumps and ensure even distribution of leavening agents.
- Gradually fold the dry ingredients into the wet mixture, stirring gently to maintain the air incorporated during the creaming process. Mix until just combined, being careful not to overmix.
- Pour the batter into the prepared cake pan, spreading it evenly with a spatula to ensure uniform baking.
- Bake in the preheated oven for 30-35 minutes. Check doneness by inserting a toothpick into the center - it should come out clean with just a few moist crumbs.
- Remove the cake from the oven and let it cool in the pan for 10 minutes. Then, carefully transfer to a wire rack to cool completely.
- Once cooled, slice the cake horizontally into two even layers using a long serrated knife.
- Generously spread dulce de leche between the cake layers and on top, creating a rich, caramel-like filling and topping.
- Optional: Garnish with additional dulce de leche drizzle, chopped nuts, or a light dusting of powdered sugar before serving.
- Slice and serve at room temperature. The cake can be stored in an airtight container for up to 3 days.
Tips
- Room Temperature Magic: Ensure all ingredients, especially eggs and butter, are at room temperature for the smoothest, most even batter.
- Don't Overmix: When combining dry and wet ingredients, mix just until incorporated. Overmixing can lead to a tough, dense cake.
- Dulce de Leche Pro Tip: For an extra luxurious touch, warm the dulce de leche slightly before spreading to make it more spreadable.
- Even Baking: Rotate the cake pan halfway through baking to ensure uniform cooking and prevent any uneven browning.
- Cooling is Crucial: Allow the cake to cool completely before adding the dulce de leche layers to prevent melting and maintain structural integrity.
- Storage Hack: If you want to make the cake ahead of time, you can refrigerate it, but bring to room temperature before serving for the best flavor and texture.
Nutrition Facts
Calories: 380kcal
Carbohydrates: 45g
Protein: 6g
Fat: 22g
Saturated Fat: 13g
Cholesterol: 125mg