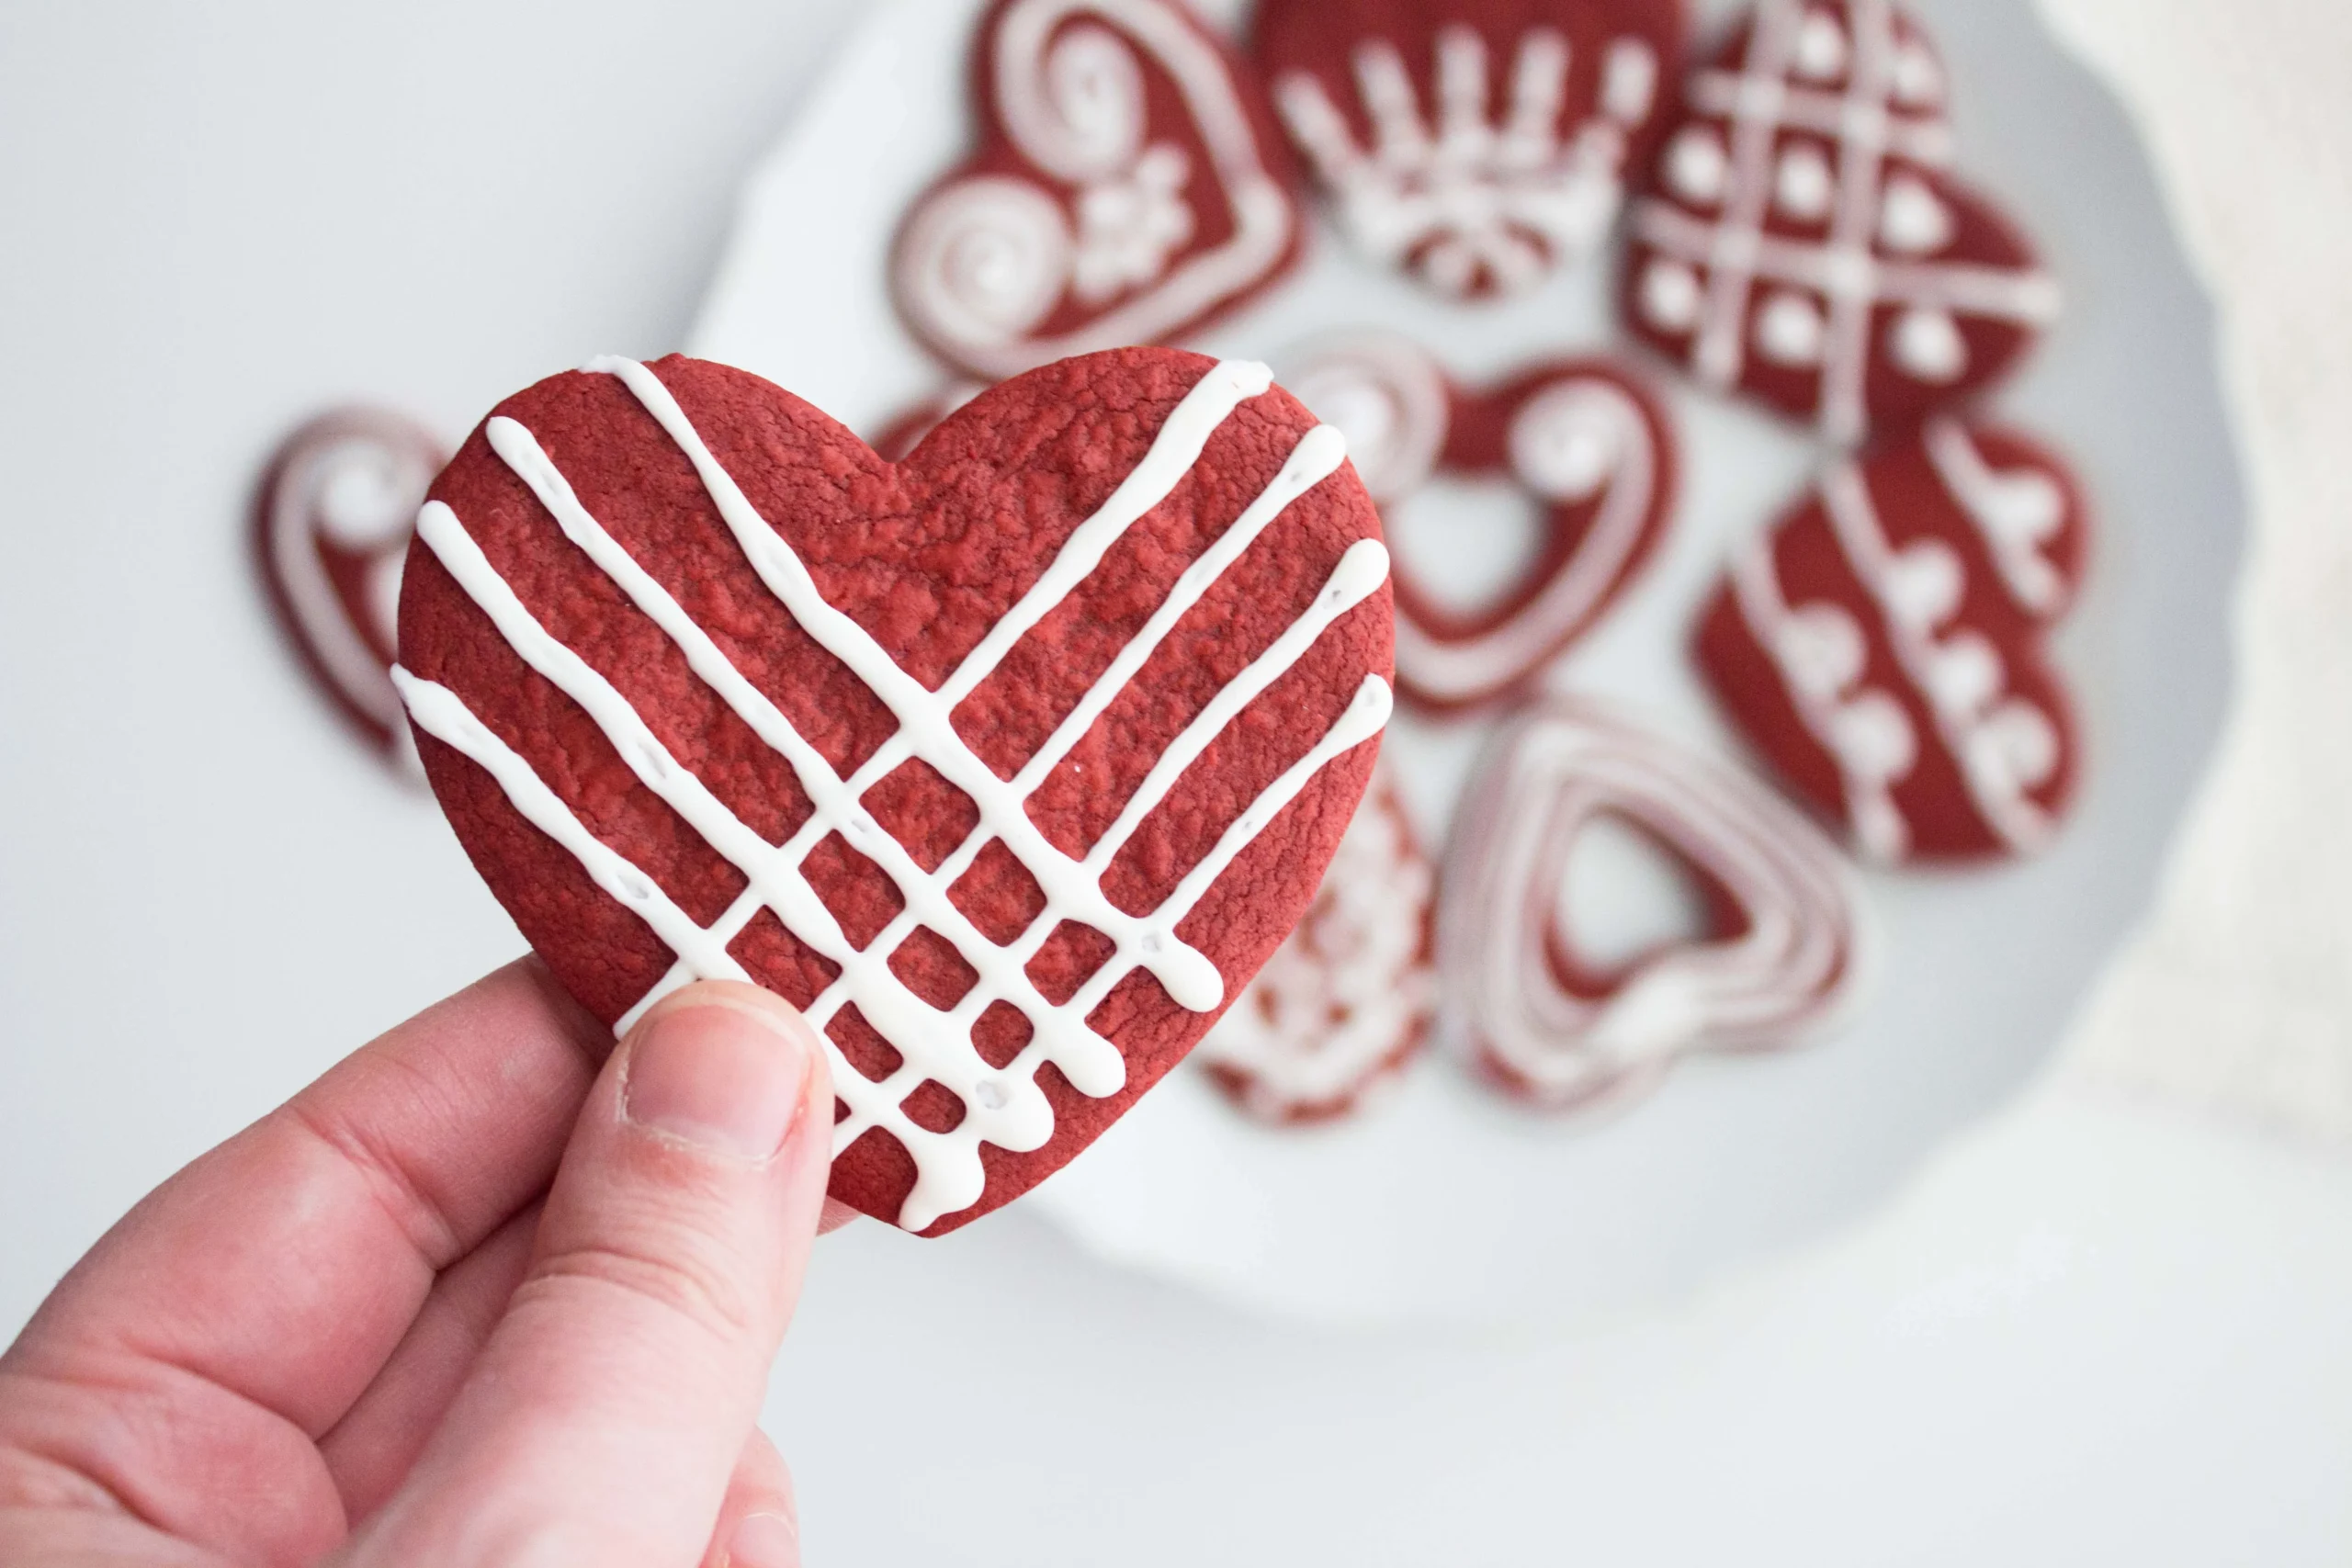
Get ready to transform your kitchen into a bakery of dreams with these show-stopping Velvet Cut Out Cookies! Imagine biting into a perfectly crisp, vibrantly red cookie that's not just a treat, but a work of art. Whether you're looking to impress at a party, create memorable holiday treats, or simply indulge your inner baker, these cookies are about to become your new obsession. With their rich, buttery flavor and stunning appearance, these cut-out cookies are more than just a dessert - they're an experience that will have everyone asking, "How did you make these?"
Prep Time: 30 mins
Cook Time: 10 mins
Total Time: 40 mins
Cuisine: American
Serves: 24 cookies
Ingredients
- 2 1/2 cups all-purpose flour
- 1 teaspoon baking powder
- 1/2 teaspoon salt
- 1 cup unsalted butter, softened
- 1 1/2 cups granulated sugar
- 1 large egg
- 1 teaspoon vanilla extract
- Red food coloring
Instructions
- Begin by gathering all your ingredients and ensuring your workspace is clean and organized. Preheat your oven to 350°F (175°C) to prepare for baking.
- In a medium bowl, whisk together the all-purpose flour, baking powder, and salt until well combined. This will help to evenly distribute the leavening agent and salt throughout the flour.
- In a large mixing bowl, cream the softened unsalted butter and granulated sugar together using an electric mixer on medium speed. Beat the mixture until it becomes light and fluffy, which should take about 3-5 minutes.
- Once the butter and sugar are creamed, add the large egg and vanilla extract to the mixture. Beat until fully incorporated, scraping down the sides of the bowl as necessary.
- Gradually add the dry flour mixture to the wet ingredients, mixing on low speed until just combined. Be careful not to overmix, as this can make the cookies tough.
- Add red food coloring to the dough. Start with a few drops and mix until you achieve your desired shade of red. Remember that the color will lighten slightly when baked, so aim for a vibrant hue.
- Once the dough is well mixed and colored, divide it into two equal portions. Shape each portion into a disc, wrap in plastic wrap, and refrigerate for at least 15 minutes. This will help the dough firm up for easier rolling.
- After chilling, remove one disc of dough from the refrigerator. On a lightly floured surface, roll out the dough to about 1/4 inch thick. Use cookie cutters to cut out shapes, transferring them to a baking sheet lined with parchment paper.
- Repeat the rolling and cutting process with the second disc of dough. Gather any scraps, re-roll, and cut out additional cookies until all the dough is used.
- Place the baking sheets in the preheated oven and bake for 8-10 minutes, or until the edges are lightly golden. Keep an eye on them, as baking times can vary based on your oven.
- Once baked, remove the cookies from the oven and allow them to cool on the baking sheet for 5 minutes before transferring them to a wire rack to cool completely.
- Once the cookies are completely cooled, you can decorate them as desired with icing, sprinkles, or other toppings. Enjoy your Velvet Cut Out Cookies!
Tips
- Temperature Matters: Ensure your butter is truly softened but not melted. Room temperature butter creates the perfect cookie texture.
- Chill, Chill, Chill: Don't skip the refrigeration step! Chilled dough is easier to handle and prevents spreading during baking.
- Food Coloring Pro Tip: Add food coloring gradually. Remember, you can always add more, but you can't take it away. For a deep red, gel food coloring works best.
- Rolling Technique: Use powdered sugar instead of flour when rolling to prevent the cookies from becoming tough or dry.
- Even Thickness is Key: Use rolling pin guides or bands to ensure your cookies are uniformly thick for consistent baking.
- Decorating Magic: Let cookies cool completely before decorating to prevent icing from melting.
- Storage Hack: These cookies can be stored in an airtight container for up to a week, making them perfect for advance preparation.
Nutrition Facts
Calories: 150kcal
Carbohydrates: 18g
Protein: 1g
Fat: 8g
Saturated Fat: 5g
Cholesterol: 25mg