Get ready to transform ordinary green beans into a mouthwatering, flavor-packed delicacy that will have your friends and family begging for more! Vera's Garlic Beans in a Jar is not just a recipe – it's a culinary adventure that combines the crisp freshness of green beans with a bold, tangy punch of garlic and a hint of spicy red pepper. Whether you're a seasoned canner or a curious kitchen novice, this foolproof method will turn you into a preservation pro in no time!
Prep Time: 20 mins
Cook Time: 30 mins
Total Time: 50 mins
Cuisine: Preserved
Serves: 4 jars
Ingredients
- 1 pound green beans, trimmed
- 4 cloves garlic, sliced
- 1 teaspoon red pepper flakes
- 2 cups white vinegar
- 1 cup water
- 1 tablespoon salt
- 1 tablespoon sugar
Instructions
- Begin by preparing your green beans. Rinse them thoroughly under cold water to remove any dirt or impurities. Trim the ends of the beans to ensure they fit nicely into the jars.
- In a large pot, bring water to a boil. Blanch the trimmed green beans by adding them to the boiling water for about 3-4 minutes until they are bright green and slightly tender but still crisp. This process helps to preserve their color and texture.
- After blanching, immediately transfer the green beans to a bowl of ice water to stop the cooking process. Let them sit in the ice water for about 5 minutes, then drain and set aside.
- While the beans are cooling, prepare the garlic and other ingredients. Slice the garlic cloves thinly and gather the red pepper flakes, white vinegar, water, salt, and sugar.
- In a medium saucepan, combine the white vinegar, water, salt, and sugar. Bring the mixture to a boil over medium-high heat, stirring occasionally until the salt and sugar are fully dissolved.
- Once the brine is boiling, remove it from the heat and let it cool slightly for a few minutes.
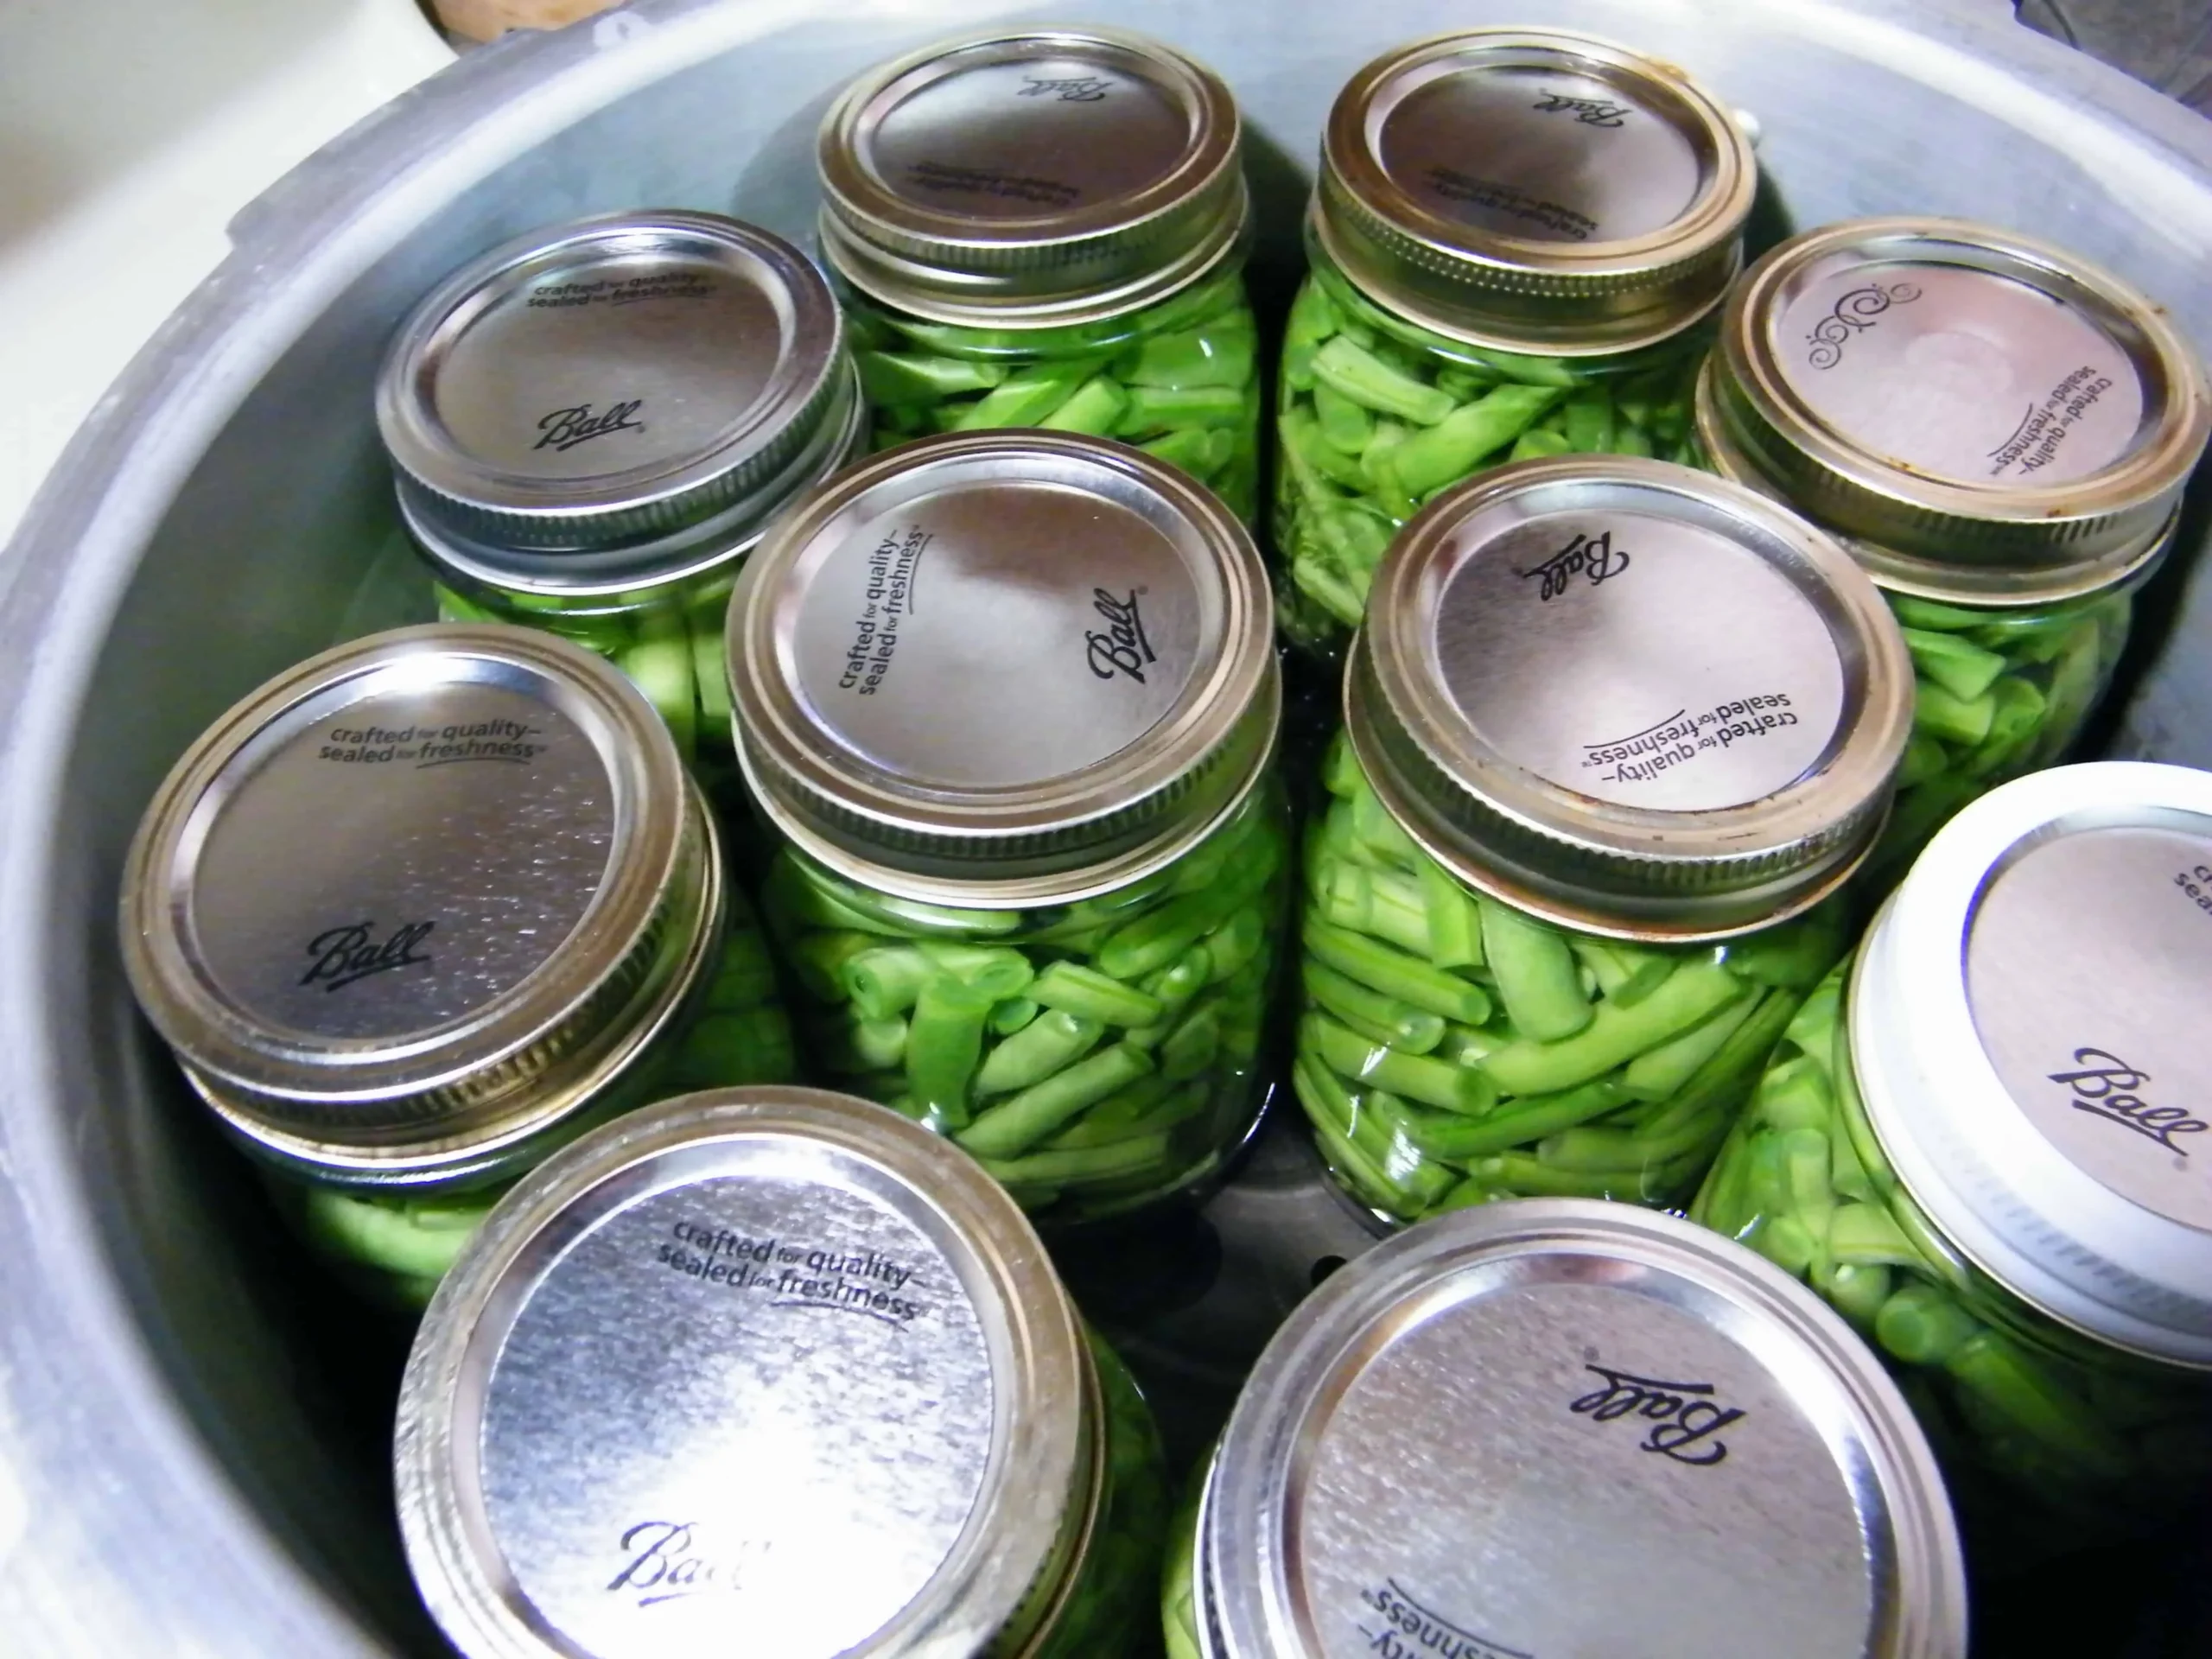
- Prepare your jars by sterilizing them. Place the jars in a large pot of boiling water for about 10 minutes, or run them through a dishwasher cycle. Allow them to dry completely.
- In each sterilized jar, add a layer of sliced garlic, followed by a pinch of red pepper flakes. Then, pack the blanched green beans into the jars, leaving about 1 inch of headspace at the top.
- Once the jars are filled with green beans, pour the hot brine over the beans, ensuring they are fully submerged. Use a clean utensil to remove any air bubbles that may have formed inside the jar.
- Wipe the rims of the jars with a clean cloth to remove any residue, then seal the jars with sterilized lids and screw on the metal bands until they are fingertip-tight.
- Process the jars in a boiling water bath for 10-15 minutes to ensure they are properly sealed. The water should cover the jars by at least an inch.
- After processing, carefully remove the jars from the water bath and place them on a clean towel or cooling rack. Allow them to cool completely at room temperature, which may take several hours.
- Once cooled, check the seals by pressing down on the center of each lid. If it doesn’t pop back, the jar is sealed. Store the sealed jars in a cool, dark place. Unsealed jars can be refrigerated and used within a week.
- Let the beans sit for at least 24 hours before consuming to allow the flavors to meld. Enjoy your homemade Vera's Garlic Beans in a Jar!
Tips
- Choose Fresh Beans: Select crisp, bright green beans at the peak of freshness for the best flavor and texture.
- Blanching is Key: Don't skip the blanching step! This crucial process helps maintain the beans' vibrant color and prevents them from becoming mushy.
- Sterilization Matters: Always use thoroughly sterilized jars and new lids to prevent any potential bacterial growth and ensure food safety.
- Customize Your Spice: Adjust the red pepper flakes to match your heat preference – more for spice lovers, less for those who prefer a milder flavor.
- Patience is a Virtue: Allow the beans to sit for at least 24 hours before eating. This resting time lets the flavors fully develop and infuse into the beans.
- Storage Tip: Properly sealed jars can be stored in a cool, dark place for up to a year. Once opened, refrigerate and consume within 2 weeks.
- Serving Suggestions: These pickled beans are perfect as a tangy side dish, a zesty addition to charcuterie boards, or a unique garnish for salads and sandwiches.
Nutrition Facts
Calories: 30kcal
Carbohydrates: 7g
Protein: 2g
Fat: 0g
Saturated Fat: 0g
Cholesterol: 0mg