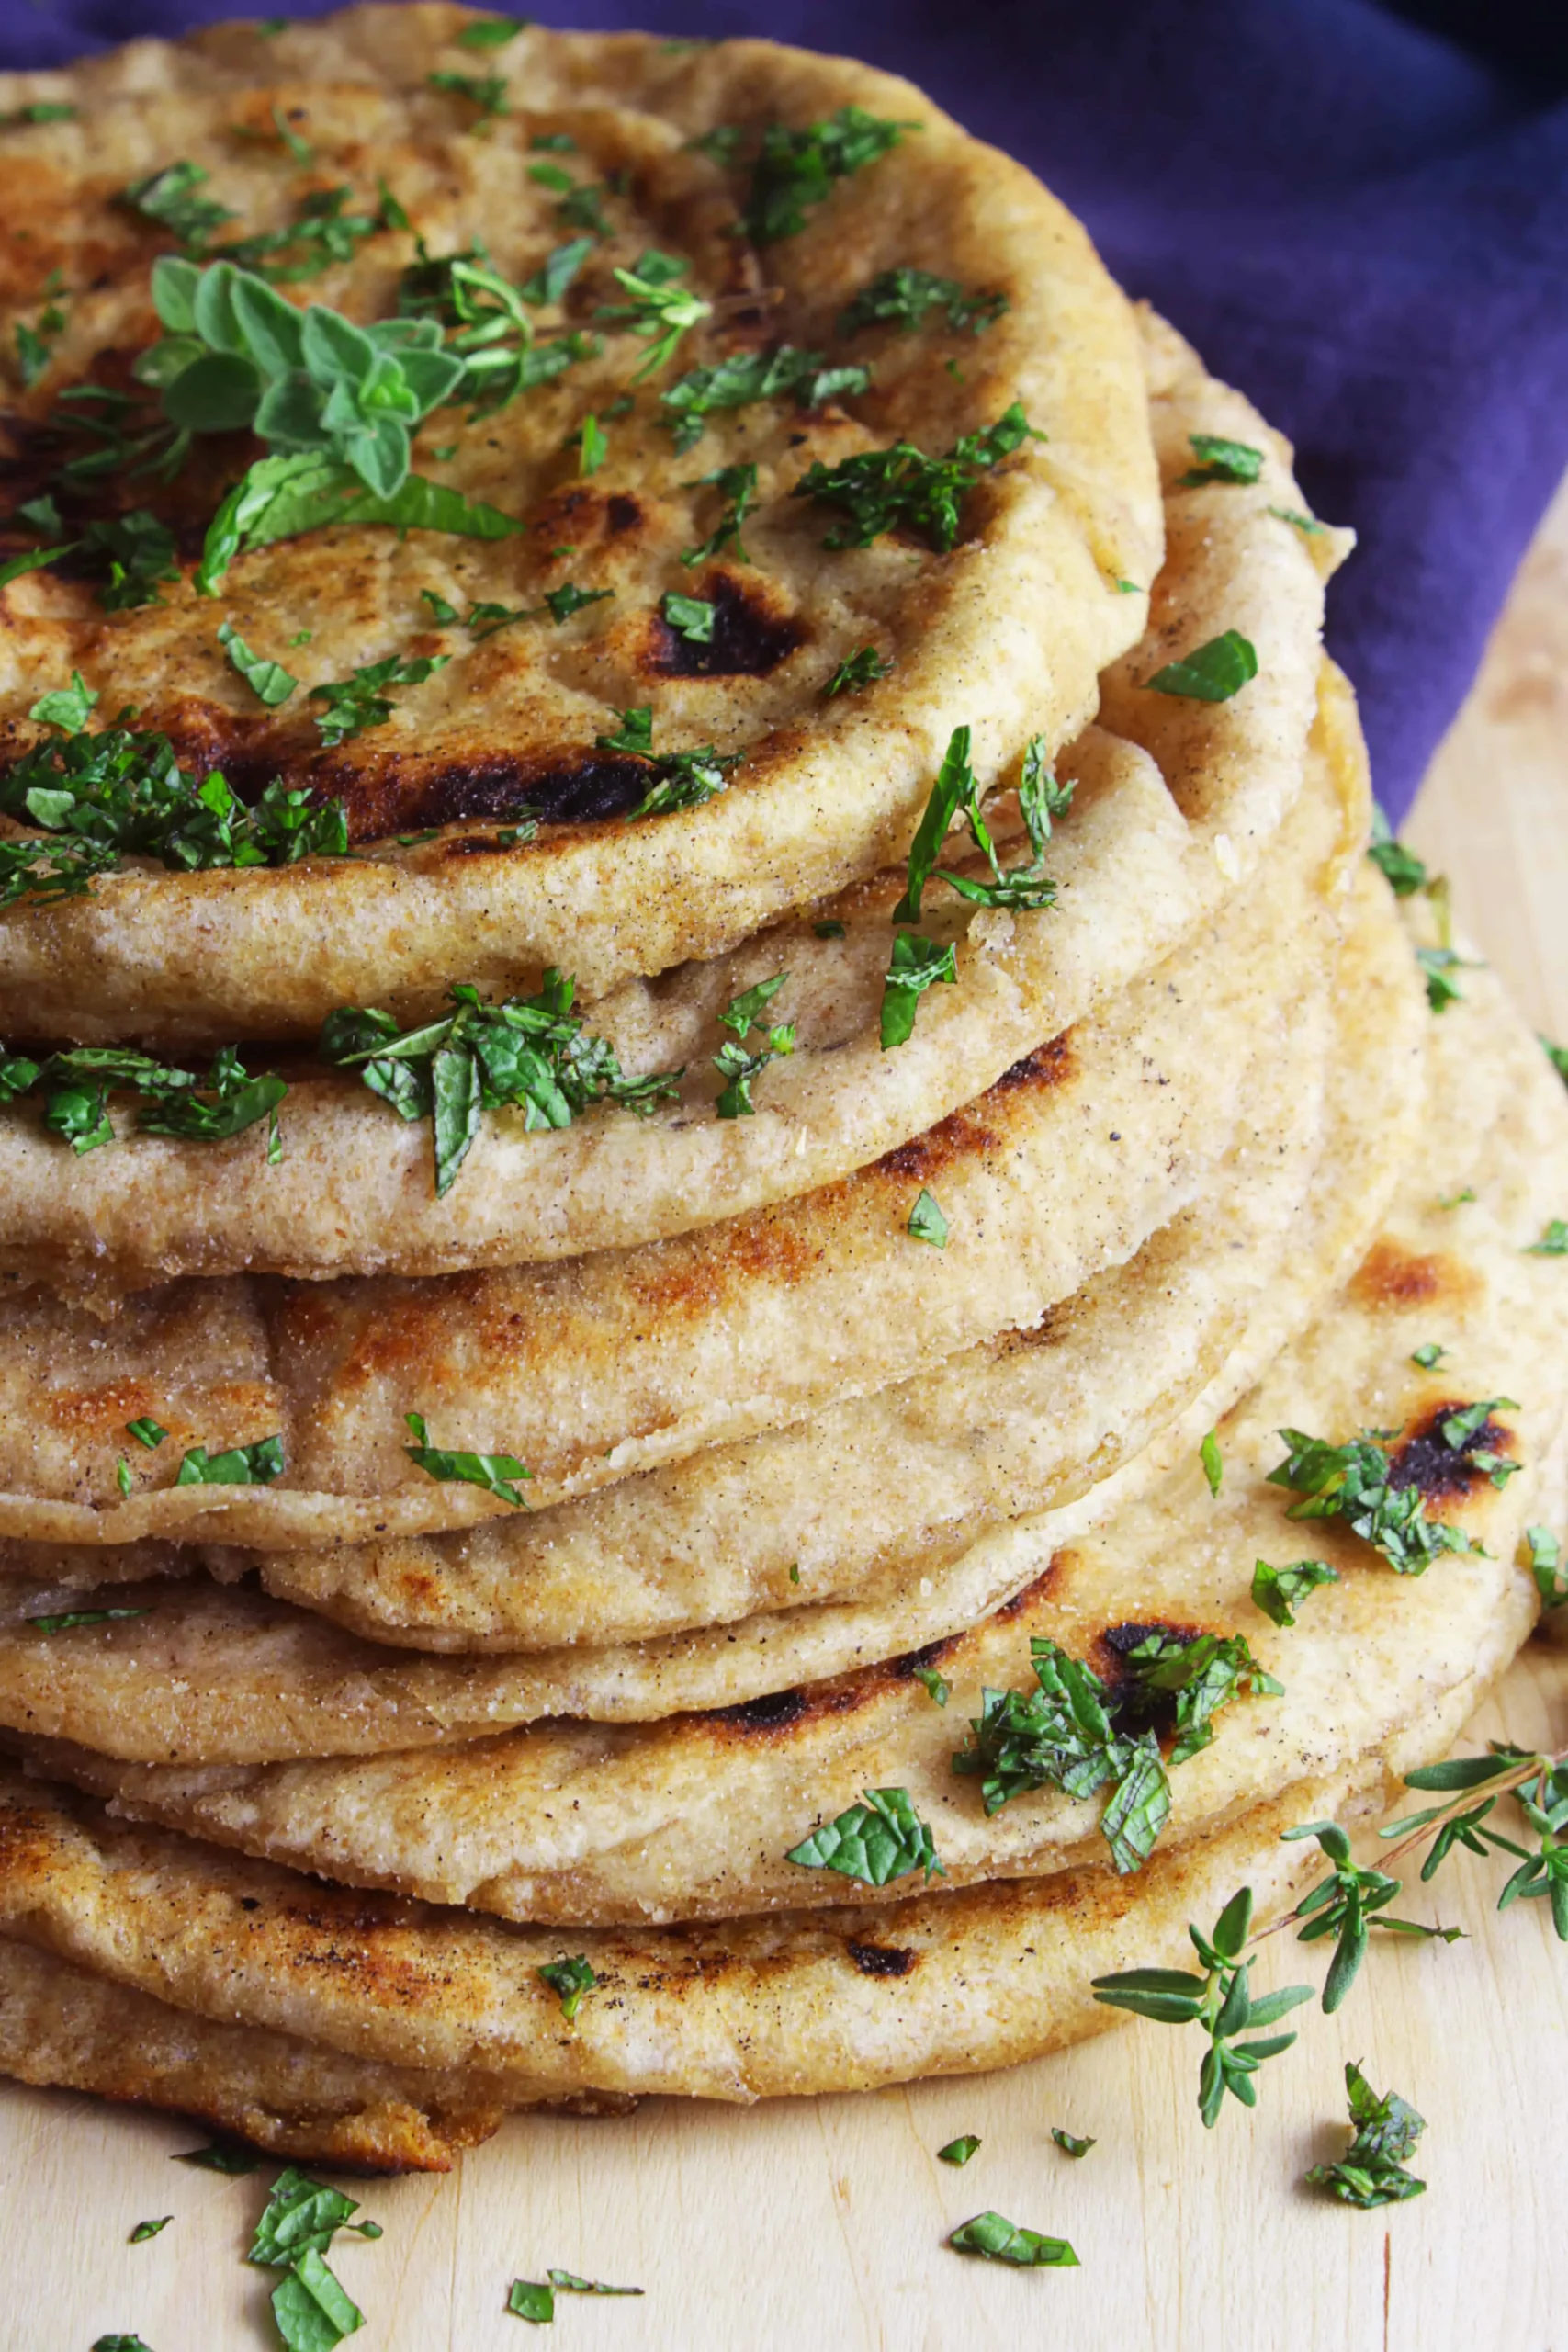
Imagine the warm, fluffy embrace of freshly baked Whole Grain Pita Bread, perfect for scooping up your favorite dips or wrapping around savory fillings. This Middle Eastern delight is not only a healthier alternative, but it also fills your kitchen with the irresistible aroma of homemade goodness. In just over an hour, you can create eight delicious pitas that will elevate your meals and impress your guests. Ready to embark on a culinary adventure that will have everyone asking for your secret recipe? Let’s dive into the art of making Whole Grain Pita Bread!
Prep Time: 1 hrs
Cook Time: 10 mins
Total Time: 1 hrs 10 mins
Cuisine: Middle Eastern
Serves: 8 pitas
Ingredients
- 2 cups whole wheat flour
- 1 cup all-purpose flour
- 1 tablespoon baking powder
- 1 teaspoon salt
- 1 tablespoon olive oil
- 1 cup warm water
Instructions
- In a large mixing bowl, combine whole wheat flour, all-purpose flour, baking powder, and salt. Whisk dry ingredients together to ensure even distribution.
- Create a well in the center of the dry ingredients and add olive oil and warm water. Mix initially with a wooden spoon, then transition to hand kneading.
- Knead the dough on a lightly floured surface for approximately 8-10 minutes until it becomes smooth, elastic, and slightly tacky but not sticky. The dough should spring back when gently pressed.
- Place the kneaded dough in a lightly oiled bowl, cover with a clean kitchen towel or plastic wrap, and let it rest at room temperature for 30-45 minutes to allow gluten development and fermentation.
- After resting, divide the dough into 8 equal portions. Roll each portion into a smooth ball, then cover and let rest for an additional 10 minutes to relax the gluten.
- Preheat a heavy skillet, griddle, or cast-iron pan over medium-high heat. If using an oven, preheat to 475°F (245°C) with a baking stone or inverted baking sheet.
- On a lightly floured surface, roll each dough ball into a thin, round circle approximately 1/8 inch thick, ensuring uniform thickness for even cooking.
- For stovetop method: Cook each pita for 2-3 minutes on each side until puffy and lightly golden brown. For oven method: Bake for 3-4 minutes until pitas puff up and develop light brown spots.
- Remove cooked pitas and immediately wrap in a clean kitchen towel to keep them soft and prevent drying. Allow to cool slightly before serving.
- Store cooled pitas in an airtight container or plastic bag at room temperature for up to 3 days, or freeze for longer storage.
Tips
- Flour Selection: For the best texture, use high-quality whole wheat flour. If you prefer a lighter pita, you can adjust the ratio of whole wheat to all-purpose flour.
- Kneading Technique: Knead the dough until it’s smooth and elastic. This step is crucial for achieving that perfect puffiness when baking.
- Resting Time: Don't rush the resting period! Allowing the dough to rest helps develop gluten, making your pitas soft and chewy.
- Rolling Evenly: When rolling out the dough, aim for uniform thickness. This ensures that all pitas cook evenly and puff up beautifully.
- Cooking Method: Whether you choose to cook on the stovetop or in the oven, keep a close eye on your pitas. They can go from perfectly golden to overcooked in seconds!
- Storage Tips: To keep your pitas soft, wrap them in a clean kitchen towel right after cooking. For longer storage, freeze them in an airtight container.
- Experiment with Flavors: Feel free to add herbs or spices to the dough for an extra flavor boost. Garlic powder, za’atar, or dried oregano can add a delightful twist!
Nutrition Facts
Calories: 160kcal
Carbohydrates: 30g
Protein: 5g
Fat: 3g
Saturated Fat: g
Cholesterol: 0mg