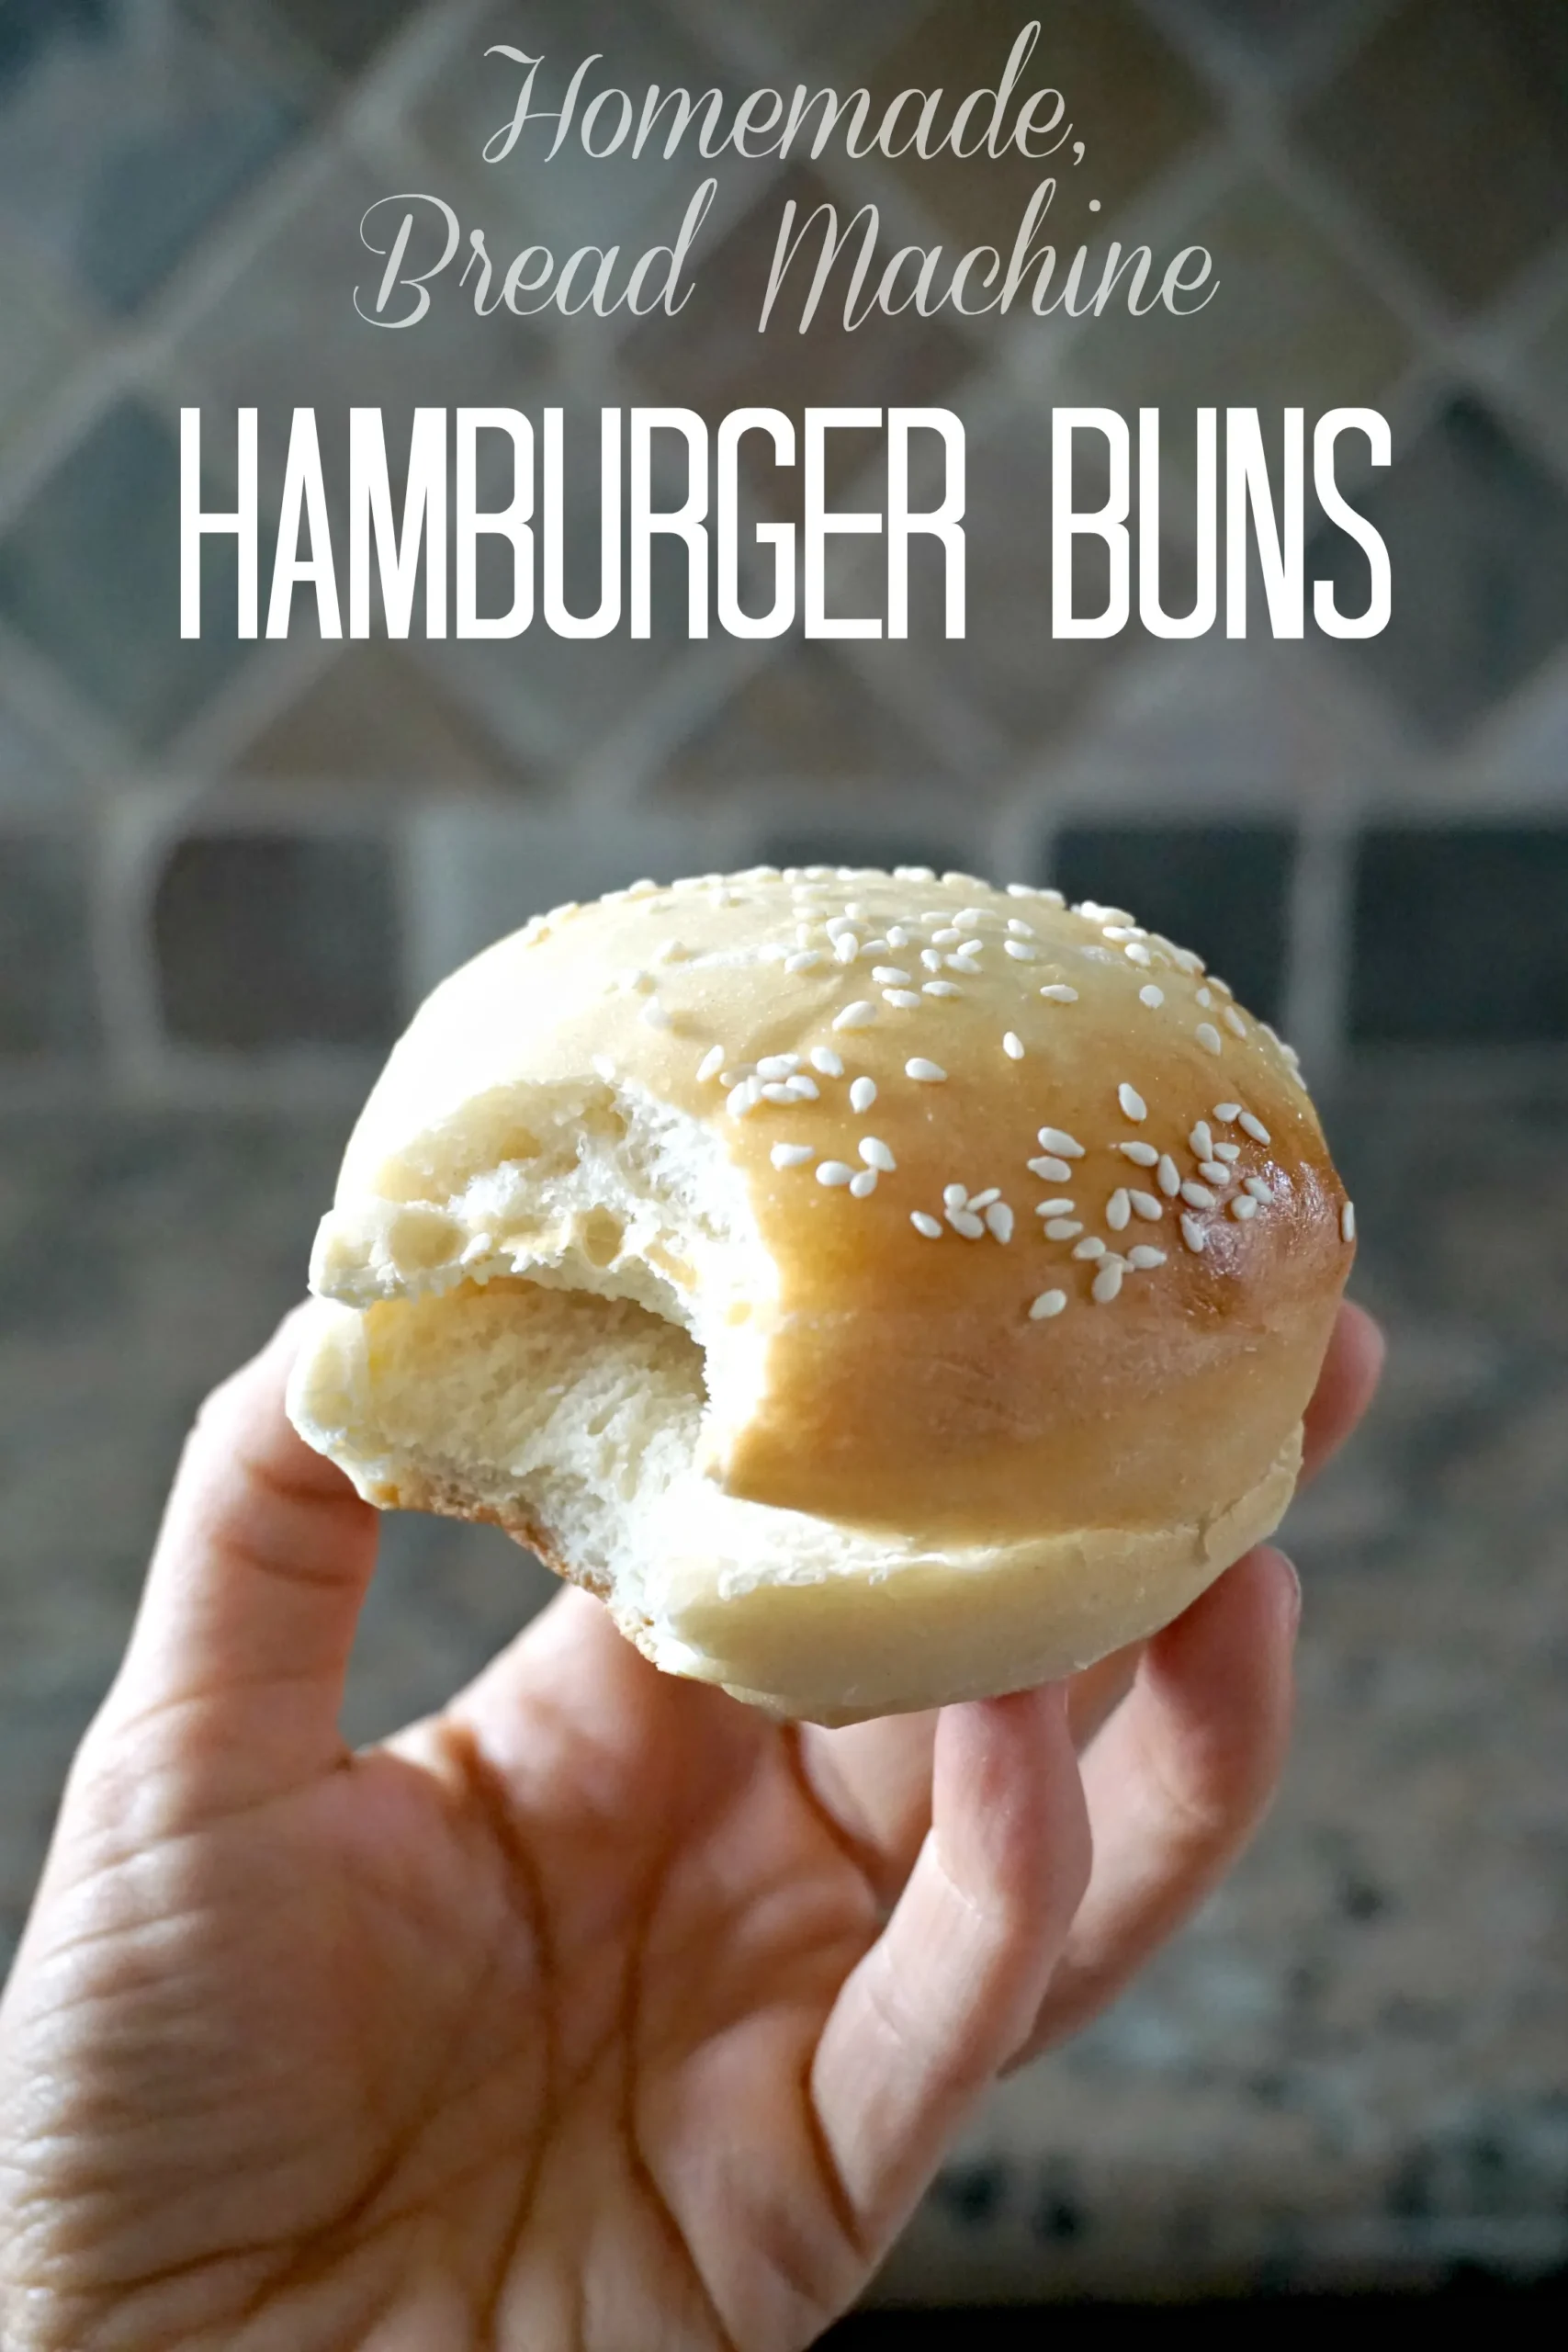
Imagine sinking your teeth into a perfectly soft, golden-brown hamburger bun that you've crafted with your own hands - no store-bought substitute can compare! These whole wheat hamburger buns are about to revolutionize your burger game, bringing restaurant-quality texture and flavor right to your kitchen. Using a bread machine makes this seemingly complicated process incredibly simple, transforming ordinary ingredients into extraordinary, healthy buns that will have your family and friends begging for seconds.
Prep Time: 10 mins
Cook Time: 30 mins
Total Time: 40 mins
Cuisine: American
Serves: 8 buns
Ingredients
- 3 cups whole wheat flour
- 1 cup warm water
- 2 tablespoons sugar
- 1 tablespoon salt
- 2 tablespoons olive oil
- 2 teaspoons yeast
Instructions
- Gather all ingredients and ensure they are at room temperature. Measure each ingredient precisely using standard measuring cups and spoons.
- Add warm water (approximately 110°F) to the bread machine pan first. The water temperature is crucial for activating the yeast correctly.
- Pour olive oil into the bread machine pan with the water.
- Add sugar and salt to the liquid ingredients, ensuring they are evenly distributed.
- Carefully measure whole wheat flour and add it on top of the liquid ingredients, creating a slight mound.
- Create a small indentation in the center of the flour and add active dry yeast directly into this depression, ensuring it does not touch the liquid ingredients.
- Select the "dough" cycle on your bread machine, which typically takes about 90 minutes to complete the mixing, kneading, and first rise.
- Once the dough cycle completes, remove the dough from the bread machine and place it on a lightly floured surface.
- Gently punch down the dough to release air bubbles and divide it into 8 equal portions using a sharp knife or dough scraper.
- Shape each portion into a round bun by rolling and tucking the edges underneath, creating a smooth top surface.
- Place shaped buns on a parchment-lined baking sheet, leaving space between each for expansion.
- Cover the buns with a clean kitchen towel and let them rise in a warm, draft-free area for 30-45 minutes until they double in size.
- Preheat the oven to 375°F (190°C) during the final rising period.
- Optional: Brush the tops of the buns with an egg wash or melted butter for a golden, shiny finish.
- Bake the buns for 15-20 minutes or until they are golden brown and sound hollow when tapped on the bottom.
- Remove buns from the oven and transfer to a wire cooling rack. Allow them to cool completely before slicing.
- Store buns in an airtight container at room temperature for up to 3 days, or freeze for longer preservation.
Tips
- Water Temperature is Key: Ensure your water is precisely 110°F to activate the yeast without killing it. Use a digital thermometer for accuracy.
- Flour Freshness Matters: Use fresh whole wheat flour for the best flavor and texture. Check the expiration date before using.
- Yeast Placement: Always add yeast last and keep it away from direct contact with salt and liquids to prevent premature activation.
- Rising Environment: Create a warm, draft-free space for your buns to rise. A slightly warmed oven (turned off) or a sunny spot works perfectly.
- Egg Wash Optional: For a bakery-style finish, brush the buns with egg wash or melted butter before baking for a beautiful golden sheen.
- Cooling is Crucial: Allow buns to cool completely on a wire rack to prevent soggy bottoms and maintain the perfect texture.
- Storage Hack: Freeze extra buns in an airtight bag for up to a month, ensuring fresh, homemade buns are always just a thaw away!
Nutrition Facts
Calories: 170kcal
Carbohydrates: 30g
Protein: 5g
Fat: 4g
Saturated Fat: g
Cholesterol: 0mg

